Build a Network Honeypot on Raspberry Pi with OpenClaw AI Agent Monitoring
An 11-day Cowrie honeypot deployment logged 89,109 events from 2,123 unique IPs, with "root:root" as the most-tried credential pair. That volume of raw data is where most Raspberry Pi honeypot guides end and where this one starts. This walkthrough covers Cowrie installation on a Pi, OpenClaw agent integration for automated attack classification, and Fast.io workspace sync so the resulting threat intelligence is searchable and shareable.


Why a Raspberry Pi Honeypot Catches What Firewalls Miss
A Cowrie SSH honeypot running on a single Raspberry Pi logged 89,109 events from 2,123 unique attacking IPs across just 11 days, according to data published by ambient_node in 2025. That averages roughly 1,900 connection attempts per day, with 75.6% arriving over SSH and the rest over Telnet. A firewall would have silently dropped those connections. A honeypot records every username, password, command, and malware download attempt.
A honeypot is a deliberately vulnerable network service designed to attract attackers, log their behavior, and provide early warning of intrusion attempts without exposing real systems. The key distinction from production infrastructure is that any traffic hitting a honeypot is suspicious by definition. There is no legitimate reason for a user to connect to a service that does not serve real data.
Cowrie is the most widely used open-source SSH and Telnet honeypot. It presents a convincing fake shell to attackers, records their session commands, and logs every credential pair they try. The "root:root" combination alone was attempted 211 times in one 11-day sample, followed by "admin:admin" at 69 attempts. The password "123456" showed up in 840 login attempts.
Raspberry Pi hardware is ideal for honeypot deployment. A Pi 4 with 4 GB of RAM draws roughly 5 watts, costs a fraction of a cloud VM per year, and runs 24/7 without significant electricity overhead. It sits on your network as a quiet sensor, collecting threat data that firewalls, IDS systems, and endpoint agents cannot see because they are designed to block traffic rather than study it.
The gap in existing Raspberry Pi honeypot guides is what happens after Cowrie starts logging. Most tutorials stop at installation. The interesting work, classifying attack patterns, spotting credential-stuffing campaigns, and generating reports you can actually share with a security team, requires post-processing that raw log files do not provide.
Related guides
- How to Build a Hermes Agent AI Code CheckerThe proportion of copy-pasted code in repositories rose from 8% in 2020 to 12% in 2024, representing a 48% relative...
- How to Build AI Agents with the Claude Agent SDKThe Claude Agent SDK is Anthropic's toolkit for building AI agents that can read files, run commands, search the web,...
- How to Build a Network Security Appliance with OpenClaw on Raspberry PiMost Raspberry Pi firewall guides stop at static UFW rules that never change after setup. This guide goes further by...
- Build a Smart Home Security Alarm System with OpenClaw on Raspberry PiDIY alarm kits from Ring and SimpliSafe start at $130 to $250 for equipment, then tack on $25 to $33 per month in...
- How to Build a Portable Pen Testing Rig with OpenClaw and Kali Linux on Raspberry PiA portable Kali Linux rig with an OpenClaw agent on a Raspberry Pi turns manual pen testing into an orchestrated...
- How to Set Up AdGuard Home on Raspberry Pi for OpenClaw Agent DNS SecurityAutonomous AI agents make DNS requests you probably cannot see. A 2026 briefing found that only 21% of executives have...
More on this subject: OpenClaw on Raspberry Pi (192 guides)
Hardware and Software Prerequisites
Cowrie and OpenClaw both run comfortably on a Raspberry Pi 4 or Pi 5 with 4 GB of RAM. If you are using a 2 GB model, you will want to configure 2 GB of swap space (covered in the OpenClaw docs). A Pi Zero or first-generation Pi lacks the RAM and CPU for running both services.
Hardware checklist:
- Raspberry Pi 4 (4 GB) or Pi 5
- 16 GB or larger microSD card (USB SSD preferred for write endurance)
- Ethernet cable (Wi-Fi works but wired connections are more reliable for a sensor that runs 24/7)
- USB-C power supply rated for the Pi model
Software requirements:
- Raspberry Pi OS Lite (64-bit), flashed with the official Raspberry Pi Imager
- Python 3 with pip and venv (for Cowrie)
- Node.js 24 (for OpenClaw)
- Build tools: libssl-dev, libffi-dev, build-essential, libpython3-dev
Flash the OS using Raspberry Pi Imager and enable SSH during the imaging step. Preconfigure your hostname, username, and Wi-Fi credentials (if not using Ethernet) so the Pi is accessible on your network immediately after first boot.
After first boot, SSH into the Pi and run system updates:
sudo apt update && sudo apt upgrade -y
Install the build dependencies Cowrie needs for its Python packages:
sudo apt install -y git python3-venv python3-pip libssl-dev libffi-dev build-essential libpython3-dev
These packages let Cowrie compile native extensions for cryptographic libraries during installation.
How to Install and Configure Cowrie on Raspberry Pi
Cowrie should run as a dedicated low-privilege user, not as root. The official Cowrie installation guide covers additional configuration options, but the steps below are sufficient for a working Pi deployment. Create a user, clone the repository, and install into a virtual environment.
sudo adduser --disabled-password cowrie
sudo su - cowrie
git clone https://github.com/cowrie/cowrie.git
cd cowrie
python3 -m venv cowrie-env
source cowrie-env/bin/activate
pip install --upgrade pip
pip install -e .
Run the initialization command to generate the default configuration and directory structure:
bin/cowrie init
Cowrie defaults to port 2222 for SSH and 2223 for Telnet. Since attackers scan port 22, you need to redirect incoming SSH traffic. The simplest method uses iptables:
sudo iptables -t nat -A PREROUTING -p tcp --dport 22 -j REDIRECT --to-port 2222
If your Pi also serves as your SSH access point, move the real SSH daemon to a non-standard port first. Edit /etc/ssh/sshd_config, change Port 22 to something like Port 2244, restart sshd, then apply the iptables rule.
Configuring fake services. Edit etc/cowrie.cfg to customize what attackers see. Key settings:
hostname: the fake hostname displayed in the shell (pick something that looks like a production server)download_path: where Cowrie saves malware samples attackers try to downloadlog_path: defaults tovar/log/cowrie/
Cowrie ships with a fake filesystem that mimics a Debian installation. Attackers who log in see realistic directory listings, can "cat" fake files, and run commands that Cowrie intercepts and logs without executing.
Start Cowrie and verify it is listening:
bin/cowrie start
ss -tlnp | grep 2222
Within minutes of exposing port 22, you will start seeing login attempts in var/log/cowrie/cowrie.json. Each entry includes the timestamp, source IP, username, password, and any commands the attacker ran after logging in.
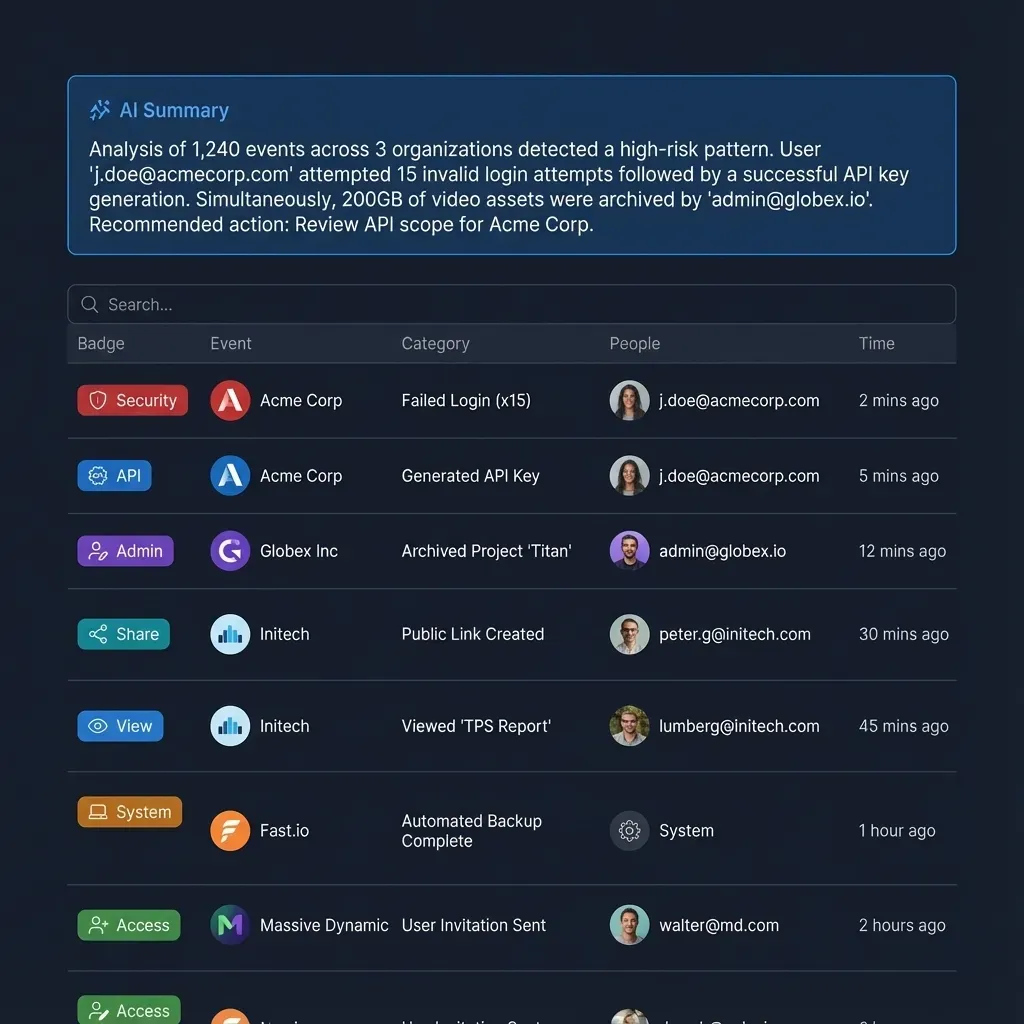


Store and search your honeypot reports from any device
Cloud workspace with Intelligence Mode for semantic search across threat reports. Connect your OpenClaw agent via MCP.
Adding OpenClaw for Automated Attack Classification
Raw Cowrie logs are useful but noisy. An OpenClaw agent running on the same Pi can read those logs, classify attack patterns, and produce structured threat reports.
OpenClaw requires a 64-bit OS, 1 GB of RAM, 1 core, and 500 MB of free disk space, according to the official Raspberry Pi installation docs. Since Cowrie is lightweight, a 4 GB Pi handles both services with headroom.
Install Node.js 24 (the runtime OpenClaw requires) and then OpenClaw itself:
curl -fsSL https://deb.nodesource.com/setup_24.x | sudo bash -
sudo apt install -y nodejs
curl -fsSL https://openclaw.ai/install.sh | bash
openclaw onboard --install-daemon
The onboarding wizard will ask for an API key for your chosen LLM provider. The OpenClaw docs recommend anthropic/claude-sonnet-4-6 as the primary model, but any supported provider works.
Connecting OpenClaw to Cowrie logs. The workflow connects Cowrie's JSON log output to OpenClaw's agent capabilities. Cowrie writes structured JSON to var/log/cowrie/cowrie.json, and OpenClaw agents can be configured to read files, process their contents, and produce summaries. The agent can identify patterns like:
- Credential-stuffing campaigns (the same password list tried across hundreds of IPs)
- Targeted attacks (a single IP running specific reconnaissance commands)
- Malware staging (download attempts for known exploit kits)
- Geographic clustering (attack waves from specific ASNs or regions)
You can verify both services are running:
openclaw status
sudo su - cowrie -c "cd cowrie && bin/cowrie status"
The classification step turns bulk log data into actionable intelligence. Instead of scrolling through thousands of JSON lines looking for anomalies, you get structured summaries of what happened and why it matters. For persistent storage of those summaries, the Fast.io agent workspace provides an MCP-accessible remote endpoint where OpenClaw can write reports directly.
Syncing Threat Reports to Fast.io for Team Access
Attack classification is only useful if your team can access the reports. Storing them on a single Raspberry Pi creates a bottleneck. You need the reports searchable, version-controlled, and shareable without SSH access to the Pi.
Several options exist for getting reports off the Pi. You could push files to S3, commit them to a Git repo, or rsync to a NAS. Each requires managing credentials, writing sync scripts, and building a search layer on top.
Fast.io offers a different approach: workspaces designed for agent-generated content. The OpenClaw agent writes a report, uploads it via the Fast.io MCP server, and once Intelligence is enabled for the workspace, the file is indexed and searchable for semantic queries. Your security team can then search reports by attack type, IP range, or time window using natural language queries, without touching the Pi.
Fast.io offers Starter, Business, and Enterprise plans with a 14-day Business Trial (card required; see pricing). That provides ample storage and credit capacity for daily honeypot reports.
Why a workspace layer matters:
- Audit trail: Fast.io logs every file upload and access event. You can verify who viewed which report and when.
- Ownership transfer: An OpenClaw agent can create and populate a workspace, then transfer ownership to a security analyst. The agent retains admin access for future uploads, but the human owns the data.
- Intelligence Mode: Once files land in a workspace with Intelligence enabled, they are indexed and searchable. Ask questions like "which IPs appeared in both the June 12 and June 15 reports?" and get cited answers.
- Branded shares: Generate a read-only share link for a specific report set, useful for sharing threat intelligence with partners or clients.
Local alternatives like Elasticsearch or Grafana dashboards work too, but require maintenance. The point is to get processed intelligence off the Pi and into a format your team can search without SSH access.

What to Know About Honeypot Legality and Network Isolation
Running a honeypot is legal in most jurisdictions, but the details matter. In the United States, the Electronic Communications Privacy Act (ECPA) includes a service provider protection exemption that generally allows organizations to collect information on users in the context of protecting their network. In the EU, privacy requirements applies because you are collecting IP addresses, which qualify as personal data. You should document the purpose, set a retention policy, and avoid storing more data than necessary.
A honeypot is not entrapment. Entrapment requires actively encouraging someone to commit a crime they would not have otherwise committed. A honeypot passively waits for connections. However, avoid configuring your honeypot to actively lure specific individuals or offer incentives to attack.
Network isolation. Your honeypot Pi should sit on a separate VLAN or DMZ, isolated from production systems. If an attacker finds an exploit in Cowrie itself (or in the Pi's OS), network segmentation prevents lateral movement. At minimum, configure firewall rules so the Pi can reach the internet (for receiving inbound attacks and uploading reports) but cannot initiate connections to internal hosts.
Operational tips from real deployments:
- Rotate Cowrie's fake hostname periodically. Attackers share honeypot fingerprints in forums, and a stale hostname can get your honeypot blocklisted.
- Monitor disk usage. Cowrie's JSON logs and downloaded malware samples can fill a small SD card within weeks. Set up log rotation with
logrotateand archive old logs to Fast.io or another remote store. - Use a USB SSD instead of a microSD card. SD cards degrade quickly under constant write loads. A USB SSD costs $15-20 and dramatically extends the Pi's operational lifespan.
- Keep the Pi's OS and Cowrie updated. The honeypot is deliberately exposed to attackers, and an unpatched OS vulnerability could let an attacker pivot beyond the fake shell.
What a honeypot detects and what it does not. A low-interaction honeypot like Cowrie catches SSH and Telnet brute-force attacks, credential-stuffing campaigns, and automated malware delivery. It does not detect web application attacks, DNS tunneling, or lateral movement within your network. For those threats, you need complementary tools like web application firewalls, DNS monitoring, and network traffic analysis.
Sources
References used to verify factual claims in this guide.
-
89,109 events across 20,683 sessions from 2,123 unique IPs in 11 days
-
OpenClaw minimum requirements: 1 GB RAM, 1 core, 500 MB free disk, 64-bit OS
-
Cowrie defaults to port 2222 for SSH and 2223 for Telnet
-
Honeypots are generally legal but subject to privacy laws like ECPA and GDPR
Frequently Asked Questions
How do I set up a honeypot on Raspberry Pi?
Flash Raspberry Pi OS Lite (64-bit) onto an SD card, install Python 3 and build dependencies, create a dedicated "cowrie" user, clone the Cowrie repository from GitHub, install it in a virtual environment, and redirect port 22 to Cowrie's default port 2222 using iptables. The full process takes about 30 minutes on a Pi 4 with a decent internet connection.
What is a network honeypot?
A network honeypot is a deliberately vulnerable service that mimics a real system to attract attackers. Because no legitimate users connect to it, any traffic is suspicious by definition. Honeypots record login attempts, commands, and malware downloads, giving defenders early warning of active threats without risking production systems.
Is it legal to run a honeypot?
Running a honeypot is legal in most jurisdictions. In the US, the Electronic Communications Privacy Act's service provider exemption covers collecting data to protect your network. In the EU, privacy requirements applies because IP addresses count as personal data, so you need a documented purpose and retention policy. Consult local regulations before deploying, and avoid actively luring specific individuals.
What does a honeypot detect?
Low-interaction honeypots like Cowrie detect SSH and Telnet brute-force attempts, credential-stuffing campaigns, automated scanning, and malware delivery attempts. They record every username, password, and command an attacker tries. They do not detect web application attacks, DNS-based threats, or lateral movement, which require separate monitoring tools.
Can OpenClaw run on the same Raspberry Pi as Cowrie?
Yes. OpenClaw requires 1 GB of RAM and 500 MB of disk on a 64-bit OS. Cowrie is lightweight Python code. A Raspberry Pi 4 with 4 GB of RAM comfortably runs both, though you should configure 2 GB of swap on models with less memory and use a USB SSD instead of an SD card for better write endurance.
How many attacks will my honeypot receive?
Volume depends on your network and exposure. Published data from real Cowrie deployments shows roughly 1,900 connection attempts per day on average, with peaks during botnet sweeps. One 11-day deployment logged 89,109 events from 2,123 unique IPs. The most common credential attempted was "123456" with 840 attempts, followed by default pairs like "root:root."
Related Resources

Store and search your honeypot reports from any device
Cloud workspace with Intelligence Mode for semantic search across threat reports. Connect your OpenClaw agent via MCP.