How to Build a Portable Pen Testing Rig with OpenClaw and Kali Linux on Raspberry Pi
A portable Kali Linux rig with an OpenClaw agent on a Raspberry Pi turns manual pen testing into an orchestrated workflow. This guide covers the hardware, the Kali flash, the OpenClaw integration, and how to chain reconnaissance, scanning, and reporting into a single automated pipeline. You will also learn how to store findings, reports, and evidence in a shared workspace so the rest of your team can review them.

Why a Portable AI Pen Testing Rig Exists
Kali Linux on a Raspberry Pi is not new. Security professionals have been flashing Kali to SD cards since the Pi 2, carrying a pocket-sized toolkit into client offices and server rooms. What is new is putting an AI agent on top of that toolkit so it can orchestrate the tools, chain their outputs together, and write up the findings without manual copy-paste between terminal windows.
The kali-openclaw-usb project, maintained in two community repositories on GitHub, takes this idea to its logical end: a bootable USB (or SD card) image that includes Kali Linux, the full standard tool suite, and an OpenClaw agent pre-configured with penetration testing workflows. The agent handles reconnaissance, vulnerability scanning, exploitation triage, and report generation. You provide the scope and authorization. The agent does the clicking.
The appeal is practical, not theoretical. A typical internal network assessment involves dozens of nmap scans, service enumeration runs, credential spray attempts, and manual correlation between outputs. An experienced tester spends half of their engagement time on documentation. An OpenClaw agent running on the same Pi can run scans in parallel, pipe nmap output into the next tool, and write structured findings as it goes. The tester reviews and adjusts rather than starting from blank.
This guide walks through the full build: hardware selection, Kali installation, OpenClaw setup, workflow configuration, and the workspace layer that makes findings accessible to the rest of the team. Everything here assumes you have proper written authorization for your testing targets. Unauthorized access is illegal regardless of how automated your tools are.
Why a Pi 5 Is the Right Pen Testing Rig
The Raspberry Pi 5 with 8GB RAM is the current recommendation for a Kali pen testing rig. Its quad-core Cortex-A76 CPU clocked at 2.4 GHz delivers roughly 3x the throughput of a Pi 4, and the 8GB of LPDDR4X-4267 memory gives enough room for OpenClaw's Node.js runtime alongside memory-hungry tools like Metasploit and Hashcat.
Hardware checklist:
- Raspberry Pi 5, 8GB model
- 64GB or larger microSD card, Class 10 or UHS-I minimum (an NVMe SSD via the Pi 5's PCIe slot is faster but not required)
- USB-C power supply, 5V 5A (the official Pi 5 PSU works)
- Ethernet cable (wired connections avoid the complications of putting your wireless adapter into monitor mode while also needing network access)
- External USB Wi-Fi adapter with monitor mode support (Alfa AWUS036ACH or similar) for wireless assessments
- Optional: a case with passive cooling or a small fan, because sustained scanning loads will push the CPU into thermal throttling without it
Flashing Kali to the SD card:
- Download the Kali Linux ARM image for Raspberry Pi from kali.org/get-kali. Choose the 64-bit image. The "Everything" flavor includes the full tool suite; the default image is lighter but requires installing tools individually.
- Flash the image to your SD card using Balena Etcher, Raspberry Pi Imager, or
dd. On macOS or Linux:sudo dd if=kali-linux-2026.1-raspberry-pi-arm64.img of=/dev/sdX bs=4M status=progress. - Insert the SD card into the Pi, connect Ethernet and power, and boot. Default credentials are
kali/kali. Change them immediately. - Run
sudo apt update && sudo apt full-upgrade -yto pull the latest tool versions and kernel patches. - Confirm the toolkit works:
nmap --version,msfconsole -v,sqlmap --version. If any tool is missing, install it withsudo apt install <package>.
The full Kali image on a Pi 5 boots in about 30 seconds from a decent SD card, under 15 seconds from an NVMe drive. Nmap SYN scans against a /24 subnet complete in 5-10 seconds depending on the network, which is fast enough for most internal engagements.
Installing and Configuring OpenClaw on the Kali Pi
With Kali running, the next step is adding the OpenClaw agent layer. OpenClaw is an open-source AI agent framework that can orchestrate command-line tools, chain their outputs, and generate structured reports. On a pen testing rig, it sits between you and the Kali toolkit, turning your engagement scope into an automated workflow.
The kali-openclaw-usb repositories on GitHub provide pre-configured integration scripts. The mvster-p variant includes a build script that creates a full bootable USB with persistence, OpenClaw pre-installed, and whitelisted tool access for nmap, gobuster, dirb, burpsuite, sqlmap, nikto, wfuzz, hashcat, john, hydra, metasploit, and netcat. The Ayaaniftikhar variant focuses on a lighter USB image with automated documentation and drop-box node support for syncing findings to a remote server.
If you are building on an existing Kali SD card rather than creating a fresh USB image, the general installation path is:
- Install the OpenClaw runtime following the current instructions at docs.openclaw.ai. The Pi 5 runs Node.js and Python dependencies without issues on 8GB RAM.
- Configure the agent's tool whitelist to include the penetration testing utilities you plan to use. This is a security boundary: the agent can only invoke tools you explicitly approve.
- Set up an API key for your preferred LLM provider. The Pi 5 can run small local models at roughly 2 tokens per second, but cloud API calls to Claude, GPT-4, or Gemini are faster and produce better reasoning for complex exploitation chains. Budget for API costs accordingly.
- Verify the installation by asking the agent to run a basic nmap scan against a test target you control.
The tool whitelist is the most important configuration decision. The mvster-p repository whitelists common tools by default, but you should review and adjust the list based on your engagement scope. Whitelisting Metasploit means the agent can attempt exploitation. Whitelisting Hydra means it can run credential sprays. Each tool you add expands the agent's attack surface, which is the point, but only when you have authorization.
Because OpenClaw's integration path and configuration details evolve with each release, verify the exact setup commands against the current OpenClaw documentation and the GitHub repository README before following any specific syntax. The pattern stays the same: install the runtime, whitelist tools, configure the LLM backend, and test.


Store pen testing findings where your whole team can reach them
Upload scan results, vulnerability reports, and engagement artifacts to a Fastio workspace. Intelligence Mode indexes everything for semantic search. generous storage, no credit card required.
Building Automated Pen Testing Workflows
A pen testing engagement follows a predictable arc: reconnaissance, scanning, enumeration, exploitation, post-exploitation, and reporting. The value of an OpenClaw agent is chaining these phases together so findings from one phase feed directly into the next without manual intervention.
Reconnaissance to scanning. The agent starts with passive reconnaissance, querying DNS records, WHOIS data, and certificate transparency logs to map the target's external footprint. It feeds discovered hostnames and IP ranges into nmap for port scanning and service detection. Instead of running a single broad scan and wading through the output, the agent can run targeted scans: a fast SYN sweep to find open ports, followed by detailed service version detection (-sV) and OS fingerprinting (-O) only on hosts that responded.
Scanning to enumeration. Open ports with identified services trigger service-specific enumeration. An HTTP service on port 443 gets a Nikto scan and a Gobuster directory brute-force. An SMB service on port 445 gets enum4linux. An SSH service gets a banner grab and version check against known vulnerability databases. The agent writes each finding into a structured format as it goes, so the report builds incrementally rather than as a separate end-of-engagement task.
Enumeration to exploitation. This is where authorization scope matters most. The agent can search Metasploit's module database for exploits matching discovered service versions, rank them by reliability, and present a list for human approval before execution. A fully autonomous exploitation workflow is technically possible but rarely appropriate outside of a controlled lab. Most engagements use the agent for identification and the human for the decision to exploit.
Reporting. The agent compiles scan outputs, discovered vulnerabilities, exploitation results, and evidence screenshots into a structured report. The kali-openclaw-usb projects include auto-documentation features that generate findings in standard formats as the engagement progresses, rather than requiring a separate report-writing phase at the end.
A practical example: scanning a small office network. The agent runs nmap -sS -sV -O 192.168.1.0/24, identifies 40 live hosts, finds 12 with web services, runs Nikto against each, discovers three hosts running outdated Apache versions with known CVEs, cross-references those CVEs in Metasploit, and writes a finding for each one with the CVE number, affected host, service version, and recommended remediation. That workflow takes a human tester 2-3 hours of manual work. The agent handles it in 15-20 minutes.
Parallel execution helps here. OpenClaw supports spawning sub-agents for independent tasks, so the Nikto scans against 12 web servers can run concurrently rather than sequentially. On a Pi 5 with wired Ethernet, network bandwidth is usually the bottleneck, not CPU.
Storing Findings and Reports in a Shared Workspace
Pen testing findings sitting on a Raspberry Pi SD card are useless to your client, your team lead, or the remediation engineers who need to act on them. The rig needs an output layer that makes results accessible, version-controlled, and searchable.
You can push findings to a git repo, upload them to S3, or email them as attachments. Each of those works but requires stitching together authentication, access control, and a way for non-technical stakeholders to actually read the results. A shared workspace handles all of that in one place.
A Fastio workspace works well for this because the OpenClaw agent can write to it through the Fastio MCP server or API, and the rest of your team can access the same files through a browser. The setup looks like this:
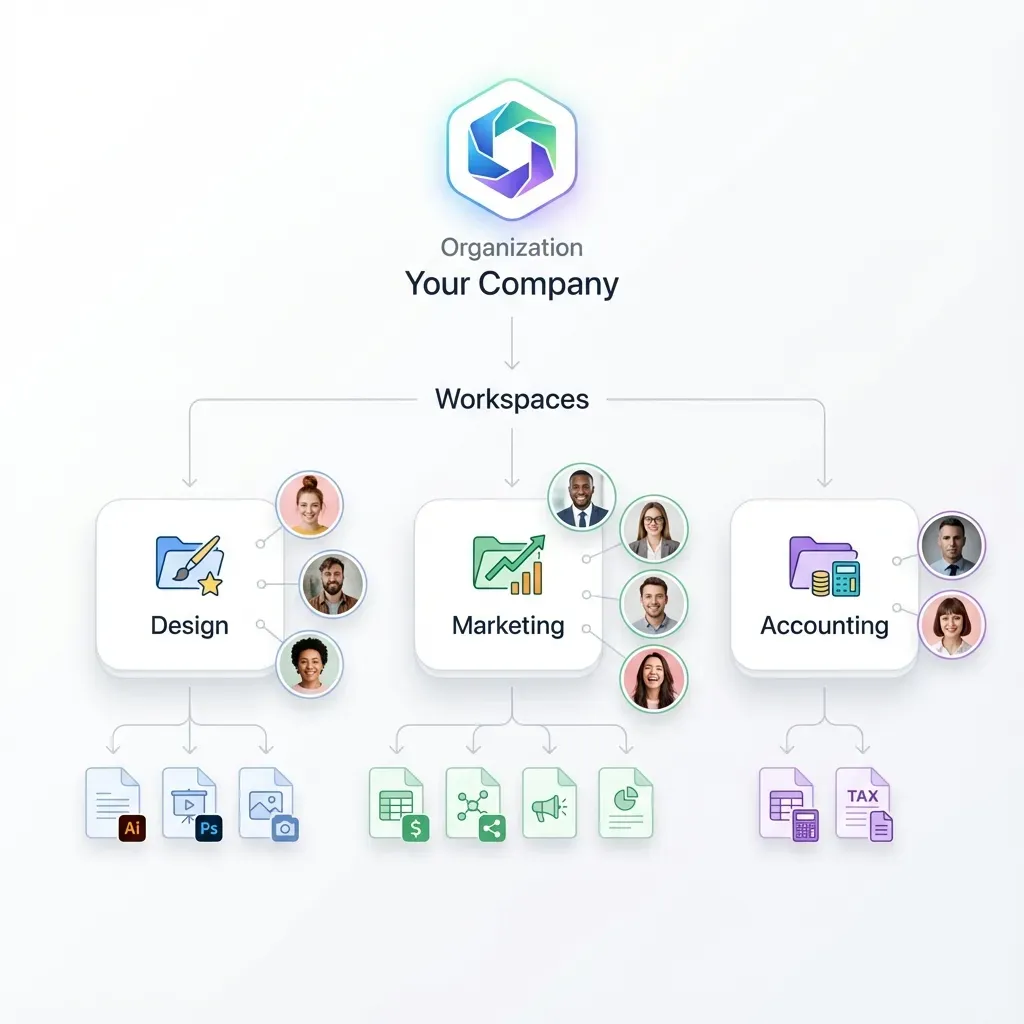
- Create a workspace for the engagement. Name it after the client or project.
- Enable Intelligence Mode so the workspace indexes uploaded files for semantic search. This means your team can later search for "which hosts had outdated Apache" across all engagement artifacts without opening every individual report.
- Configure the OpenClaw agent to upload findings, scan logs, and generated reports to the workspace as each phase completes. The agent writes files; the workspace versions them automatically.
- Set granular permissions so the tester has write access, the team lead has read access, and the client gets a read-only branded share of the final deliverables.
Three features pull their weight on pen testing engagements specifically:
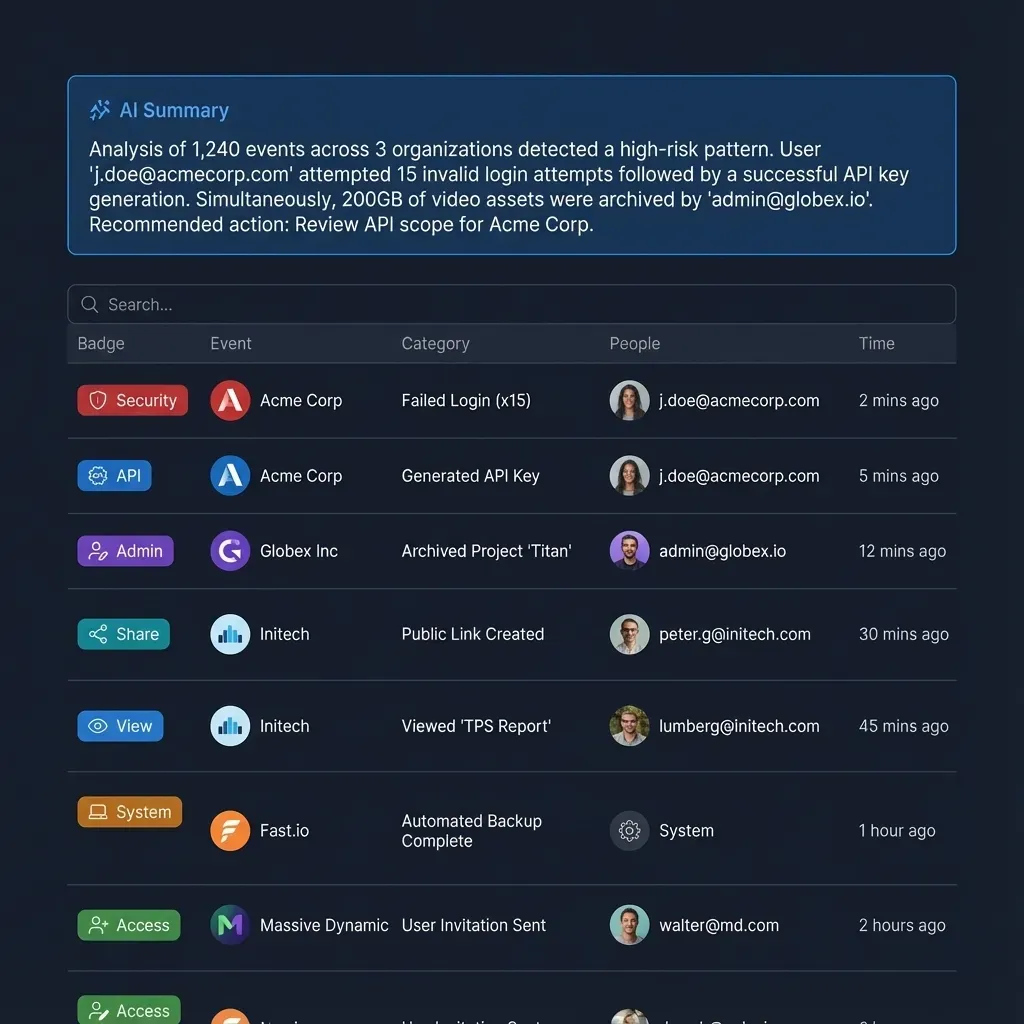
- Audit trails. Every file upload, modification, and access is logged with timestamps and user identity. When a client asks "who saw the vulnerability report and when," the answer is in the workspace history.
- Branded shares. When the engagement wraps up, create a branded share of the report folder. The client gets a clean, professional delivery link without being invited into your internal workspace.
- Ownership transfer. If the engagement is for a client who wants to own the workspace going forward, the agent can build the workspace during the engagement and transfer ownership to the client afterward, keeping admin access for the agent so it can push follow-up scans or re-test results.
Fastio's Business Trial includes 50GB of storage and included credits with no credit card required, which is more than enough for most pen testing engagements. Scan logs and reports are text-heavy and small. See storage for agents or pricing for current plan details.
The alternative stack, S3 for storage, a wiki for documentation, email for delivery, and a separate audit log, works fine but takes longer to set up and maintain. A workspace that already has versioning, search, permissions, and sharing built in saves the overhead.
Security, Ethics, and Operational Boundaries
An AI-driven pen testing rig raises questions that a manual toolkit does not. The answers are not complicated, but they need to be explicit before you boot the device.
Written authorization is non-negotiable. Every pen testing engagement starts with a signed scope document that defines which networks, hosts, and services the tester is authorized to touch. The OpenClaw agent inherits those boundaries. If the scope says "internal network 192.168.1.0/24, no production database servers," the agent's target list must reflect that. Automating unauthorized access is still unauthorized access, and it scales faster than manual testing, which makes the liability worse, not better.
Review before exploit. The workflows described in this guide assume a human-in-the-loop for exploitation decisions. The agent identifies vulnerabilities and proposes exploitation paths. The tester reviews and approves. Running fully autonomous exploitation against production systems, even authorized ones, carries risk that a human should evaluate per-target.
Tool safety. Kali Linux includes tools that can disrupt services if used incorrectly. A misconfigured Hydra run can lock out accounts. An aggressive nmap scan can crash fragile embedded devices. The agent's tool whitelist is your first safety layer: only approve tools appropriate for the engagement. The second layer is configuring scan intensity and rate limits to avoid collateral damage.
Data handling. Pen testing findings often include sensitive information: credentials, internal IP ranges, vulnerability details, client infrastructure diagrams. Store them encrypted at rest, transmit them over encrypted channels, and delete them when the engagement's retention period expires. A shared workspace with access controls and audit trails helps here, but the obligation to protect client data is yours regardless of the tooling.
Skill verification. The OpenClaw ecosystem includes community-contributed skills on ClawHub. Research from security firms has identified malicious skills that masquerade as legitimate tooling. Before installing any third-party skill, audit its source code, check it against security scanners like ClawSecure, and verify the publisher's identity. Running unvetted skills on a pen testing rig with network access and tool privileges is an obvious attack vector.
Disclosure. If the agent discovers a critical vulnerability during an engagement, follow your organization's disclosure process. Do not rely on the agent to make disclosure decisions. It generates findings; you decide what to do with them.
Frequently Asked Questions
Can you run Kali Linux on Raspberry Pi 5?
Yes. Kali Linux provides official 64-bit ARM images for the Raspberry Pi 5. The Pi 5's Cortex-A76 CPU and up to 8GB of RAM run the full Kali toolkit including Nmap, Metasploit, Burp Suite, and Aircrack-ng without issues. Download the image from kali.org, flash it to a microSD card or NVMe drive, and boot.
How do I automate penetration testing with AI?
Install an AI agent framework like OpenClaw on top of your Kali Linux installation. Configure the agent with a tool whitelist that includes your scanning and enumeration tools, connect it to a cloud LLM API for reasoning, and define workflows that chain reconnaissance, scanning, and reporting together. The agent orchestrates the tools and generates structured findings. You review the results and make exploitation decisions.
What is kali-openclaw-usb?
It is a community project on GitHub that creates a bootable USB drive combining Kali Linux with an OpenClaw AI agent. The USB boots on any 64-bit PC, runs the full Kali toolkit, and includes pre-configured OpenClaw workflows for automated scanning, vulnerability detection, and report generation. Two main repositories exist, one by mvster-p and one by Ayaaniftikhar, with slightly different feature sets.
Is Raspberry Pi powerful enough for penetration testing?
For most internal network assessments and small-to-medium engagements, yes. The Pi 5 handles Nmap scans, web application testing with Nikto and SQLMap, and credential testing with Hydra without bottlenecks. The main limitation is CPU-intensive tasks like WPA2 handshake cracking with Hashcat, where a dedicated GPU on a laptop or desktop will be orders of magnitude faster.
What tools come pre-configured in kali-openclaw-usb?
The mvster-p repository whitelists nmap, gobuster, dirb, Burp Suite, sqlmap, nikto, wfuzz, hashcat, john, hydra, metasploit, and netcat. The full Kali toolkit is also available on the image; the whitelist controls which tools the OpenClaw agent can invoke autonomously.
Do I need internet access for the pen testing rig?
For the initial setup, yes. You need to download the Kali image, install OpenClaw, and pull tool updates. During an engagement, the rig works offline for local network scanning and enumeration. However, cloud LLM API calls for the OpenClaw agent require internet access. Running a local model on the Pi 5 is possible but slower, roughly 2 tokens per second versus near-instant cloud responses.
How do I share pen testing reports with my team?
Upload findings and reports from the Pi to a shared workspace like Fastio. The OpenClaw agent can write files directly through the Fastio MCP server or API. Team members access the workspace through a browser, and you can create branded share links for client delivery. This avoids emailing sensitive vulnerability data as attachments.
Related Resources

Store pen testing findings where your whole team can reach them
Upload scan results, vulnerability reports, and engagement artifacts to a Fastio workspace. Intelligence Mode indexes everything for semantic search. generous storage, no credit card required.