How to Build a Network Security Appliance with OpenClaw on Raspberry Pi
Most Raspberry Pi firewall guides stop at static UFW rules that never change after setup. This guide goes further by adding an OpenClaw AI agent that watches network traffic, adjusts firewall rules based on what it observes, and sends alerts when something looks wrong. You will build a dedicated Pi-based security appliance that actively responds to threats instead of waiting for you to notice them.
Why Static Firewall Rules Are Not Enough
Every guide for setting up a Raspberry Pi firewall follows the same pattern: install UFW, deny all incoming, allow SSH on port 22, allow your web server ports, enable the firewall, and walk away. That approach worked when home networks had a router, a laptop, and maybe a printer. It does not hold up when the average North American household has 22 connected devices and absorbs roughly 29 attack attempts per day, according to 2026 IoT security research from SecureIoT.
Static rules cannot adapt. A port scan from an unfamiliar IP address at 3 AM gets the same treatment as legitimate traffic because UFW has no concept of context or time. Brute force attempts against your SSH port continue until you manually notice them in the logs and add a block rule. A compromised IoT device on your local network that starts making outbound connections to a command-and-control server passes right through your outbound-allow rules.
The gap in existing Pi firewall content is clear: every tutorial covers the initial configuration, and none of them cover what happens after that. An AI agent running on the same Pi can fill that gap. It reads firewall logs in real time, recognizes patterns that suggest malicious activity, adds or modifies UFW rules in response, and sends you a message when it takes action. The firewall becomes a living system instead of a static one.
OpenClaw, the open-source AI agent framework, is a natural fit for this job. It already runs well on Raspberry Pi hardware, it can execute shell commands through its tool system, and it connects to messaging platforms like Discord, Slack, and WhatsApp for alerts. The Pi handles the network plumbing. OpenClaw handles the intelligence layer.
Hardware and Software You Will Need
The Raspberry Pi 5 is the right board for this project. Its built-in Ethernet controller delivers true gigabit throughput, reaching approximately 941 Mbps in real-world iperf3 tests. That is enough bandwidth for a home or small office network without becoming a bottleneck. The quad-core Cortex-A76 CPU at 2.4 GHz handles packet inspection, log parsing, and the OpenClaw Node.js runtime simultaneously.
Hardware list:
- Raspberry Pi 5, 4GB or 8GB model (8GB recommended if you plan to run additional services)
- USB-C power supply, 5V 5A (the official Pi 5 PSU is safest)
- 32GB or larger microSD card, Class 10 minimum (a USB SSD dramatically improves log write performance and SD card longevity)
- Two Ethernet connections: one from your router to the Pi, one from the Pi to a switch for your LAN devices (or a USB-to-Ethernet adapter for the second port)
- Optional: a case with passive cooling or a small fan for sustained operation
For a single-interface setup where the Pi monitors traffic on one network segment rather than acting as an inline gateway, you only need one Ethernet cable. The inline gateway approach gives the Pi control over all traffic between your router and your devices. The single-interface approach lets the Pi observe and react without being a single point of failure.
Software stack:
- Raspberry Pi OS Lite (64-bit), the headless version without a desktop environment
- UFW for the base firewall layer
- OpenClaw (installed via the official script at docs.openclaw.ai)
- An LLM API key (Claude, GPT-4, or Gemini) for the agent's reasoning engine
- Optional: Suricata or Zeek for deeper packet inspection that feeds data to the agent
How to Configure UFW and Network Monitoring
Start with a clean Raspberry Pi OS Lite installation. Flash the image using the Raspberry Pi Imager, enable SSH during the imaging step, and boot the Pi with an Ethernet connection.
Update the system and install UFW:
sudo apt update && sudo apt upgrade -y
sudo apt install ufw
Before enabling UFW, configure your baseline rules. This is the static foundation that the OpenClaw agent will build on top of:
sudo ufw default deny incoming
sudo ufw default allow outgoing
sudo ufw allow ssh
sudo ufw logging high
The logging high setting is critical. It tells UFW to write detailed log entries for blocked and allowed connections to /var/log/ufw.log. This log file is what the OpenClaw agent reads to understand what is happening on your network. Without verbose logging, the agent has nothing to work with.
Enable the firewall:
sudo ufw enable
Verify it is running with sudo ufw status verbose. You should see your SSH rule and the default deny policy for incoming traffic.
Setting up log rotation and monitoring:
UFW logs can grow quickly on an active network. Configure logrotate to manage the file size:
sudo nano /etc/logrotate.d/ufw
Set it to rotate daily, keep 14 days of history, and compress old logs. This gives the agent two weeks of historical data to analyze while keeping disk usage reasonable on an SD card.
For deeper visibility, install a network intrusion detection system alongside UFW. Suricata is a solid choice that runs on Pi 5 hardware. It inspects packet contents rather than just connection metadata, catching threats that port-based firewall rules miss entirely. The OpenClaw agent can read Suricata's alert logs the same way it reads UFW logs, giving it two independent data sources for threat detection.


Store your firewall logs where your whole team can search them
Fastio gives your OpenClaw security agent 50GB of indexed storage, no credit card required. Upload logs, ask questions in natural language, and share findings with your team through one workspace.
How to Set Up OpenClaw as the Security Agent
With the firewall and logging infrastructure in place, install OpenClaw following the current instructions at docs.openclaw.ai. The Pi 5 meets the recommended specs (2+ GB RAM, 64-bit OS, Ethernet connection). OpenClaw runs as a persistent daemon, which is exactly what you want for a security appliance that needs to stay active around the clock.
The agent's value in this setup comes from three capabilities: reading log files, executing UFW commands, and sending messages through connected channels.
Log reading. The agent monitors /var/log/ufw.log and, if you installed Suricata, its alert output. It looks for patterns that indicate threats: repeated blocked connection attempts from the same IP (port scanning or brute force), outbound connections to known malicious IP ranges, unusual traffic volumes at off-hours, or new devices appearing on the local network.
Rule automation. When the agent identifies a threat pattern, it can add UFW rules to block the source. For example, if it sees 50 blocked SSH attempts from a single IP within five minutes, it adds a deny rule for that IP. If a local device starts making outbound connections to suspicious destinations, the agent can add an outbound deny rule for that device's IP. Every rule change gets logged with the agent's reasoning so you can review why it made the decision.
Alerting. OpenClaw connects to messaging platforms. When the agent blocks an IP or detects unusual activity, it sends you a message with the details: what it observed, what rule it added, and what you should check. You get a Discord notification or WhatsApp message instead of finding out three days later when you happen to check the logs.
The tool whitelist is the most important configuration decision. The agent needs access to ufw, tail, grep, cat, and wc at minimum. If you installed Suricata, add suricatasc for querying Suricata's status. Do not whitelist tools the agent does not need. The smaller the attack surface, the safer the appliance.
Because OpenClaw's exact configuration syntax and tool whitelisting approach evolve with each release, verify the current setup steps against the official documentation rather than following hardcoded commands. The workflow pattern stays the same across versions: install the runtime, configure the LLM backend with your API key, set the tool whitelist, and define the monitoring behavior through the agent's instruction prompt.

Storing Logs and Sharing Findings
A security appliance generates data that needs to outlive the SD card it runs on. Firewall logs, agent decision records, threat reports, and configuration snapshots all need a durable home where other people on your team can access them.
Local storage options work for short-term retention. The Pi's SD card or attached USB SSD holds the active logs. For longer-term storage and team access, you need somewhere off-device.
You could sync logs to an S3 bucket, push them to a self-hosted Elasticsearch instance, or use Google Drive. Each of those requires setup and maintenance of its own. A simpler path is Fastio, which provides workspace storage that both the OpenClaw agent and your team members can access. The agent writes logs and reports to a Fastio workspace through the MCP server. Your team reads them through the web interface or their own MCP-connected tools.
Fastio's Intelligence Mode auto-indexes uploaded files for semantic search. Once your firewall logs and agent reports land in a workspace, anyone on the team can ask questions like "show me all blocked IPs from last Tuesday" or "what threats did the agent respond to this week" and get answers with citations back to the specific log entries. That turns raw log data into something useful without building a custom dashboard.
The audit trail tracks every file the agent uploads, every query it runs, and every share it creates. If you need to review the agent's behavior or demonstrate compliance with a security policy, the history is there.
The free tier includes 50GB of storage, included credits per month, and five workspaces with no credit card required. That is more than enough for a single security appliance. A busy home network generates roughly 10-50 MB of compressed firewall logs per day, so 50GB holds years of data.
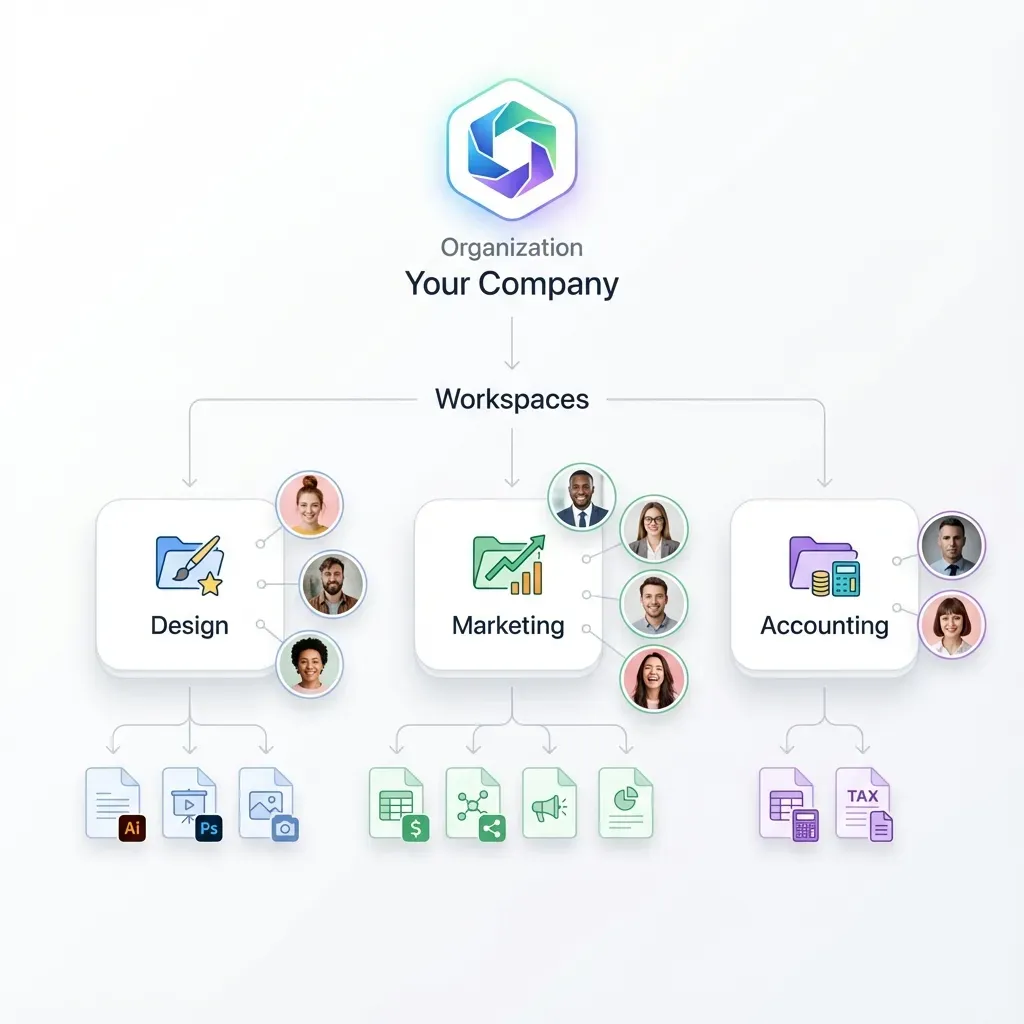
For teams that run multiple Pi security appliances across different locations, each appliance can write to its own workspace while a shared workspace aggregates summary reports. The ownership transfer feature lets the agent build and populate the workspace, then hand administrative control to a human when the setup is complete.
Keeping the Appliance Running Long-Term
A network security appliance is only useful if it stays up. The Pi and OpenClaw both need attention to run reliably over months and years.
Systemd service configuration. Run OpenClaw as a systemd service with automatic restart on failure. The official documentation covers the systemd drop-in configuration with appropriate restart policies and timeout values. This means a crash or OOM kill restarts the agent within seconds rather than leaving your network unmonitored until you notice.
SD card wear. Constant log writes shorten an SD card's lifespan. Move your logs to a USB SSD if possible. If you stick with an SD card, use log rotation aggressively and consider mounting /var/log as a tmpfs with periodic syncs to persistent storage. A worn-out SD card is the most common failure mode for Pi-based appliances.
Firmware and package updates. Run sudo apt update && sudo apt upgrade on a regular schedule. Security tools like Suricata need current rule sets to detect new threats. OpenClaw itself receives frequent updates. Schedule a weekly maintenance window where the agent pauses monitoring, the system updates, and the agent restarts.
LLM API costs. The agent makes API calls to reason about log entries. A quiet home network might generate a few dozen API calls per day. A busy network with frequent blocked connections could generate hundreds. Monitor your API provider's usage dashboard and set spending limits. If costs become a concern, tune the agent to batch log analysis in intervals (every 5 or 15 minutes) rather than analyzing every log line individually.
Testing the agent's responses. Periodically verify that the agent actually works by running a controlled port scan against the Pi from another device on your network. Use nmap from a laptop: nmap -sS <pi-ip-address>. The agent should detect the scan, add a temporary block rule, and send you an alert. If it does not, check the log file permissions, the tool whitelist, and the agent's instruction prompt.
Backup the configuration. Export your UFW rules (sudo ufw status numbered), the agent's configuration, and the systemd service file to your off-device storage. If the SD card dies, you want to rebuild the appliance in minutes rather than hours. Storing these configuration files in a Fastio workspace means they are versioned, searchable, and accessible from any device.
Frequently Asked Questions
Can a Raspberry Pi work as a firewall?
Yes. The Raspberry Pi 5's gigabit Ethernet port delivers roughly 941 Mbps of real throughput, which is enough for most home and small office networks. UFW provides the firewall rule engine, and the Pi's quad-core CPU handles packet filtering without becoming a bottleneck for typical residential traffic volumes. For networks that need more than gigabit throughput, the Pi 5's PCIe slot supports 2.5 GbE adapters.
How do you monitor network security with AI?
An AI agent like OpenClaw reads firewall logs and intrusion detection alerts in real time, identifies patterns that suggest threats (repeated connection attempts, unusual outbound traffic, new devices), and takes automated action like adding block rules or sending alerts. The key difference from traditional monitoring is that the agent applies reasoning to log data rather than just matching static signatures.
Is a Raspberry Pi firewall secure enough for home use?
For home networks, a properly configured Pi firewall provides more security than most consumer routers offer by default. The combination of UFW for packet filtering, an IDS like Suricata for deeper inspection, and an AI agent for dynamic response covers the threat surface that home networks actually face. It is not a replacement for enterprise-grade hardware at a business, but it exceeds what most households have in place.
How much does it cost to run an OpenClaw security agent?
The hardware cost is the Pi itself (around $80 for a Pi 5 8GB) plus a power supply and storage. OpenClaw is free and open source. The ongoing cost is the LLM API usage for the agent's reasoning, which varies by provider and traffic volume. A quiet home network might cost $1-5 per month in API calls. Fastio's Business Trial covers the log storage and team access with 50GB and no credit card required.
What happens if the OpenClaw agent makes a mistake and blocks legitimate traffic?
Every rule the agent adds should be logged with its reasoning. If you get locked out of a service, SSH into the Pi (or connect a keyboard and monitor) and review the recent UFW rules with `sudo ufw status numbered`. Delete the offending rule with `sudo ufw delete <number>`. To prevent future false positives, add an allow rule for that service before the agent's deny rules, or adjust the agent's instruction prompt to exclude that traffic pattern from automated blocking.
Related Resources

Store your firewall logs where your whole team can search them
Fastio gives your OpenClaw security agent 50GB of indexed storage, no credit card required. Upload logs, ask questions in natural language, and share findings with your team through one workspace.