How to Set Up the GitLab MCP Server for AI Devops Agents
Setting up a GitLab MCP server connects your AI coding assistants directly to your repositories, issues, and pipelines. This guide explains how to install the server, authorize access with personal access tokens, and configure settings for both GitLab.com and self-hosted instances.

Why DevOps Teams Need the GitLab MCP Server
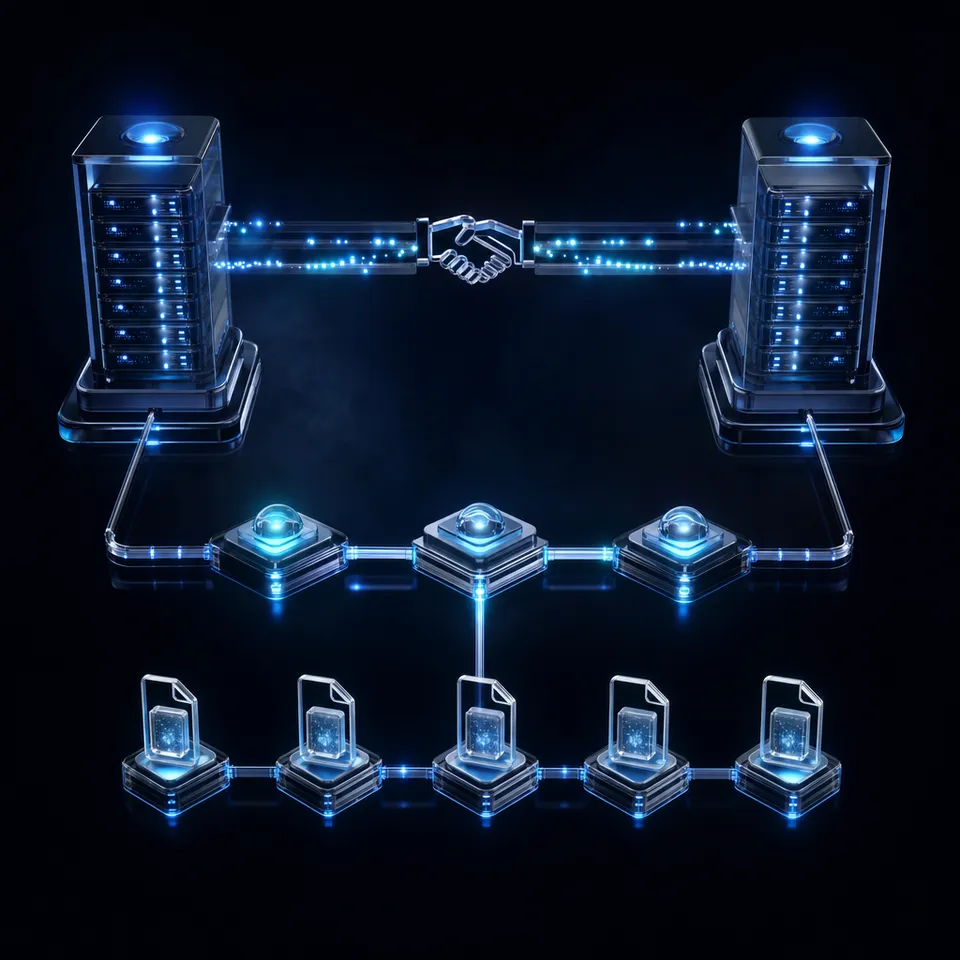
AI coding assistants running locally on a developer's machine cannot review GitLab merge requests or inspect CI/CD pipelines without direct API integrations. Standard chat assistants lack a persistent execution space, meaning that once a session closes, context is lost, and subsequent agent runs must rebuild their understanding of the repository state from scratch. By bridging the GitLab API to the Model Context Protocol, teams can expose issue tracking, commit history, and pipeline status directly to the agent's reasoning loop.
The model context protocol gitlab server bridges this gap. A GitLab MCP server translates GitLab REST and GraphQL endpoints into Model Context Protocol tools, allowing AI coding assistants to manage branches, review merge requests, and monitor CI/CD pipelines. This translation enables clients like Claude Desktop, Cursor, or Claude Code to call specific functions, such as creating issues, posting comments on merge requests, or checking pipeline logs, without needing to write custom scripting or handle raw HTTP requests. Setting up a dedicated mcp gitlab server lets developers delegate repetitive tasks to AI while retaining complete visibility over the code execution pipeline.
The integration operates using Personal Access Tokens (PATs) to authorize the server to execute API requests on behalf of a specific user. Because the server runs locally or inside a secure container, your credentials are never exposed to public LLM endpoints. Instead, the AI assistant requests a tool execution, the local server handles the transaction with GitLab, and only the structured API response is returned to the model's context. This setup establishes a secure gitlab integration claude and other LLM clients can use to perform operations within the scope of your user profile.
To choose the right configuration, developers must evaluate their hosting structure. While teams using public clouds can use quick setups, enterprise projects running on private infrastructure require specific domain routing. We will review how to configure the server for both public and self-hosted GitLab environments, ensuring that your AI assistant can parse codebases, query issues, and inspect workflows safely.
Related guides
- How to Deploy a Kubernetes MCP Server for AI Platform DevOpsRunning AI agents with full admin access to Kubernetes clusters introduces significant security risks. By deploying a...
- How to Implement Collaborative MCP Server Management for DevOps TeamsCollaborative MCP management brings DevOps principles to AI agent infrastructure. As teams move from local scripts to...
- How to Deploy and Host an MCP ServerMoving an MCP server from localhost to a production environment gives remote access to AI agents across your...
- How to Deploy an MCP Server to ProductionDeploying an MCP server to production means running the Model Context Protocol in a reliable place where AI clients can...
- How to Scale MCP Servers for Production WorkloadsMoving an MCP server from a laptop to production requires more than just a public URL. You have to handle many agents...
- How to Load Balance MCP Servers for Production ScaleScaling Model Context Protocol (MCP) servers isn't as simple as adding more instances. When you move from a few users...
More on this subject: MCP and Model Context Protocol (238 guides)
Steps to Configure the GitLab MCP Server
To run the GitLab MCP server on a developer workstation, you can install the official community package @zereight/mcp-gitlab directly from the registry. This package runs on Node.js and requires an active Node.js installation on your system.
To install the server globally, run the following command in your terminal:
npm install -g @zereight/mcp-gitlab
Once installed, you must configure your MCP-compatible client. If you are using Claude Desktop, open the configuration file located at:
- macOS:
~/Library/Application Support/Claude/claude_desktop_config.json - Windows:
%APPDATA%\Claude\claude_desktop_config.json
Add the server configuration under the mcpServers block. Here is the standard JSON configuration for running the GitLab MCP server locally:
{
  "mcpServers": {
    "gitlab": {
      "command": "npx",
      "args": [
        "-y",
        "@zereight/mcp-gitlab"
      ],
      "env": {
        "GITLAB_PERSONAL_ACCESS_TOKEN": "YOUR_PERSONAL_ACCESS_TOKEN",
        "GITLAB_PERMISSION_MODE": "readonly"
      }
    }
  }
}
If you are using Cursor, you can add the server through the Cursor Settings under the Beta or Features tab. Select Model Context Protocol, set the type to stdio, set the name to gitlab, set the command to npx, and provide -y @zereight/mcp-gitlab as the arguments. Define the environment variables in your system profile or run Cursor from a terminal session where the variables are set.
The server uses the GITLAB_PERSONAL_ACCESS_TOKEN environment variable to authenticate with GitLab. By default, setting GITLAB_PERMISSION_MODE to readonly prevents the agent from executing delete or modify actions. If your development workflow requires the assistant to create branches, open merge requests, or commit code, you can change this setting to modify or full.
When active, the server exposes a variety of tools that AI clients can call. These include repository tools (such as get_repository_tree and get_file_contents), issue tools (such as list_issues and create_issue), and merge request tools (such as list_merge_requests and create_merge_request_thread). You can control which toolsets are loaded by using the GITLAB_TOOLSETS variable. For example, setting GITLAB_TOOLSETS to issues,merge_requests loads only those groups, minimizing the tool surface and reducing context usage. If you also need a place for the agent to store the files it produces, see Fastio storage for agents.
How to Configure Self-Hosted GitLab Instances
While public repositories on GitLab.com work out of the box with the default server configurations, many enterprise engineering teams maintain their codebases on self-hosted GitLab self-managed instances. The open-source @zereight/mcp-gitlab server supports self-hosted domains by allowing you to override the default API endpoint.
To connect your AI assistant to a self-hosted instance, you must define the GITLAB_API_URL environment variable. This variable overrides the default public API endpoint and points the server directly to your local domain. The endpoint path must include the API version prefix, which is /api/v4 for modern GitLab releases. You must pass this self-hosted GitLab domain to the server environment config to establish connectivity.
Update your claude_desktop_config.json or .mcp.json file to include the self-hosted endpoint as follows:
{
  "mcpServers": {
    "gitlab-self-hosted": {
      "command": "npx",
      "args": [
        "-y",
        "@zereight/mcp-gitlab"
      ],
      "env": {
        "GITLAB_PERSONAL_ACCESS_TOKEN": "YOUR_SELF_HOSTED_PAT",
        "GITLAB_API_URL": "https://gitlab.yourdomain.com/api/v4",
        "GITLAB_PERMISSION_MODE": "readonly"
      }
    }
  }
}
Ensure that the domain name is fully qualified and accessible from the machine running the MCP server. If your self-hosted instance sits behind a private virtual network, your local machine must be connected to that network or a VPN for the MCP server to successfully resolve the host name and establish an HTTP session.
If your self-hosted instance uses self-signed SSL certificates, Node.js may block the connection due to verification errors. In development environments, you can bypass this verification check by adding NODE_TLS_REJECT_UNAUTHORIZED: "0" to the env block. However, for production systems, you should configure your local root trust certificates or ensure the self-hosted domain carries a certificate signed by a recognized Certificate Authority.
Additionally, if your network requires traffic to go through an HTTP or HTTPS proxy, ensure your system profile exports the HTTP_PROXY and HTTPS_PROXY variables. The Node.js runtime underlying the MCP server automatically reads these variables to route outbound API calls through your corporate proxy, preventing connection timeouts and DNS resolution failures.
How to Restrict Agent Access with Scoped Permissions
Giving an AI agent access to your codebase carries security risks. A compromised workspace or a prompt injection exploit could allow the agent to delete branches, read proprietary design documents, or push malicious code. To minimize these risks, you must scope both your GitLab Personal Access Token and the server's permission variables.
When generating a Personal Access Token in your GitLab User Settings, grant only the minimum permissions required for the assistant's tasks:
read_api: Allows the agent to read all resources accessible through the API, including issues, merge requests, commits, and project metadata, without modification access.read_repository: Allows the agent to read repository files and download archive code, which is essential for code-understanding tasks.write_repository: Required only if the agent must create commits, branches, or push updates back to the repository.
Do not grant the full api administrative scope unless you are running the agent in a highly secure, completely isolated development sandbox. Restricting the scopes of your personal access token ensures that even if your local environment is compromised, the access remains bounded to your repository permissions.
In addition to token scopes, configure the @zereight/mcp-gitlab server parameters to restrict the agent's actions:
GITLAB_PERMISSION_MODE: Set toreadonlyto block all write and delete operations, ormodifyto allow editing code and updating issues while blocking project deletions.GITLAB_DENIED_TOOLS_REGEX: Set to a regular expression like^(delete_|merge_)to disable specific capabilities on the server side.GITLAB_ALLOWED_PROJECT_IDS: Define a comma-separated list of numeric project IDs to isolate the agent to specific repositories, preventing it from scanning other repositories in your namespace. Check the setup instructions in Fastio storage for agents for more details.
Regularly auditing your Personal Access Tokens, rotating credentials, and checking your local execution logs ensures that your agent operates within its designated boundaries. When the agent is running, check your terminal output to verify that only authorized endpoints are called.


Scale your AI DevOps workflows with collaborative workspaces
Connect your AI coding assistants to a remote, fully managed MCP server. Use Fastio to share files, co-edit requirements in real time, and securely transfer project ownership. Starts with a 14-day free trial.
Persistent Agent Workspaces and Collaborative Storage
Local configurations work well for single developers, but they create silos when teams use multiple AI agents. If every developer runs an independent MCP server, their credentials are split across individual machines, there is no shared record of what the agents did, and collaborating on agent-generated files becomes difficult. Furthermore, local agent operations consume significant host resources and expose local systems to potential risks if an agent processes untrusted code.
To solve these coordination challenges, teams can use Fastio to create a shared, persistent workspace. Fastio is an intelligent workspace platform where humans and agents work on the same files. Instead of relying on local directories, you can import your files, code outputs, and document assets into a secure Fastio workspace. Fastio auto-indexes files on arrival for keyword and semantic search, making the contents queryable through AI chat. This allows you to manage files and collaborate without local file synchronization conflicts.
When humans and agents need to collaborate on code draft structures or system designs, they can use Collaborative Notes inside Fastio. Collaborative Notes support real-time co-editing for both people and agents, displaying live multiplayer cursors for all participants. Every file modification, access event, and share activity is logged in the real-time activity feed and the activity log, providing a record of who accessed and changed your team's assets.
For agents using API keys, configure your MCP client to talk to the Fastio remote endpoints. This allows you to run remote coding assistants without maintaining local configurations or running heavy local Node.js server processes on every developer's machine. For onboarding remote LLMs, refer to the Fastio agent onboarding specification.
For structured data extraction, Fastio includes Metadata Views, which turn documents into a live, queryable database. Users describe the fields they want extracted in natural language, and Fastio designs a typed schema, matches files in the workspace, and populates a spreadsheet grid. This capability is fully documented in our guide on Metadata Views.
When your agent finishes building a project workspace or portal, you can easily hand the work off to team members. The agent can create the organization and workspace, and then transfer ownership to a human administrator via a claim link while retaining admin access. Monthly plans start with a trial of up to 14 days (credit card required); annual plans have no trial. Paid subscriptions are Starter at $9.99/mo, Business at $49.99/mo, and Enterprise at $199.99/mo. Review our available tiers on the Fastio pricing page. By integrating Fastio with your team's developer workflow, you bridge local developer tools with remote collaborative storage, giving your agents a secure environment to run.
Sources
References used to verify factual claims in this guide.
-
The community `@zereight/mcp-gitlab` server exposes GitLab projects, merge requests, issues, and pipelines to MCP clients over stdio, SSE, and Streamable HTTP.
-
The `read_api` personal access token scope grants read-only access to the GitLab API for the token's scope.
Frequently Asked Questions
Does GitLab support the Model Context Protocol?
GitLab does not natively host an MCP server on its platform, but you can connect GitLab repositories to MCP-compatible AI clients using community-maintained servers such as `@zereight/mcp-gitlab`. These servers act as an intermediary, converting the GitLab REST and GraphQL APIs into structured tools that AI coding assistants can run.
How to set up the GitLab MCP server for Claude?
To configure the server for Claude, install `@zereight/mcp-gitlab` globally or run it via npx. Edit your `claude_desktop_config.json` file and define the server command as `npx` with args `["-y", "@zereight/mcp-gitlab"]`. Set the `GITLAB_PERSONAL_ACCESS_TOKEN` environment variable in the configuration block to authenticate your requests.
Can AI agents manage GitLab merge requests?
Yes, when configured with appropriate scopes and permission modes, the GitLab MCP server exposes tools to create merge requests, write comments on discussions, review diffs, check pipeline logs, and trigger new build runs. This allows the AI assistant to monitor and update the entire DevOps lifecycle.
Related Resources

Scale your AI DevOps workflows with collaborative workspaces
Connect your AI coding assistants to a remote, fully managed MCP server. Use Fastio to share files, co-edit requirements in real time, and securely transfer project ownership. Starts with a 14-day free trial.