Cline Skills vs. Claude Code Skills: Custom Instructions Compared
While 62% of developers use AI coding tools, token bloat remains a major bottleneck for terminal-native agents. Modular skills using the SKILL.md format offer a progressive loading solution to keep context windows lean. This guide compares Cline and Claude Code skill structures, trigger mechanisms, and team-sharing workflows.


The Token Tax of Coding Agents: Why Rules Bloat and Skills Save
According to the JetBrains State of Developer Ecosystem 2025 report, 62% of developers now rely on at least one AI-powered coding assistant [JetBrains 2025]. As engineering organizations transition from simple inline autocomplete tools to autonomous coding agents operating directly in the command line, they encounter a major physical bottleneck: context window bloat. Terminal-native agents like Cline and Claude Code work by maintaining an active session, reading directory structures, inspecting files, and running scripts. However, because standard LLM APIs are stateless, every message turn requires the agent to re-send the entire session history back to the model.
This architecture creates what developers call a token tax. If you define project guidelines, coding style rules, and library preferences in always-on rulesets like .clinerules or CLAUDE.md, those instructions are appended to the system prompt and re-sent with every single message. A medium-sized codebase ruleset can easily consume 4,000 tokens. In a 25-turn coding session, this means you spend 100,000 tokens simply reminding the model of your coding standards. Over multiple sessions, these costs compound quadratically, and the accumulated noise dilutes the model's focus, leading to hallucinations and ignored instructions.
To solve this problem, both platforms have adopted modular instruction sets. Skills in Cline and Claude Code are modular instruction sets stored in SKILL.md files that load progressively to conserve the agent's context window. Instead of forcing the model to carry the entire catalog of project instructions in every message, the progressive loading system keeps specialized knowledge dormant until it is explicitly needed.
Related guides
- How to Use Cline Rules and Custom InstructionsMany writeups blur rules with skills or memory-bank patterns. Cline Rules are project-level markdown instruction files...
- CrewAI Tools: Extending Agents with Custom SkillsCrewAI tools let autonomous agents do more than generate text. They can search the web, read files, run code, and call...
- Awesome Claude Skills: Best Agent Skills and Extensions for 2026Over 24,000 GitHub repositories now contain Claude Code skill definitions, making the ecosystem nearly impossible to...
- Claude Code Message Limit: Quotas, Compaction, and Large-Context WorkaroundsClaude Code message limits define the maximum prompt token size and message frequency allowed in a CLI session before...
- Claude Code Session Limit Reached: Causes, Compaction, and WorkaroundsClaude Code session limits occur when cumulative terminal output, command history, and file reads saturate the agent...
- Claude Code Token Limit: Output Caps, Compaction, and Workspace ArchitectureThe Claude Code token limit defines the boundaries on input context, per-turn output generation, and rolling session...
More on this subject: Claude and Claude Code (280 guides)
Project Rules vs. Task-Specific Skills: How They Structure Context
Understanding the difference between project-level rules and task-specific skills is essential for building efficient agentic workflows. Project rules are stored in .clinerules for Cline and CLAUDE.md for Claude Code. These files live at the root of your project directory and are loaded into the system prompt at the start of every session. They are designed for static, global instructions that must govern every single action the agent takes. For example, rules are the appropriate place to enforce tab spacing, require that all public functions have TypeScript types, or mandate that tests run before any git commit. Because they are always active, they represent a permanent token cost.
Task-specific skills, by contrast, are designed for specialized, episodic workflows. Instead of writing all your procedures in a single rules file, you split them into modular directories containing a SKILL.md file. These skills are stored in specific folders:
- Global skills are stored in ~/.cline/skills/ or ~/.claude/skills/
- Project-level skills are stored in your workspace under .cline/skills/ or .claude/skills/
For instance, you might have one skill for debugging PostgreSQL migrations, another for styling button components using your design system, and a third for publishing releases to your hosting platform. The agent only loads the metadata of these skills at startup. When a specific task matches the description of a skill, the agent dynamically loads the detailed instructions. Once the task is complete, the instructions are discarded in the next session, preventing context window decay.
Cline Skills vs. Claude Code Skills: How They Manage Token Budgets
The core value of the skill architecture is progressive loading, also known as progressive disclosure. This mechanism ensures that the model's active context window remains small and focused. The loading process runs through a three-level system:
- Level 1: Metadata. At startup, the agent scans your skill directories and loads only the YAML frontmatter of each
SKILL.mdfile. This contains the skill name and description, consuming only about 100 tokens per skill. - Level 2: Full Instructions. When the agent detects that the current user request matches the description of a skill, it activates the skill. This loads the body of the
SKILL.mdfile, which is typically under 5,000 tokens, into the active context. - Level 3: Bundled Files. If the skill requires larger assets, the agent reads optional files from the
references/directory or runs scripts from thescripts/directory only when those actions are specifically requested.
This progressive loading style enables you to maintain a library of dozens of skills without degrading the model's performance or inflating your API bills.
To compare how Cline and Claude Code implement this architecture, consider the following table:
While both tools use the same markdown structure, they differ in how they trigger skills. Cline, as a visual VS Code extension, allows you to activate skills through UI buttons or by typing a slash command directly in the chat panel. Claude Code, as a terminal-native tool, relies on automatic semantic matching and can integrate skills with lifecycle hooks (such as PreToolUse or PostToolUse) to run validation scripts automatically before tools execute.
Creating a Custom Skill: Step-by-Step Guide for Cline and Claude Code
Creating a custom skill is identical across both platforms, though they use separate configuration directories. To build a custom database migration skill, follow these steps:
First, create the directory structure in your project. For Claude Code, create .claude/skills/postgres-migrator/. For Cline, create .cline/skills/postgres-migrator/.
Second, create a SKILL.md file inside that folder. The file must start with a YAML frontmatter block containing a name and a description. Write the description in the third person so that the router model can accurately match it. Below the frontmatter, write the detailed instructions.
Here is an example of a complete SKILL.md file:
---
name: postgres-migrator
description: Handles database migration generation, schema validation, and SQL script verification for PostgreSQL database updates.
---

### PostgreSQL Migration Guidelines
Follow these steps when writing or editing migrations:
1. Verify the schema using the script `./scripts/validate-schema.sh`.
2. Do not use raw SQL for migrations; write migrations using the Prisma CLI.
3. Refer to `./references/migration-cheatsheet.md` for index creation guidelines.
Third, populate the subdirectories. You can create a references/ folder to store large markdown documentation files, and a scripts/ folder to hold executable automation scripts. For example, your scripts/validate-schema.sh file might run a linter over your SQL files. Because the agent only reads these files when the instructions in SKILL.md direct it to do so, they do not consume tokens during discovery or activation.
When writing skill descriptions, precision is critical. If your description is too broad, such as "helps with database," the agent might load the skill for simple queries where it is not needed. If it is too narrow, the agent might fail to trigger it. Focus on specific nouns and actions.
Collaborative Environments: How to Share Agent Skills Across Developer Teams
While individual developers can check skill directories directly into their git repositories under .cline/skills/ or .claude/skills/, scaling these skills across a larger team introduces collaboration challenges. Teams often store reference documentation, schema files, and design systems in local folders, or upload them to cloud storage solutions like Google Drive or Dropbox. However, these platforms lack the context-awareness that AI agents require to operate. If multiple agents run concurrently across different developer terminals, they need a central workspace to access versioned files and run validation scripts.
Fast.io addresses this by providing a unified cloud workspace designed for human-agent collaboration. By hosting your project assets in a shared, organization-owned workspace, developers can provide their terminal agents with access to a consistent, versioned reference library.
Fast.io supports this collaboration through several key features:
- Model Context Protocol (MCP) server: Fast.io exposes action-based tools via Streamable HTTP at the Fast.io MCP Server or legacy SSE. Terminal agents can connect to these endpoints to search, read, and write files directly in the cloud Fast.io Workspaces.
- Intelligence Mode: Auto-indexes all files in a workspace, enabling agents to run semantic search over reference documentation or design guidelines via the Fast.io Agent Documentation.
- Metadata Views: Turn documents into a live, queryable database by using Metadata Views. Developers describe the fields they want extracted in natural language, and the AI populates a sortable spreadsheet. This works with PDFs, scanned images, and text files. Agents can query these Views via MCP to verify project details or audit logs.
- Per-file version history: Keeps concurrent agent edits fully auditable and easy to restore, protecting the team codebase from syntax errors or conflicting changes.
Every organization runs on a paid subscription; monthly plans start with a trial of up to 14 days that requires a credit card. Plans scale from Starter at $9.99/mo to Business at $49.99/mo and Enterprise at $199.99/mo. Under this model, an agent can sign up, construct the workspaces and shared folders, and then transfer ownership to a human team lead, who joins the organization to start the pricing plans trial.
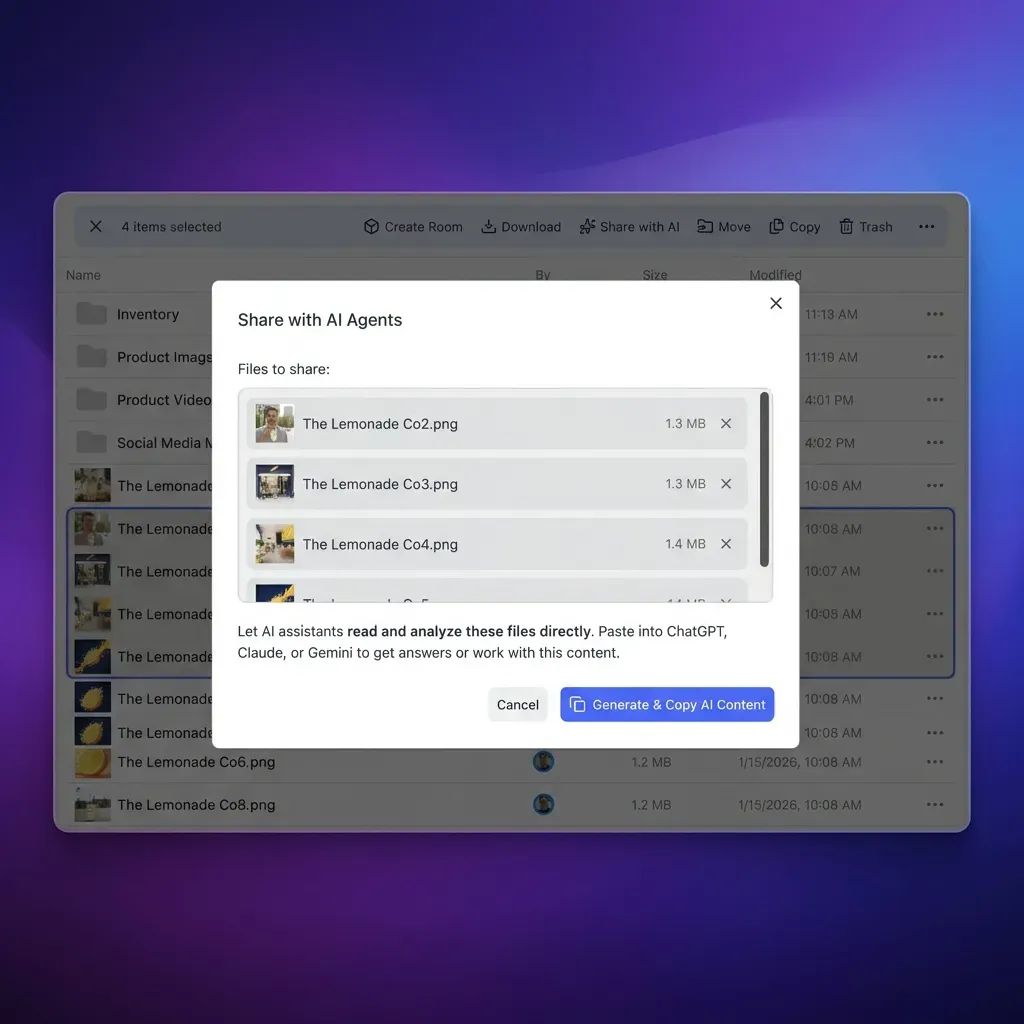


Coordinate Custom Developer Skills Across Your Engineering Team
Provide your coding agents with a shared workspace to retrieve versioned reference files, run dynamic scripts via MCP, and hand off finished code to human developers. Monthly plans start with a trial of up to 14 days (credit card required); annual plans have no trial.
Best Practices: How to Write and Maintain Custom Agent Skills
To maintain a high level of efficiency in your agentic workflows, follow these best practices when writing and organizing your custom skills:
First, keep your SKILL.md files short and modular. A good rule of thumb is to keep the main instructions under 500 lines. If your guidelines grow longer, move the detailed specifications into separate files within the references/ directory. Use conditional instructions in your SKILL.md to tell the agent when to read those files, such as: "If the user requires API integration details, read ./references/api-endpoints.md."
Second, avoid context bloat by auditing your active sessions. If an agent has loaded multiple skills during a long debugging session, use commands like /clear to reset the active context window. This clears out the history of previous tool runs while keeping your global rules and current skills available for the next task.
Third, test the reliability of your skill descriptions. If you notice that an agent fails to trigger a skill automatically, run a few test prompts to see if adjusting the keywords in the YAML frontmatter improves the matching rate. For absolute certainty, you can bypass the auto-matching logic in Cline by invoking the skill directly with a slash command.
Fourth, keep your supporting scripts simple. If a skill relies on a script, write the script in a cross-platform language like Python or Bash, and ensure it returns clear success or error messages that the agent can easily parse. This allows the agent to run the validation, check the output, and correct its own mistakes without human intervention.
Teams still deciding which agent to standardize skills around can compare the roundup of Cline alternatives, covering Cursor, Roo Code, Aider, GitHub Copilot, and Continue.
Sources
References used to verify factual claims in this guide.
-
62% of developers rely on at least one AI-powered coding assistant
-
A good rule of thumb is to keep main instructions under 500 lines Claude Code system prompt consumes 4000 tokens and global rules add to token usage
-
Cline skills are loaded progressively to keep context window small
Frequently Asked Questions
How do I create a custom skill for Claude Code?
To create a custom skill for Claude Code, create a directory in either the project-level `.claude/skills/` folder or the global `~/.claude/skills/` folder. Inside that directory, create a `SKILL.md` file. The file must start with a YAML frontmatter block containing a name and a description. Write the description in the third person, such as 'This skill should be used when writing database migrations,' so the router model can accurately match it. Below the frontmatter, write the detailed instructions. You can also add a `references/` subdirectory to store documentation or a `scripts/` directory for automation scripts that the agent can read and execute on demand.
What is the difference between rules and skills in Cline?
Rules are project-wide guidelines defined in a `.clinerules` file at the root of a workspace. They are loaded into the active system prompt for every message turn in a session, which consumes context tokens continuously regardless of the immediate task. Skills are modular directories with a `SKILL.md` file. Cline only loads the YAML frontmatter of all skills at startup to understand what they do. The full instructions of a skill are only loaded into the active context window when the agent detects a task that matches the skill's description, or when a user triggers it using a slash command. This dynamic activation prevents context window bloat.
Can I share Cline and Claude Code skills with my engineering team?
Yes. Because skills are file-based directories containing markdown and scripts, you can check them directly into your git repository under `.cline/skills/` or `.claude/skills/`. To make collaboration more productive, teams can host these project folders in an intelligent workspace. A shared workspace allows multiple agents and humans to access versioned reference files via a Model Context Protocol endpoint without duplicating local configuration files.
Related Resources

Coordinate Custom Developer Skills Across Your Engineering Team
Provide your coding agents with a shared workspace to retrieve versioned reference files, run dynamic scripts via MCP, and hand off finished code to human developers. Monthly plans start with a trial of up to 14 days (credit card required); annual plans have no trial.