How to Use a Raspberry Pi as a Projector Presentation Display with OpenClaw
A Raspberry Pi connected to a projector over HDMI can replace a dedicated laptop for meeting rooms and conference presentations. Pair it with LibreOffice Impress for slide playback and OpenClaw for scheduled content rotation and remote control, and you get a presentation system that costs under $100 for the compute side. This guide walks through hardware selection, projector connection, presentation software, and the automation layer that turns a Pi into a hands-off display controller.


Why a $45 Board Replaces a $500 Presentation Laptop
The global digital signage market exceeded $27 billion in total addressable value in early 2026, according to a Posterbooking industry report, yet the median hardware cost for a Raspberry Pi signage setup runs $40 to $50. That gap between market size and deployment cost explains why Pi-based presentation displays are showing up in conference rooms, classrooms, and retail floors where a dedicated laptop or commercial media player used to sit.
A Raspberry Pi 5 outputs 4K at 60Hz through two micro-HDMI ports. Connect one to a projector, and you have a presentation display that draws about 5W of power, fits in a pocket, and boots directly into your slides. LibreOffice Impress comes preinstalled on the full Raspberry Pi OS and handles .pptx.odp, and PDF presentations without conversion.
The typical setup stops there: a Pi, a cable, and a slideshow app. That works fine for one-off presentations, but it falls apart when you need scheduled content rotation across a meeting day, remote slide control from a phone, or automatic file updates from a shared drive. OpenClaw, an open-source AI agent framework that runs natively on Pi hardware, fills that gap. It connects to cloud LLMs for reasoning and executes local commands on the Pi, turning a passive display into an active presentation controller.
This guide covers the full build: hardware, projector connection, presentation software, OpenClaw automation, and cloud file sync through Fastio.
Related guides
- How to Build a Live Sports Scoreboard Agent with OpenClaw on Raspberry PiThe robbydyer/sports project on GitHub pulls live NHL, NBA, MLB, MLS, and NCAA scores to a Raspberry Pi LED matrix, but...
- How to Build an OpenClaw Smart Mirror with Raspberry PiA smart mirror display agent is an OpenClaw-powered Raspberry Pi connected to a TFT or monitor behind a two-way mirror,...
- How to Set Up Dual Monitors on Raspberry Pi with OpenClawRaspberry Pi 4 and Pi 5 both support dual-monitor output through two micro-HDMI ports, giving you an extended desktop...
- How to Build an LED Matrix Notification Display Agent with OpenClaw on Raspberry PiRGB LED matrix panels connected to a Raspberry Pi can serve as physical notification dashboards, and OpenClaw can...
- Best Raspberry Pi Screens and Displays for OpenClaw AI Agent DashboardsRaspberry Pi 5 drives dual 4K monitors at 60 Hz, yet the best agent dashboards run on 7-inch DSI screens that leave all...
- How to Build a Raspberry Pi Home Dashboard with OpenClawMagicMirror and DAKboard turn a Raspberry Pi into a wall-mounted info display, but both require manual module...
More on this subject: OpenClaw on Raspberry Pi (192 guides)
Hardware You Need and What to Skip
The Pi itself is the cheapest part of the build. The projector, cables, and storage choices matter more for day-to-day reliability.
Raspberry Pi 5 (4 GB or 8 GB) is the best option. The 4 GB model costs around $60 and handles 4K output, LibreOffice Impress, and the OpenClaw agent process simultaneously. The 8 GB model ($80) gives more headroom if you plan to run additional services. A Pi 4 (4 GB) also works and costs less, though its 4K performance is slightly worse on the secondary HDMI port.
Storage: A 32 GB microSD card is enough for the OS, software, and a library of presentations. For heavier use, a USB SSD ($20 to $35 for 128 GB) improves read speeds and avoids the write-cycle degradation that SD cards suffer over time.
Cables: The Pi 5 uses micro-HDMI output. You need a micro-HDMI to standard HDMI cable or adapter ($5 to $10). Most projectors built after 2015 have at least one HDMI input. For older projectors with only VGA, an HDMI-to-VGA adapter ($8 to $15) handles the conversion, though you lose audio output.
Power: The official Pi 5 power supply (27W USB-C) costs about $12. Do not substitute a phone charger. The Pi 5 needs 5V at 5A for stable operation under load, and underpowered supplies cause throttling, random reboots, and corrupted SD cards.
What to skip: You do not need a keyboard, mouse, or monitor for the Pi itself after initial setup. Configure the Pi headless over SSH, and control presentations remotely. A case is optional but useful for mounting the Pi near the projector ceiling mount or on a conference table.
A complete parts list:
- Raspberry Pi 5 (4 GB): ~$60
- 32 GB microSD card: ~$8
- Official 27W USB-C power supply: ~$12
- Micro-HDMI to HDMI cable: ~$8
- Total: ~$88 (projector not included)
Compare that to a dedicated Chromebox ($250+), an Intel NUC ($350+), or leaving a laptop permanently connected ($500+). The Pi matches their display output for a fraction of the cost.
Connecting the Pi to a Projector and Configuring the Display
Physical setup is straightforward. Plug the micro-HDMI cable into either of the Pi 5's two micro-HDMI ports (HDMI 0, closest to the USB-C power port, is the primary display). Connect the other end to the projector's HDMI input. Power on the projector first, then the Pi.
Resolution detection: Raspberry Pi OS reads the projector's EDID data over HDMI and sets the output resolution automatically. Most projectors report their native resolution correctly. If the image looks stretched or offset, you can override the resolution by editing /boot/firmware/config.txt and setting a specific HDMI mode.
Preventing screen blanking: By default, Raspberry Pi OS blanks the screen after a period of inactivity. For a presentation display, you want the screen always on. On Bookworm and newer releases running the Wayland compositor, disable blanking through Preferences in Raspberry Pi Configuration under the Display tab, or set idle-time = 0 in the labwc configuration file at ~/.config/labwc/rc.xml.
Audio routing: HDMI carries audio alongside video. If your projector has built-in speakers (most do), audio from videos embedded in presentations will play through them automatically. For better sound, connect external speakers to the Pi's 3.5mm jack or use a USB audio adapter.
Dual display option: The Pi 5 supports two independent displays simultaneously. In a conference room, you could drive the projector on HDMI 0 and a confidence monitor on HDMI 1, showing the same or different content. This mirrors the presenter-view setup you get with a laptop, where the speaker sees notes while the audience sees slides.
Headless access: For ongoing management, enable SSH during OS setup. Connect to the Pi over your local network from any laptop or phone. All configuration, file transfers, and OpenClaw commands work over SSH without touching the Pi physically.


Store and sync presentation files across every conference room
Fastio gives your Pi displays a shared workspace for slides, decks, and media. generous storage, MCP access for OpenClaw.
Running Presentations with LibreOffice Impress
LibreOffice Impress is included in the full Raspberry Pi OS install. It opens .pptx (PowerPoint).odp (OpenDocument), and PDF files. Slide transitions, embedded images, and basic animations all work, though complex PowerPoint animations may render differently than on Windows.
Launching a presentation from the command line:
libreoffice --show /home/pi/presentations/quarterly-update.pptx
The --show flag opens the file directly in full-screen presentation mode. No desktop environment interaction required. This is the command you will automate later with OpenClaw.
Looping for kiosk mode: For lobby displays or trade show booths, LibreOffice Impress can loop a presentation continuously. Open the file in Impress, go to Slide Show > Slide Show Settings, and enable "Loop until Esc is pressed." Set automatic slide advance timings under Slide Show > Slide Transition to control how long each slide stays visible.
Auto-start presentations on boot: Create a systemd service that launches LibreOffice Impress in presentation mode after the display compositor starts. This way, the Pi boots directly into your slides without anyone needing to log in or click anything.
Handling file formats: LibreOffice handles most .pptx files well, but font substitution can shift layouts. If pixel-perfect rendering matters, convert presentations to PDF before loading them onto the Pi. PDF presentations display identically regardless of installed fonts. The tradeoff is losing slide transitions and animations.
Performance notes: On a Pi 5, LibreOffice Impress loads a 50-slide .pptx file in about 3 to 5 seconds. Slide transitions are smooth for standard fades and wipes. If your presentations include embedded video, use H.264 encoded MP4 files for hardware-accelerated playback.
Adding OpenClaw for Scheduled Playback and Remote Control
A Pi running LibreOffice Impress handles one presentation at a time. OpenClaw turns it into a system that manages a full day of presentations, switches content on schedule, and accepts commands from your phone.
What OpenClaw does on a Pi: OpenClaw is an open-source AI agent framework that runs locally on the Pi while offloading inference to cloud APIs (Anthropic, OpenAI, or other providers). The Pi handles the agent gateway process. It needs just 1 GB of RAM minimum, though 2 GB or more is recommended. The agent can execute shell commands on the Pi, which means it can start and stop presentations, switch files, adjust display settings, and respond to natural language instructions.
Installation: Flash 64-bit Raspberry Pi OS (Bookworm or newer). SSH into the Pi, install Node.js 24, then run the OpenClaw installer:
curl -fsSL https://openclaw.ai/install.sh | bash
openclaw onboard --install-daemon
The onboarding wizard asks for a cloud LLM API key. The OpenClaw docs recommend cloud models rather than local inference, which performs poorly on Pi hardware. The daemon mode keeps OpenClaw running in the background.
Scheduled content rotation: With OpenClaw running, you can set up a presentation schedule for a conference room. Tell the agent to play the marketing deck at 9 AM, switch to the engineering review at 10:30 AM, and show the company dashboard during lunch. The agent uses the Pi's system clock and executes libreoffice --show commands at the scheduled times, killing the previous presentation process first.
Remote slide control: Access OpenClaw's Control UI through a browser at the Pi's local IP address on port 18789. From a phone or laptop on the same network, you can send commands like "switch to the Q3 budget presentation" or "stop the slideshow and show a blank screen." The agent interprets the request and executes the corresponding shell commands.
File management commands: Ask the agent to list available presentations, delete old files, or check disk space. OpenClaw's exec tool runs standard Linux commands, so anything you can do over SSH, the agent can do through natural language.
Messaging integration: OpenClaw supports Telegram, WhatsApp, Discord, and other messaging channels. Configure a Telegram bot, and meeting organizers can text the conference room Pi to switch presentations without walking over to it.

Syncing Presentation Files from Fastio Workspaces
The weak point of most Pi presentation setups is file management. Someone has to copy new presentations to the Pi manually, either by plugging in a USB drive, transferring over SCP, or connecting a shared network folder. That works for a single room. It breaks down when you manage five conference rooms or need to update slides an hour before a meeting.
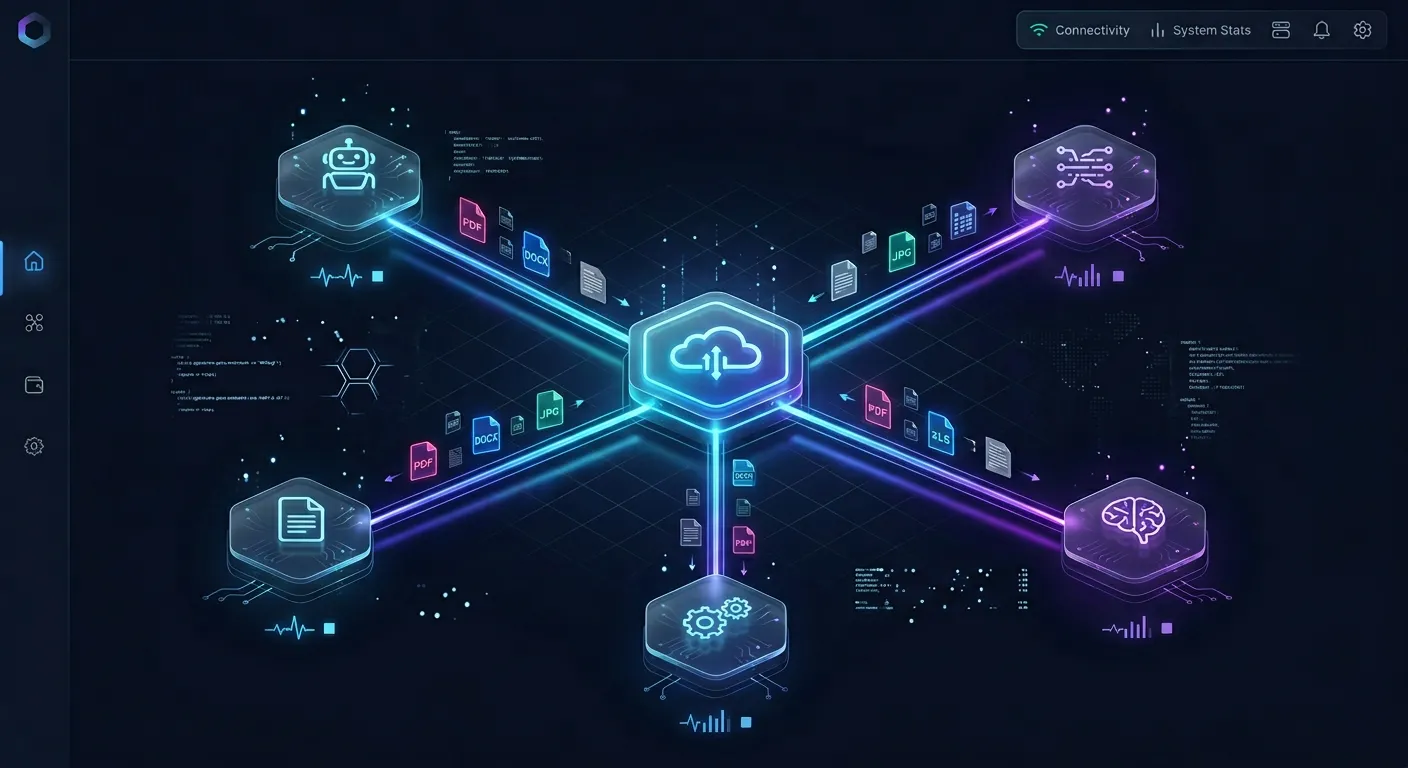
Fastio workspaces give you a central place to store and manage presentation files that the Pi can pull from. Upload a revised deck to your workspace, and the Pi picks it up without anyone touching the hardware.
How the sync works: Store all presentation files in a Fastio workspace. Team members upload and update files through the web UI or API. On the Pi side, OpenClaw can use the Fastio MCP server to check for new or updated files in the workspace and download them to the local presentations folder. The agent handles the download, and LibreOffice Impress picks up the new file on the next scheduled rotation.
Why not just use Google Drive or Dropbox? You could. Rclone supports both and runs on Pi. The advantage of Fastio is that the MCP server gives OpenClaw native access to workspace operations: listing files, downloading specific versions, checking when files were last modified, and even querying file metadata. The agent does not need a separate sync daemon or cron job. It talks directly to the workspace through MCP tooling.
Alternatives work fine for simpler setups. A shared Samba folder on your office network is the lowest-friction option for a single conference room. Google Drive with rclone handles cloud sync if you already use Google Workspace. Fastio adds value when you need version control, audit trails, or the ability for an AI agent to manage files programmatically.
Scalable plans cover conference room use. Fastio's 14-day Business Trial lets teams evaluate automated presentation management before choosing a plan (such as Starter with 250 GB storage and 100,000 monthly credits). Once Intelligence is enabled on the workspace, you can ask Ripley (the built-in AI) to find "the latest sales deck" or "presentations updated this week" without browsing through folders.
Ownership transfer for client setups: If you build Pi presentation systems for clients, you can create the Fastio workspace, configure OpenClaw, and then transfer ownership to the client. They get full control of the workspace and files. You keep admin access for ongoing support.
Sources
References used to verify factual claims in this guide.
-
The global digital signage market exceeded $27 billion in total addressable value in early 2026
-
Raspberry Pi Smart Display Module costs approximately $25 for the adapter board
-
Raspberry Pi 5 outputs 4K at 60Hz through dual micro-HDMI ports
-
OpenClaw minimum requirement is 1 GB RAM with 64-bit OS on Raspberry Pi
Frequently Asked Questions
Can I use a Raspberry Pi as a projector?
Yes. The Raspberry Pi 5 outputs 4K video at 60Hz through its micro-HDMI ports. Connect a micro-HDMI to HDMI cable from the Pi to any projector with an HDMI input, and the Pi auto-detects the projector's native resolution. For older projectors with VGA only, use an HDMI-to-VGA adapter.
What is the Raspberry Pi Smart Display Module?
The Raspberry Pi Smart Display Module is a ~$25 adapter board for the Compute Module 5, announced at ISE 2026 in Barcelona. It follows the Intel SDM specification, letting it slot directly into compatible commercial displays and draw power from the screen itself. It targets professional digital signage and presentation applications, with an M.2 slot for optional AI accelerators. It is expected to ship later in 2026.
How do I play PowerPoint presentations on a Raspberry Pi?
LibreOffice Impress, included in the full Raspberry Pi OS, opens .pptx files directly. Run `libreoffice --show /path/to/file.pptx` from the terminal to launch in full-screen presentation mode. For pixel-perfect rendering without font substitution issues, convert your PowerPoint file to PDF first. The Pi handles both formats without additional software.
What is the cheapest way to set up a presentation display?
A Raspberry Pi 5 (4 GB) at $60, a microSD card at $8, a power supply at $12, and a micro-HDMI cable at $8 gives you a complete presentation computer for about $88. Add your existing projector or monitor, and the total stays well under $100 for the compute hardware. Compare that to $250+ for a Chromebox or $500+ for a dedicated laptop.
Does OpenClaw work on a Raspberry Pi?
OpenClaw runs on Raspberry Pi 4 and Pi 5 with 64-bit Raspberry Pi OS. The minimum requirement is 1 GB RAM, though 2 GB or more is recommended. OpenClaw uses cloud APIs for LLM inference rather than running models locally, so the Pi only handles the lightweight agent gateway. Installation takes about 30 minutes on a Pi 5.
Can the Raspberry Pi loop a presentation automatically?
Yes. LibreOffice Impress has a built-in loop option under Slide Show > Slide Show Settings. Enable "Loop until Esc is pressed" and set automatic slide advance timings. Combined with a systemd service that launches the presentation on boot, the Pi will power on directly into a looping slideshow without any manual interaction.
How do I update presentations on a Pi remotely?
Three common approaches work. Transfer files over SCP or SFTP from any computer on the network. Mount a shared network folder using Samba. Or use Fastio with OpenClaw's MCP integration to pull updated files from a cloud workspace automatically. The third option requires no manual file transfer at all.
Related Resources

Store and sync presentation files across every conference room
Fastio gives your Pi displays a shared workspace for slides, decks, and media. generous storage, MCP access for OpenClaw.