How to Build an OpenClaw Smart Mirror with Raspberry Pi
A smart mirror display agent is an OpenClaw-powered Raspberry Pi connected to a TFT or monitor behind a two-way mirror, providing an always-on AI dashboard that responds to voice or text commands. This guide covers the hardware you need, how to configure the display, how to wire OpenClaw as the intelligence layer, and how to use Fastio workspaces for persistent storage and handoff.
Why Add OpenClaw to a Smart Mirror
Smart mirrors have been a popular Raspberry Pi project for years. MagicMirror2 is the standard platform, and it does a good job showing weather, calendars, and news headlines behind a two-way mirror. What it doesn't do is think. It displays widgets, but it can't answer questions, run automations, or respond to what's happening in your home or office.
OpenClaw changes that. It's an open-source AI agent framework that runs on a Raspberry Pi, connects to cloud LLMs (Anthropic, OpenAI, Google), and executes tool calls through a skill registry called ClawHub. By pairing OpenClaw with a display, you get a mirror that doesn't just show information but acts on it. Ask it to summarize your inbox, check a project status, or pull a file from a shared workspace, and it handles the request through its agent pipeline.
The Raspberry Pi 5 (8 GB) costs roughly $80 and draws about 5W under typical load. That's around published pricing in electricity for a dedicated, always-on AI agent with a visual interface. The Pi doesn't run LLMs locally. It orchestrates tool calls and renders output to the display while cloud APIs handle the reasoning. This means the hardware stays simple and affordable, and your budget goes toward API usage rather than compute.
Most smart mirror guides stop at widget configuration. This guide goes further: selecting the right display hardware, configuring OpenClaw for visual output, building a dashboard that responds to agent events, and connecting the whole system to persistent cloud storage with Fastio for file management and handoff.
Hardware You Need
Before you start, gather these five components. The total cost ranges from $150 to $350 depending on whether you use a small TFT or a full monitor.
1. Raspberry Pi 5 (8 GB RAM)
The Pi 5 is the recommended board. Its ARM Cortex-A76 processor runs OpenClaw's Node.js runtime comfortably, and 8 GB of RAM gives you headroom when the agent handles multiple concurrent tool calls. OpenClaw's runtime uses 300 to 500 MB under load, and you need room for the display server and any dashboard rendering. The 4 GB model works for basic setups, but the 8 GB model avoids memory pressure when skills stack up.
2. Display
You have two main options:
- A small TFT like the Adafruit 2.8" PiTFT (320x240, capacitive touch) connects directly to the Pi's GPIO header. It works well for compact mirrors showing a few data panels. The Adafruit Learning System documents connecting this display to a Pi running OpenClaw, including sensor dashboard rendering with pygame-ce.
- A standard HDMI monitor (any size) gives you a full desktop experience. For a wall-mounted smart mirror, a thin-bezel 15" to 24" IPS panel works best. Connect it over HDMI and run MagicMirror2 alongside OpenClaw for widget display.
3. Two-way mirror
This is what makes a display into a smart mirror. You can use a glass two-way mirror panel (sharpest reflection, heavier), an acrylic two-way mirror (lighter, easier to cut), or reflective window film applied to regular glass (cheapest, lower quality). The mirror sits in front of your display so the screen shines through while the rest of the surface reflects normally.
4. Frame and mounting hardware
A shadow box frame or custom wood frame holds the monitor and mirror together. You need enough depth to fit the monitor, the Pi, and cable routing. VHB tape or standoffs mount the Pi to the back of the monitor.
5. Power and connectivity
Use the official Raspberry Pi 27W USB-C power supply. Third-party chargers cause under-voltage warnings when a display and active cooler draw power simultaneously. Ethernet is more reliable than WiFi for an always-on agent, but WiFi works if your signal is strong.
Setting Up the Display
The display setup depends on which screen you chose. Both paths end at the same place: a working framebuffer that OpenClaw can render to.
TFT Display (GPIO-connected)
If you're using an Adafruit PiTFT, install the driver with the Adafruit script. After installation, configure the display arrangement through the desktop control centre. Set the TFT as your primary output or position it as a secondary screen alongside an HDMI monitor for debugging.
For borderless rendering, the key configuration is setting the SDL window position and enabling the pygame NOFRAME flag. This removes window decorations and positions your dashboard content flush against the screen edges, which is what you want behind a mirror.
If you're using a Pi Cobbler breakout board, you can connect the TFT and additional sensors (temperature, humidity, air quality) through the same GPIO header. The Adafruit documentation shows a setup where a BME680 sensor feeds live data to a TFT dashboard rendered by OpenClaw.
HDMI Monitor A standard HDMI monitor needs no special driver setup on Raspberry Pi OS. Boot into the desktop environment, and the monitor works immediately. For a smart mirror, you want the display to stay on permanently. Disable screen blanking and power saving:
Open Raspberry Pi Configuration, go to the Display tab, and disable screen blanking. You can also prevent the display from sleeping by disabling DPMS in your window manager settings.
For a cleaner look, hide the mouse cursor and taskbar. Auto-start your dashboard application in kiosk mode so it launches at boot without any visible desktop elements.
Wayland and Pi 5 The Raspberry
Pi 5 runs Wayland by default with the Wayfire compositor. The Adafruit PiTFT works as a second monitor under Wayland on the Pi 5. If you're running a TFT alongside an HDMI display, both screens appear in the Wayland compositor, and you can arrange them through the display settings panel.
Configuring OpenClaw as the Display Agent
With the hardware assembled and the display working, the next step is configuring OpenClaw to use the screen as its output surface.
OpenClaw runs as a Node.js service on the Pi. It connects to cloud LLMs for reasoning and uses skills from ClawHub (the skill registry with thousands of published skills) to interact with external services. The display agent pattern adds a visual layer: instead of only responding through messaging channels like Telegram or Slack, the agent also renders output to the local screen.
The Dashboard Approach
The most practical architecture uses a web-based dashboard that OpenClaw updates through a local HTTP endpoint. Run a lightweight web server (Express, Fastify, or even a static file server) on the Pi, and have OpenClaw write dashboard state to a JSON file or local API. The browser-based dashboard reads this state and renders panels.
This approach has several advantages. You can use standard web technologies (HTML, CSS, JavaScript) for the dashboard layout. The dashboard runs in Chromium kiosk mode, which Pi OS supports natively. And you can integrate MagicMirror2 modules alongside OpenClaw-driven panels, giving you the best of both worlds: static widgets for weather and calendar, plus dynamic AI-driven content.
What the Agent Can Display
Once
OpenClaw feeds data to your dashboard, the possibilities depend on which skills you install. Here are practical panels that make sense on a smart mirror:
- Inbox summary: The agent checks your email, summarizes unread messages, and shows priority items
- Calendar overview: Today's schedule pulled from Google Calendar or Outlook
- Project status: Pull task counts or recent activity from project management tools
- Sensor readings: If you connected a BME680 or similar sensor, display temperature, humidity, and air quality with live sparkline graphs
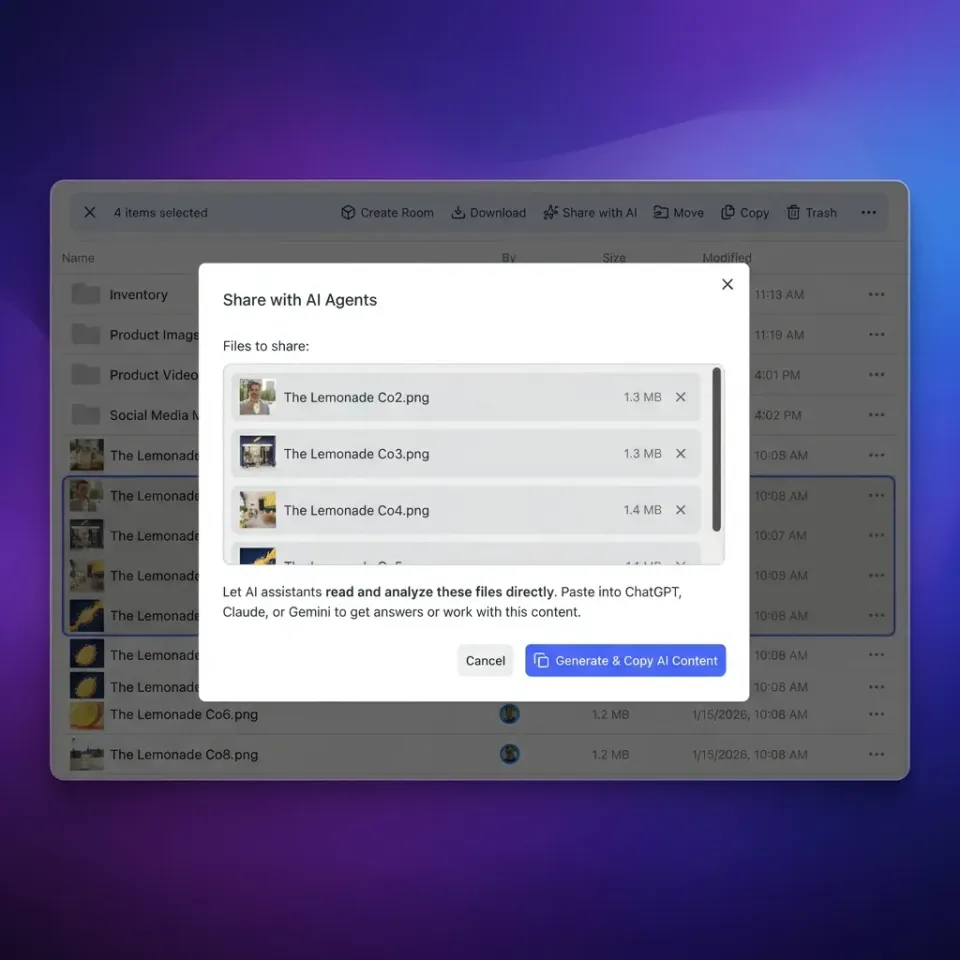
- File activity: Show recent uploads or changes from a shared Fastio workspace where your team or other agents store deliverables
- News digest: Agent-curated headlines based on topics you care about rather than a generic RSS feed
Persistent Storage for Agent Output
A smart mirror agent generates data: summaries, reports, cached API responses, conversation logs. Storing everything on the Pi's SD card or SSD works short-term, but it creates a single point of failure and makes it hard to share output with other devices or team members.
Fastio solves this by giving the agent a cloud workspace. The agent can upload daily summaries, sensor logs, or generated reports to a Fastio workspace using the MCP server or REST API. Anyone with workspace access (other agents, your phone, your laptop) can retrieve those files without touching the Pi directly.
The Business Trial includes 50 GB of storage, included credits, and 5 workspaces, with no credit card required. For a smart mirror agent that uploads text summaries and small data files, that's more than enough. Enable Intelligence Mode on the workspace, and uploaded files get automatically indexed for semantic search and RAG chat, so you can later ask questions about your agent's historical output.


Give Your Smart Mirror Agent Persistent Cloud Storage
Fastio workspaces let your OpenClaw mirror agent upload summaries, logs, and reports to a shared cloud workspace with built-in AI search. generous storage, no credit card. Built for openclaw raspberry smart mirror display agent workflows.
Connecting Fastio for File Management and Handoff
The real value of pairing a smart mirror agent with Fastio isn't just backup storage. It's the ability to treat the Pi as one node in a larger system where agents and humans share the same workspace.
How the Integration Works
Fastio exposes Streamable HTTP at /mcp and legacy SSE at /sse for MCP-compatible agents. OpenClaw's skill system can call these endpoints to upload files, create shares, query indexed documents, and manage workspace permissions. The MCP documentation covers the full tool surface.
A practical setup looks like this: the OpenClaw agent on your Pi generates a morning briefing (inbox summary, calendar, weather, project updates). It renders this briefing to the mirror display and simultaneously uploads a copy to a Fastio workspace. Your phone gets a notification. Your colleague's agent can pull the briefing from the same workspace. If you need to hand the whole project off to someone else, Fastio supports ownership transfer, so the agent-built workspace moves to a human administrator while the agent retains access.
Workspace as Agent Memory
Beyond file storage,
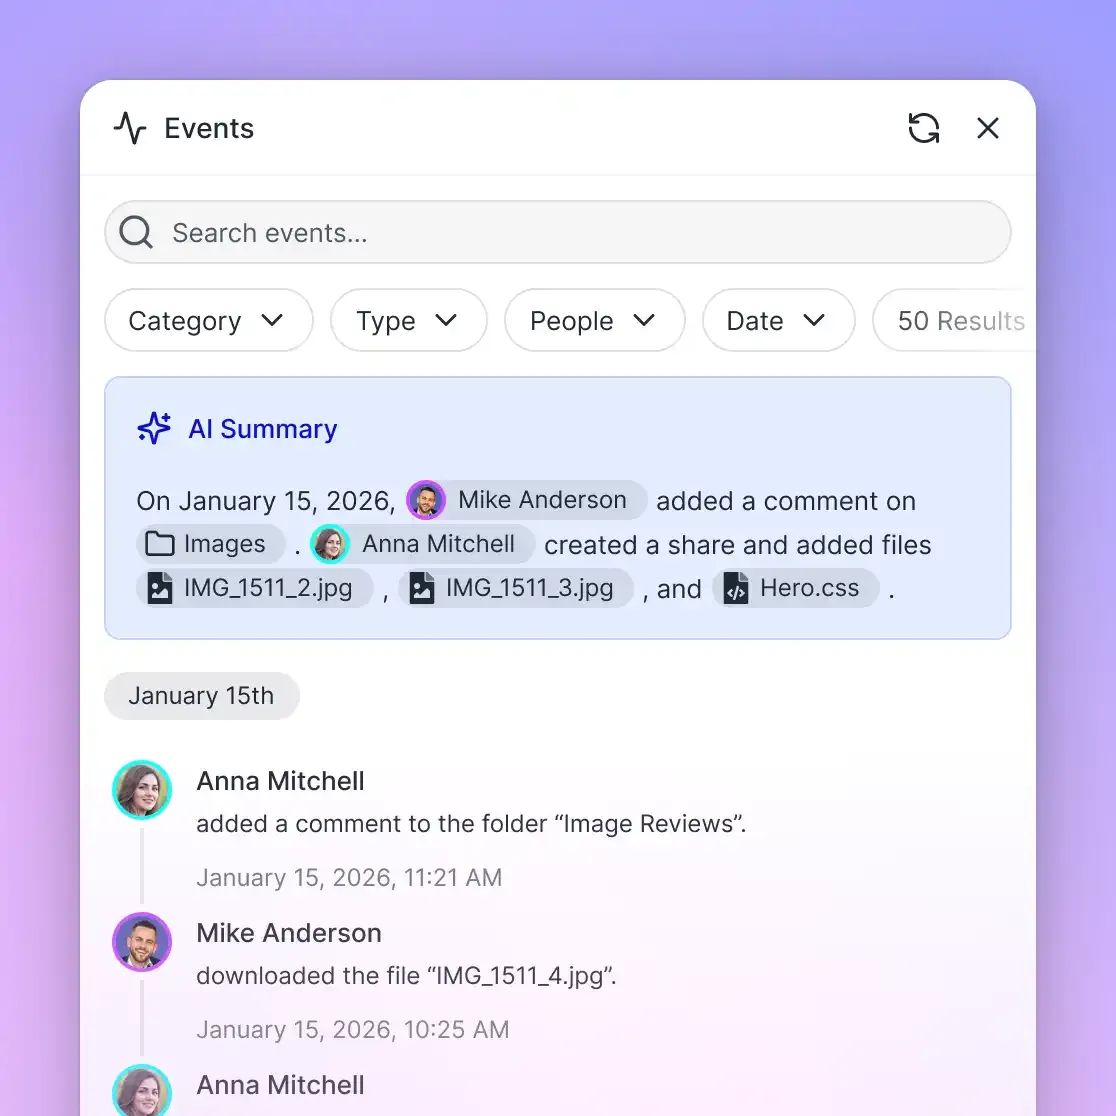
Fastio workspaces with Intelligence Mode enabled act as a queryable knowledge base. Your mirror agent uploads sensor logs, daily summaries, and conversation transcripts throughout the day. Later, you can ask the workspace "What was the average temperature in my office last week?" or "Summarize the project updates from Monday." The built-in RAG system returns answers with citations pointing to the specific files.
This turns a single-purpose display into part of a persistent memory layer. The Pi handles real-time display and orchestration. Fastio handles long-term storage, search, and collaboration. Other tools like local NAS, S3, or Google Drive can handle bulk storage, but they don't offer the combination of MCP access, automatic indexing, and agent-to-human handoff that makes the workflow smooth.
For teams running multiple Pi-based agents (one per room, one per facility), each agent can write to its own workspace or share a common one. The Fastio agent onboarding guide walks through setting up agent accounts and workspaces programmatically.
Building and Mounting the Mirror
With software configured, the physical build brings everything together. The goal is a clean wall-mounted unit where the display, Pi, and wiring are hidden behind the mirror surface.
Assembly Steps
Start with the frame. A shadow box frame from a craft store works for displays up to about 13 inches. For larger monitors, build a simple wood frame from 1x4 lumber. The frame depth needs to accommodate the monitor thickness (typically 15 to 25 mm), the Pi mounted behind it (another 20 mm with standoffs), and a few centimeters for cable routing and airflow.
Mount the monitor face-up inside the frame. Use VHB tape or L-brackets to secure it. Attach the Raspberry Pi to the back of the monitor with standoffs or VHB tape, keeping it accessible for SD card swaps or cable changes.
Place the two-way mirror panel on top of the monitor, reflective side facing out. Secure it to the frame with glazier's points or small clips. Make sure the mirror covers the entire frame opening. Any gap between mirror and frame will leak light and break the illusion.
Route power cables out the back or bottom of the frame. Use a single power strip behind the mirror to keep things tidy: one outlet for the monitor, one for the Pi's USB-C supply, and optionally one for an LED strip if you want ambient lighting.
Keeping It Cool
The Pi 5 throttles at 85 degrees Celsius, and an enclosed frame restricts airflow. The official Pi 5 case with its integrated fan costs about $10 and handles sustained loads. If you're not using the official case, attach a small heatsink and cut ventilation holes in the back of the frame. A 40mm USB fan exhausting warm air out the top of the frame works well for larger builds.
Auto-Start on Boot
Configure the Pi to boot directly into your dashboard. Create a systemd service that launches Chromium in kiosk mode pointing to your local dashboard URL, or use the autostart file in your window manager configuration. The agent should also start automatically. A systemd unit for OpenClaw ensures it restarts on crash and starts at boot.
Test the full boot sequence by unplugging and re-plugging the Pi. Within 30 to 60 seconds, the mirror should show your dashboard with live agent data, no keyboard or mouse needed.
Troubleshooting and Next Steps
Common Issues
Display stays black after boot. Check HDMI cable seating and ensure screen blanking is disabled. For TFT displays, verify the driver installed correctly and the display is listed when you check connected displays through the system settings.
OpenClaw starts but dashboard shows no data. Verify the agent can reach the cloud API (test your API key independently). Check that the local HTTP endpoint or JSON file the dashboard reads from is being updated. Look at the OpenClaw process logs for skill execution errors.
Mirror reflection is dim or display bleeds through. The two-way mirror needs a bright display behind it. Increase monitor brightness to maximum. If using reflective film, apply it without bubbles and consider doubling the film layer for a stronger reflection.
Pi throttles and dashboard becomes sluggish. Add active cooling. The Pi 5 needs it for sustained workloads in an enclosed space. A heatsink alone is not sufficient inside a frame with limited airflow.
Extending the Project
Once the basic mirror works, consider these additions:
- Voice input with a USB microphone. OpenClaw can process voice commands through a speech-to-text skill, letting you talk to the mirror instead of typing.
- Motion detection with a PIR sensor on the GPIO header. Wake the display only when someone stands in front of the mirror, saving power and extending display lifespan.
- Multiple data sources through additional ClawHub skills. Connect home automation platforms, fitness trackers, or financial dashboards to pull data into the mirror's display.
- Store configuration and dashboard templates in a Fastio workspace so you can replicate the setup across multiple mirrors without reconfiguring each one manually.
The combination of OpenClaw's agent intelligence and a persistent cloud workspace through Fastio means the mirror isn't an isolated gadget. It's a node in your broader agent infrastructure, displaying real-time data, storing output for later retrieval, and handing off results to humans or other agents as needed.
Frequently Asked Questions
How do I connect a display to OpenClaw on Raspberry Pi?
For a TFT like the Adafruit PiTFT, install the Adafruit driver script and configure screen arrangement through the Pi's display settings. For an HDMI monitor, no special driver is needed. OpenClaw renders to the display through a local web dashboard running in Chromium kiosk mode, or through pygame for GPIO-connected TFTs.
Can OpenClaw run a smart mirror dashboard?
Yes. OpenClaw runs as a background agent on the Pi and pushes data to a local web dashboard. The dashboard displays panels for email summaries, calendar events, sensor readings, project status, and more. Behind a two-way mirror, the dashboard content appears to float in the mirror's reflection.
What display works best with Raspberry Pi 5 for OpenClaw?
For compact mirrors, the Adafruit 2.8-inch PiTFT (320x240, capacitive touch) connects via GPIO and is documented in the Adafruit Learning System for use with OpenClaw. For full-size mirrors, any HDMI monitor works. Thin-bezel IPS panels in the 15 to 24 inch range give the best visual result behind a two-way mirror.
How much does it cost to build an OpenClaw smart mirror?
A basic build with a Raspberry Pi 5 (8 GB, around $80), an Adafruit PiTFT ($35), a two-way acrylic mirror ($20 to $40), and a frame ($15 to $30) runs about $150 to $185. A larger build with a 15-inch HDMI monitor adds $80 to $150 to the total. Electricity costs about published pricing at 5W continuous draw.
Does the Raspberry Pi run AI models locally for the smart mirror?
No. The Raspberry Pi acts as an orchestration layer. OpenClaw sends reasoning requests to cloud APIs (Anthropic, OpenAI, Google) and handles tool calls, skill execution, and display rendering locally. This keeps hardware costs low and lets you use the most capable models available without needing a GPU.
Can I store smart mirror agent output in the cloud?
Yes. Fastio provides free cloud workspaces for agents. Your OpenClaw mirror agent can upload daily summaries, sensor logs, and reports to a Fastio workspace via MCP or REST API. The workspace indexes files automatically for search and AI chat, and other devices or team members can access the same files.
Related Resources

Give Your Smart Mirror Agent Persistent Cloud Storage
Fastio workspaces let your OpenClaw mirror agent upload summaries, logs, and reports to a shared cloud workspace with built-in AI search. generous storage, no credit card. Built for openclaw raspberry smart mirror display agent workflows.