How to Build an OpenClaw Microscope Imaging Agent on Raspberry Pi
The OpenFlexure microscope project has been built and used in over 50 countries, but most Raspberry Pi microscopy tutorials stop at optics assembly and manual capture. This guide connects an OpenClaw AI agent to a Pi-driven microscope so the agent handles focus stacking, sample labeling, metadata tagging, and image archival to Fastio, turning a weekend hardware project into an automated scientific imaging pipeline.

Why Scientific Microscopy Needs an Agent Layer
The OpenFlexure Microscope, a 3D-printed, Raspberry Pi-powered microscope developed at the University of Bath, has been assembled in over 50 countries and earned inclusion in the 2024 WHO compendium of innovative health technologies for low-resource settings. A basic build costs under $100 in parts. A motorized version with lab-grade optics runs around $200, two orders of magnitude less than commercial research microscopes that start at $18,000.
That cost reduction has made microscopy accessible to schools, field clinics, and small research labs. But accessibility creates a new bottleneck: the human operator. Capturing a focus-stacked image of a soil sample takes 15 to 40 exposures at different focal planes, each adjusted by a few microns. Cataloging 50 slides with consistent metadata takes hours of repetitive data entry. Archiving the results means manually uploading files, naming folders, and hoping the naming convention survives the third researcher who joins the project.
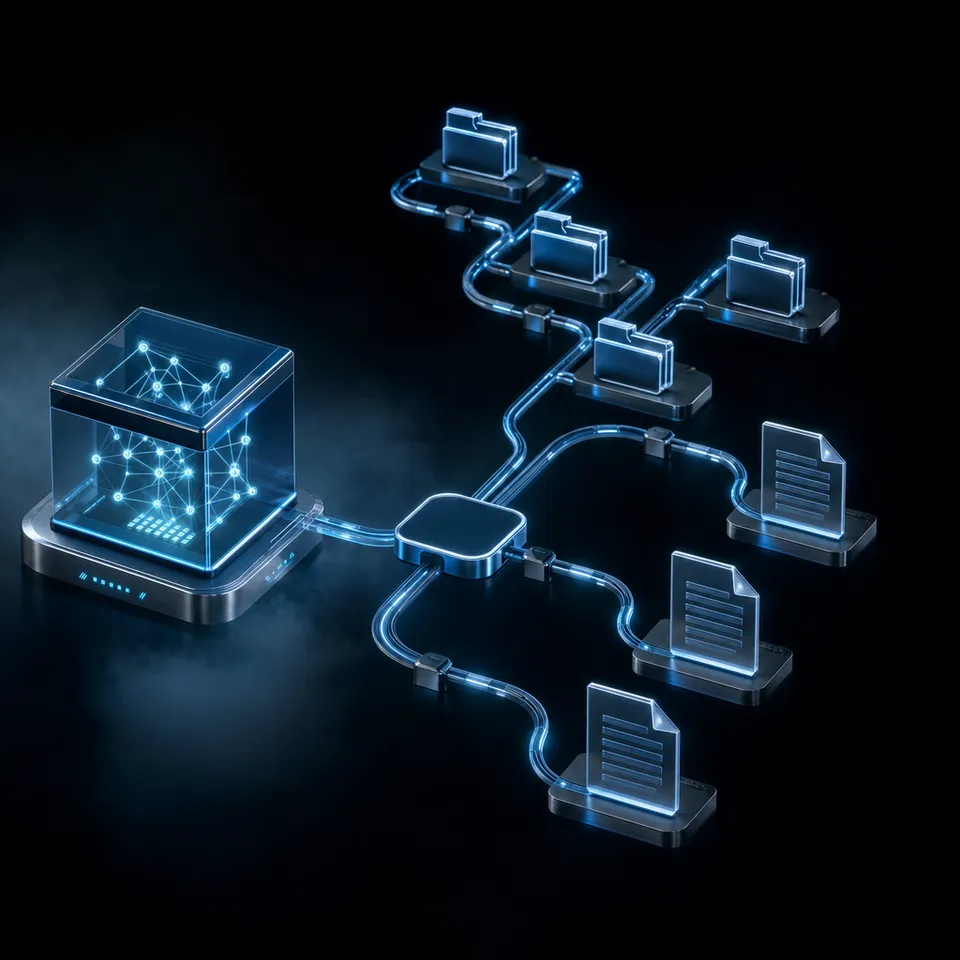
An OpenClaw agent running on the same Raspberry Pi that controls the microscope fills that gap. OpenClaw is an open-source AI agent gateway that runs on Pi hardware (Pi 4 with 4 GB or Pi 5 recommended), using cloud LLMs for reasoning while keeping orchestration local. The agent can trigger captures through Picamera2, step the motorized stage between focal planes, label samples from voice or text descriptions, and push finished image sets to cloud storage with structured metadata. The human loads the slide. The agent handles everything after that.
The combination matters for reproducibility. When an agent follows the same capture protocol every time, the imaging parameters, stage positions, and lighting conditions are logged automatically. No handwritten lab notebook, no forgotten exposure settings, no "I think we used 40x on that batch" conversations three months later.
Related guides
- How to Build a Hermes Agent AI Code CheckerThe proportion of copy-pasted code in repositories rose from 8% in 2020 to 12% in 2024, representing a 48% relative...
- How to Build AI Agents with the Claude Agent SDKThe Claude Agent SDK is Anthropic's toolkit for building AI agents that can read files, run commands, search the web,...
- How to Build a Portable Pen Testing Rig with OpenClaw and Kali Linux on Raspberry PiA portable Kali Linux rig with an OpenClaw agent on a Raspberry Pi turns manual pen testing into an orchestrated...
- How to Build a Wireless Sensor Decoder Agent with RTL-433 and OpenClaw on Raspberry Pirtl_433 decodes signals from over 320 wireless device protocols using a cheap USB radio dongle. Pairing it with an...
- How to Build an Earthquake Detection Agent with OpenClaw on Raspberry PiA geophone on a Raspberry Pi produces continuous seismic data, but most of what it records is foot traffic, trucks, and...
- How to Build a Barcode Scanner Inventory Agent with OpenClaw on Raspberry PiA barcode scanner inventory agent pairs a USB or camera-based barcode reader with an OpenClaw agent on Raspberry Pi to...
More on this subject: OpenClaw on Raspberry Pi (192 guides)
Hardware and Software Stack for Pi Microscopy
The full imaging station runs on a single Raspberry Pi with a camera module and motorized stage. Every component is available off the shelf or 3D-printable.
Hardware:
- Raspberry Pi 5 with 4 GB RAM (8 GB preferred). Pi 4 with 4 GB also works, though capture-to-upload cycles take longer.
- Raspberry Pi HQ Camera (12.3 MP, Sony IMX477 sensor) or the newer Pi Camera Module 3 (11.9 MP with autofocus). The HQ Camera accepts C-mount and CS-mount lenses, which is important for microscope optics.
- Microscope optics: either an OpenFlexure 3D-printed body with RMS-threaded objectives, a Pimoroni microscope lens ($49.80 for a 0.12-1.8x zoom assembly), or an adapter to mount the Pi camera on a standard trinocular microscope head.
- Motorized stage for focus control. The OpenFlexure stage uses geared stepper motors with sub-100-nanometer step resolution. Alternatively, a linear stepper rail driven by a DRV8825 or TMC2209 driver on a Raspberry Pi HAT provides precise Z-axis movement for focus stacking.
- LED ring light or transmitted illumination module for consistent sample lighting.
- NVMe SSD via the official Pi M.2 HAT for fast image writes. SD cards work but wear faster under continuous capture.
Software:
- Raspberry Pi OS Lite (64-bit). Skip the desktop edition to save RAM for OpenClaw and image processing.
- Picamera2, the official Python library for Pi cameras built on the libcamera framework. Pre-installed on current Raspberry Pi OS builds.
- OpenClaw gateway, installed via the official one-command installer. Requires Node.js 24 (installed from NodeSource) and a 2 GB swap file on 4 GB Pi models.
- Python 3 with Pillow for basic image manipulation and NumPy for focus stacking computations.
- OpenFlexure server (if using the OpenFlexure stage) for motor control via REST API, or a custom stepper script using the RPi.GPIO or gpiozero libraries.
Power draw for the complete station is around 5-8 watts. An overnight focus-stacking session on 20 slides costs less than a penny in electricity.

How Focus Stacking Works with an Agent
Focus stacking is the core technique that separates useful microscope images from blurry snapshots. At high magnification, the depth of field shrinks to a few microns. A single exposure captures one thin slice of the sample in focus while everything above and below that plane is blurred. Focus stacking combines 15 to 40 exposures taken at slightly different focal planes into a single all-in-focus composite.
Without automation, the process goes like this: adjust the focus knob a fraction of a turn, capture, adjust again, capture again, repeat until you have covered the full depth of the sample. Then load all the images into stacking software on a separate computer, align them, and merge. For a batch of slides, this takes hours.
With an OpenClaw agent controlling the process, the workflow changes. The human places a slide on the stage and tells the agent what kind of sample it is (soil cross-section, blood smear, plant tissue, or whatever the study requires). The agent then runs a capture sequence: it determines the top and bottom focus limits by analyzing image sharpness at the current position, calculates the number of steps needed based on the optical depth of field, drives the stepper motor through each position, and triggers Picamera2 to capture a high-resolution still at each plane.
The sharpness detection uses a Laplacian variance calculation, a standard technique where the agent computes the variance of a Laplacian filter applied to each frame. Higher variance means more edges in focus. The agent sweeps through the Z-axis range, records the sharpness score at each position, and identifies the boundaries where sharpness drops below a usable threshold. This defines the stack range without manual input.
After capture, the agent can either run the stacking computation locally using a weighted-average algorithm in NumPy, or upload the raw stack to Fastio for processing on a more powerful machine. Local stacking on a Pi 5 takes 30 to 90 seconds depending on image count and resolution. For time-sensitive fieldwork, uploading the raw stack and stacking later preserves throughput.
Each step in the sequence is logged: focal position in microns, exposure time, gain, white balance, timestamp, and the sharpness score. That metadata travels with the images, making every capture reproducible.


Store and search your microscope imaging datasets
Cloud storage with built-in AI indexing. Upload captures from your Raspberry Pi agent, search images by content or metadata, and share results with your team.
Sample Cataloging and Metadata Tagging
Raw images without metadata are nearly useless three months after capture. The cataloging problem is why labs spend as much time on data management as on actual imaging. An OpenClaw agent turns every capture session into a structured dataset automatically.
When a new slide is loaded, the agent prompts for a sample description through whatever channel is configured (Telegram, Discord, or a local web interface). A researcher might type "soil sample, plot 4, 20cm depth, collected 2026-06-09" or speak it if the Pi has a USB microphone. The agent parses the description into structured fields: sample type, location, depth, collection date.
For each captured image and focus stack, the agent generates a metadata record that includes the sample fields plus imaging parameters: objective magnification, camera resolution, exposure settings, focal range covered, number of stack frames, ambient temperature (if a sensor is connected), and a unique capture ID. This metadata can be embedded as EXIF data in the image files or stored as a sidecar JSON file alongside each image.
The cataloging layer scales with the study. A classroom exercise might need just sample name and date. A research lab studying soil microbiomes across 200 field plots needs location coordinates, depth intervals, staining protocols, and cross-references to other measurement instruments. The agent adapts its metadata schema based on the project configuration, asking for fields that matter and skipping those that do not.
Fastio's Metadata Views feature adds another dimension. Once images are uploaded to a workspace with Intelligence enabled, Metadata Views can extract structured fields from the images and their sidecar files into a queryable spreadsheet. A researcher can filter all captures by sample type, sort by collection date, or search for slides that match specific imaging parameters, without opening a single image file.

Archiving Images to Cloud Storage
Microscope images accumulate fast. A single focus stack of 30 frames at 12 MP produces roughly 300 MB of uncompressed data. A day of active imaging across 20 slides generates 6 GB. A month-long field study fills a 256 GB SD card. Local storage works for the capture session, but long-term archival needs somewhere more durable.
The usual approach is manual: copy files to a USB drive, carry it to a desktop, upload to Google Drive or a university file server, create a folder, name it something reasonable, and hope everyone on the team follows the same convention. This breaks down by the second week of any multi-person study.
An OpenClaw agent handles archival as part of the capture workflow. After completing a focus stack and generating the composite image, the agent uploads both the raw frames and the composite to a Fastio workspace using the MCP server. The workspace structure mirrors the study design: one folder per collection site, subfolders per sample date, individual files named with the capture ID and sample descriptor.
Fastio's Intelligence Mode indexes uploaded images automatically. Once indexed, a researcher can search the workspace by content ("show me all soil samples with visible root structures") or by metadata ("all captures from plot 4 in June"). The AI chat feature answers questions about the dataset with citations to specific files, which is useful when writing up results months after fieldwork ended.
For teams, Fastio workspaces support granular permissions at the folder level. A principal investigator gets full access. Graduate students see their assigned collection sites. External collaborators receive read-only access to finished composites through a branded share link. The agent can create these shares automatically when a batch is complete, sending the link to a specified Telegram or Discord channel.
Alternative storage options work too. S3 buckets are cheaper per gigabyte for pure archival, but lack the built-in search, AI chat, and permission controls. Google Drive handles small studies but hits storage limits and lacks workspace-level intelligence. For scientific imaging where you need both cheap storage and the ability to query your dataset later, an intelligent workspace fits better than either pure cloud storage or a local NAS.
Fastio offers a 14-day Business Trial (card required; see pricing), with paid plans starting at 250 GB of storage and 100,000 monthly credits to support large imaging datasets.
Putting It All Together
The complete workflow from slide to archived dataset runs like this:
- Place the slide on the microscope stage and tell the agent what the sample is (text message, voice, or pre-loaded batch list).
- The agent runs an autofocus sweep to find the sharpness boundaries of the sample.
- It calculates the number of focal planes needed and steps through them, capturing a high-resolution image at each position.
- After the stack is captured, it runs the composite (locally or flags it for remote processing).
- It tags the images with structured metadata: sample description, imaging parameters, timestamps, and capture IDs.
- It uploads the raw stack, composite, and metadata file to the appropriate folder in a Fastio workspace.
- It logs the session and reports a summary to the operator via Telegram, Discord, or the local web interface.
- It prompts for the next slide or shuts down after a configurable idle timeout.
For batch processing, the agent can work through a pre-loaded list of sample descriptions. A researcher prepares a CSV with sample IDs, descriptions, and any known metadata, places it in the project directory, and starts the session. The agent processes slides sequentially, prompting the operator only to load the next slide, handling everything else autonomously.
Where Fastio fits in the stack:
The Raspberry Pi and OpenClaw handle capture and local orchestration. Fastio handles everything after the image leaves the Pi: durable storage, searchable indexing, team access controls, and human handoff. When the field season ends and it is time to write papers, the entire imaging dataset is in one searchable workspace. The principal investigator can transfer ownership of the workspace to a department account so the data outlives any individual's involvement in the project.
Practical limits to keep in mind:
- Pi 5 handles local focus stacking up to about 40 frames at 12 MP before processing time exceeds two minutes per stack. For larger stacks, upload raw frames and stack on a workstation.
- OpenClaw's reasoning runs on cloud LLMs, so the Pi needs network connectivity. For truly remote fieldwork without internet, the capture and stacking scripts can run standalone, queuing uploads for when connectivity returns.
- The Picamera2 library does not support every USB camera. Stick to official Raspberry Pi camera modules connected via CSI ribbon cable for guaranteed compatibility.
- Stepper motor calibration drifts with temperature. Recalibrate the Z-axis step size if the ambient temperature changes by more than 10 degrees between sessions.
Sources
References used to verify factual claims in this guide.
-
OpenFlexure microscope has been assembled in over 50 countries
-
OpenFlexure selected for 2024 WHO compendium of innovative health technologies
-
Basic OpenFlexure microscope costs under $18, motorized research version around $200
-
Commercial research microscopes start at approximately $18,200
-
OpenFlexure stage achieves sub-100-nanometer step resolution with miniature stepper motors
-
Raspberry Pi HQ Camera is a 12.3 MP sensor (Sony IMX477) with C/CS mount
Frequently Asked Questions
Can a Raspberry Pi be used as a microscope?
Yes. The Raspberry Pi HQ Camera (12.3 MP, Sony IMX477 sensor) paired with microscope optics produces images comparable to dedicated USB microscopes costing $500 or more. The OpenFlexure project provides 3D-printable microscope bodies with motorized stages that achieve sub-100-nanometer positioning precision. A complete motorized setup costs around $200 in parts, compared to $18,000 or more for commercial research microscopes.
What camera works best for Raspberry Pi microscopy?
The Raspberry Pi HQ Camera is the most popular choice for serious microscopy work. Its 12.3 MP sensor accepts C-mount and CS-mount lenses, including standard RMS microscope objectives via an adapter. The newer Pi Camera Module 3 (11.9 MP with autofocus) works for lower-magnification applications but lacks the interchangeable lens mount that microscopy demands. For the highest resolution, the Pi Global Shutter Camera eliminates rolling shutter artifacts during motorized stage movement, though it has a lower resolution sensor (1.6 MP).
How do you automate microscope image capture?
The Picamera2 Python library (built on the libcamera framework) provides programmatic control of Pi cameras. A Python script can trigger single captures or timed sequences, adjust exposure and gain between frames, and save images with embedded metadata. For focus stacking, you pair Picamera2 with a stepper motor controller to step through focal planes automatically, capturing an image at each position. An OpenClaw agent adds decision-making on top of this, determining optimal stack ranges, adjusting parameters based on sample characteristics, and managing the upload workflow.
How much storage does microscope imaging require?
A single 12 MP capture from the Pi HQ Camera produces roughly 10 MB as a compressed JPEG or 24 MB as a raw DNG file. A 30-frame focus stack generates 300 to 720 MB depending on format. A full day of active imaging across 20 slides can produce 6 to 15 GB of data. Fastio provides scalable cloud storage with a 14-day Business Trial (card required; see /pricing/) to store active imaging runs.
Does OpenClaw run the AI model on the Raspberry Pi?
No. OpenClaw runs only the agent gateway on the Pi. The actual language model inference happens on cloud APIs (Anthropic Claude, OpenAI, or other supported providers). The Pi handles local orchestration, camera control, stepper motor commands, and file management. This architecture keeps hardware costs low while giving the agent access to capable reasoning models for tasks like sample classification, metadata extraction, and session decision-making.
Related Resources

Store and search your microscope imaging datasets
Cloud storage with built-in AI indexing. Upload captures from your Raspberry Pi agent, search images by content or metadata, and share results with your team.