How to Build a 3D Scanner Photogrammetry Agent with OpenClaw on Raspberry Pi
OpenScan can hit 10-micron accuracy on a Raspberry Pi with the HQ Camera Module, but every scan session still requires manual turntable stepping, camera triggering, file transfer, and mesh processing. This guide shows how to pair an OpenClaw agent with an OpenScan rig so the Pi handles the entire photogrammetry pipeline automatically, from first rotation to finished 3D model synced to cloud storage.

Why Photogrammetry Rigs Need an Automation Layer
OpenScan's photogrammetry documentation reports 10-micron accuracy with the Raspberry Pi HQ Camera Module and sub-50-micron accuracy with the Camera Module v2.1. Those numbers rival desktop 3D scanners costing thousands of dollars. But the scanning process itself is stuck in 2019: rotate the turntable a few degrees, trigger the camera, wait, repeat 60 to 100 times per scan angle, then manually transfer photos to a PC or cloud service for mesh reconstruction.
Every existing Raspberry Pi 3D scanning tutorial follows this same manual loop. Guides on Hackster.io, Tom's Hardware, and the official Raspberry Pi Magazine walk through wiring the stepper motor, installing the OpenScan firmware, and taking your first scan. None of them address what happens after the hundredth time you babysit the same capture sequence.
That manual bottleneck matters because photogrammetry quality depends on consistency. Uneven rotation intervals, inconsistent lighting between captures, or skipped angles all degrade mesh accuracy. A human operator clicking through the OpenScan UI introduces variability that the hardware does not require.
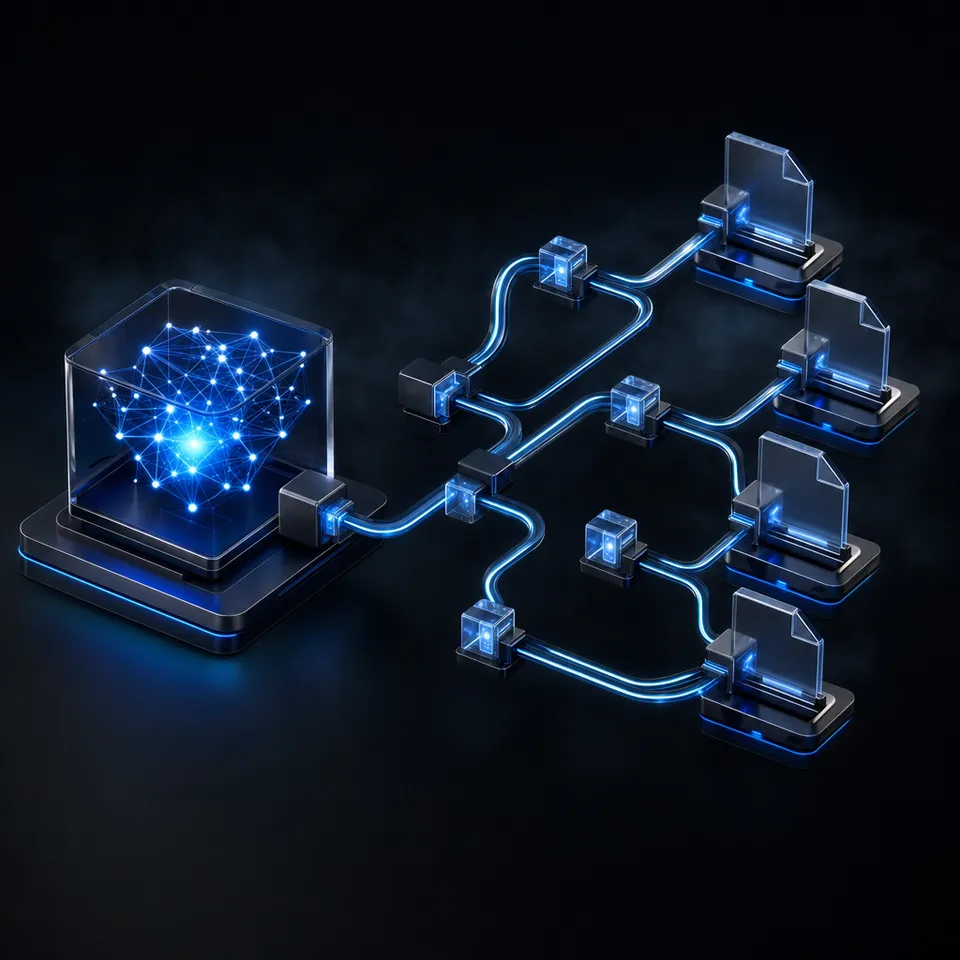
An OpenClaw agent running on the same Raspberry Pi can own the entire pipeline. OpenClaw is an open-source AI agent framework with first-class ARM64 support. The Raspberry Pi Foundation published an official guide for running it on Pi hardware, and the OpenClaw Raspberry Pi docs confirm shell access and hardware control capability. The agent can trigger scan sequences, monitor capture progress, hand off photos for processing, and upload finished meshes to cloud storage without human intervention between steps.
This is the gap in existing Pi 3D scanning content: nobody has connected a photogrammetry rig to an AI reasoning layer that can manage the full workflow, adapt to errors, and deliver finished 3D models.
Related guides
- How to Build a Hermes Agent AI Code CheckerThe proportion of copy-pasted code in repositories rose from 8% in 2020 to 12% in 2024, representing a 48% relative...
- How to Build AI Agents with the Claude Agent SDKThe Claude Agent SDK is Anthropic's toolkit for building AI agents that can read files, run commands, search the web,...
- How to Build a Barcode Scanner Inventory Agent with OpenClaw on Raspberry PiA barcode scanner inventory agent pairs a USB or camera-based barcode reader with an OpenClaw agent on Raspberry Pi to...
- How to Build a Portable Pen Testing Rig with OpenClaw and Kali Linux on Raspberry PiA portable Kali Linux rig with an OpenClaw agent on a Raspberry Pi turns manual pen testing into an orchestrated...
- How to Build a Wireless Sensor Decoder Agent with RTL-433 and OpenClaw on Raspberry Pirtl_433 decodes signals from over 320 wireless device protocols using a cheap USB radio dongle. Pairing it with an...
- How to Build an Earthquake Detection Agent with OpenClaw on Raspberry PiA geophone on a Raspberry Pi produces continuous seismic data, but most of what it records is foot traffic, trucks, and...
More on this subject: OpenClaw on Raspberry Pi (192 guides)
Hardware BOM and OpenScan Rig Assembly
The hardware falls into two categories: the scanning rig and the compute platform. You likely already own some of these parts if you have been experimenting with Raspberry Pi projects.
Scanning rig (OpenScan Mini or Classic):
The OpenScan Mini covers objects up to roughly 9x9x9 cm with accuracy down to 0.02 mm. The OpenScan Classic handles objects up to 18x18x18 cm with accuracy down to 0.01 mm. Both use 3D-printed frames, NEMA 17 stepper motors for turntable and tilt axis control, A4988 stepper motor drivers, and an Arducam IMX519 16-megapixel camera or the Raspberry Pi Camera Module v2.
You can buy a complete kit from openscan.eu starting around $230 (Mini) or $280 (Classic), or source the parts yourself. The DIY route runs roughly $80 to $120 depending on whether you already have a Pi and can print the frame. Either path requires no soldering, just screw assembly.
Key components for a DIY build:
- Raspberry Pi 5 (8 GB recommended) or Pi 4 (4 GB minimum)
- Raspberry Pi HQ Camera Module or Arducam IMX519
- 2x NEMA 17 stepper motors (13 Ncm for the turntable, 40 Ncm for the tilt arm)
- 2x A4988 stepper motor drivers
- 12V 2.5A power supply
- 3D-printed frame (STL files on the OpenScan GitHub repository)
- M2 and M3 screws, standoffs, and cabling
Compute platform:
A Raspberry Pi 5 with 8 GB RAM is the best fit for running both the OpenScan firmware and an OpenClaw agent simultaneously. The Pi 5's Cortex-A76 cores handle the camera capture and stepper control natively, while OpenClaw runs on Node.js and offloads AI reasoning to cloud LLMs (Claude, GPT-4, Gemini). The Pi itself does not need to run a local model.
For storage, a 64 GB or larger microSD card is sufficient for photo sets. A single scan session with 100 photos at full IMX519 resolution produces roughly 1.5 GB of images. If you plan to keep multiple sessions locally, consider an M.2 SSD via the Pi 5's HAT+ adapter for faster write speeds and better endurance.
Power draw for the full rig (Pi 5 plus steppers plus camera) sits around 8 to 12 watts during active scanning and 3 to 5 watts at idle.

The Manual Capture Workflow and Where It Breaks Down
Understanding the manual process clarifies exactly what the agent needs to automate. A typical OpenScan photogrammetry session follows this sequence:
Step 1: Position the object. Place the object on the turntable, adjust lighting (diffuse, even illumination with minimal shadows), and set the camera focus distance. For the HQ Camera Module, manual focus with a 16 mm lens gives the sharpest results on small objects.
Step 2: Configure scan parameters. Through the OpenScan web interface (accessible via the Pi's local network), set the number of rotation steps (typically 60 to 100 per full revolution), the number of tilt positions (3 to 5 angles capture the object's top surface), and the camera exposure settings.
Step 3: Run the capture. The OpenScan firmware rotates the turntable by the configured increment, pauses, triggers the camera, waits for the image to save, then rotates again. A full scan with 80 rotation steps across 4 tilt angles produces 320 photos and takes 15 to 30 minutes depending on exposure time.
Step 4: Transfer and process. After capture, transfer the photo set to a machine with enough GPU power to run photogrammetry reconstruction. Options include OpenScan Cloud (a free community-supported processing pipeline that has handled over ten million photos), Meshroom (open-source, requires an NVIDIA GPU), or COLMAP (open-source, CPU-capable but slow). Processing time ranges from 20 minutes on a workstation GPU to several hours on CPU.
Step 5: Review and iterate. Inspect the resulting mesh for holes, noise, or misaligned regions. Common problems include reflective surfaces causing false matches, insufficient overlap between adjacent photos, and motion blur from too-short pauses between rotation and capture. Fixing these issues means re-scanning, which means repeating steps 1 through 4.
The friction is cumulative. Each scan session requires 30 to 45 minutes of active supervision for capture alone, plus transfer time, plus processing wait. If you are scanning a batch of objects (parts inventory, museum artifacts, product prototypes), the manual overhead multiplies quickly. Steps 2 through 5 are almost entirely automatable.


Store and share 3D scan output from your Pi agent
Generous storage, MCP-ready endpoint for your scanning agent's uploads and handoffs.
How to Automate the Scan Pipeline with OpenClaw
OpenClaw agents can run shell commands, read and write files, and interact with APIs. On a Raspberry Pi, this means the agent can trigger OpenScan's capture routines, monitor the file system for new photos, initiate processing, and handle the upload. The key principle: the agent orchestrates existing tools rather than replacing them.
What the agent manages:
The OpenClaw agent sits above the OpenScan firmware and coordinates the workflow. Rather than clicking through the OpenScan web UI for each scan, you describe what you want in natural language and let the agent handle execution. The agent can:
- Start a scan session with specified parameters (rotation steps, tilt angles, exposure)
- Monitor the photo directory for completed captures
- Validate image quality by checking file sizes and counts against expected values
- Trigger mesh reconstruction by submitting photos to OpenScan Cloud or a local processing tool
- Track processing status and retrieve finished meshes
- Upload completed 3D models to cloud storage
- Log every session with metadata: object name, scan parameters, photo count, processing time, output file location
Batch scanning workflow:
The real productivity gain comes from batch operations. Instead of manually configuring and supervising each scan, you give the agent a list of objects to process. The agent runs through the list sequentially: scan object one, transfer photos, start processing, move to object two while object one's mesh renders. You swap objects on the turntable when prompted. Everything else is handled.
For a product photography studio scanning 20 items per day, this reduces operator time from 30 minutes per object down to the 2 minutes it takes to physically place and remove each item. The agent handles the remaining 28 minutes of capture, transfer, and processing coordination.
Error recovery:
Manual scanning fails silently. If the camera module has a connection hiccup during a 320-photo capture, you might not notice until you try to process the set and find 15 images missing. The agent can check photo count after each rotation, detect gaps, and re-capture missing angles immediately rather than discovering the problem an hour later.
The agent can also adapt scan parameters between sessions. If it detects that a particular object produced a mesh with high error rates (many holes or unmatched points), it can increase the rotation step count for subsequent scans of similar objects.

Mesh Storage and Team Access with Fastio
Finished 3D models need to go somewhere accessible. A mesh file sitting on the Pi's SD card is useful only to whoever is standing at the scanning station. For teams working with 3D assets (product design, quality inspection, heritage preservation), the models need to reach collaborators, clients, or downstream tools.
You could sync meshes to Google Drive, Dropbox, or an S3 bucket. These work for raw file storage, but they treat a 3D model the same as any other binary blob. There is no indexing, no searchability by scan metadata, and no way to query across your model library without downloading and opening files individually.
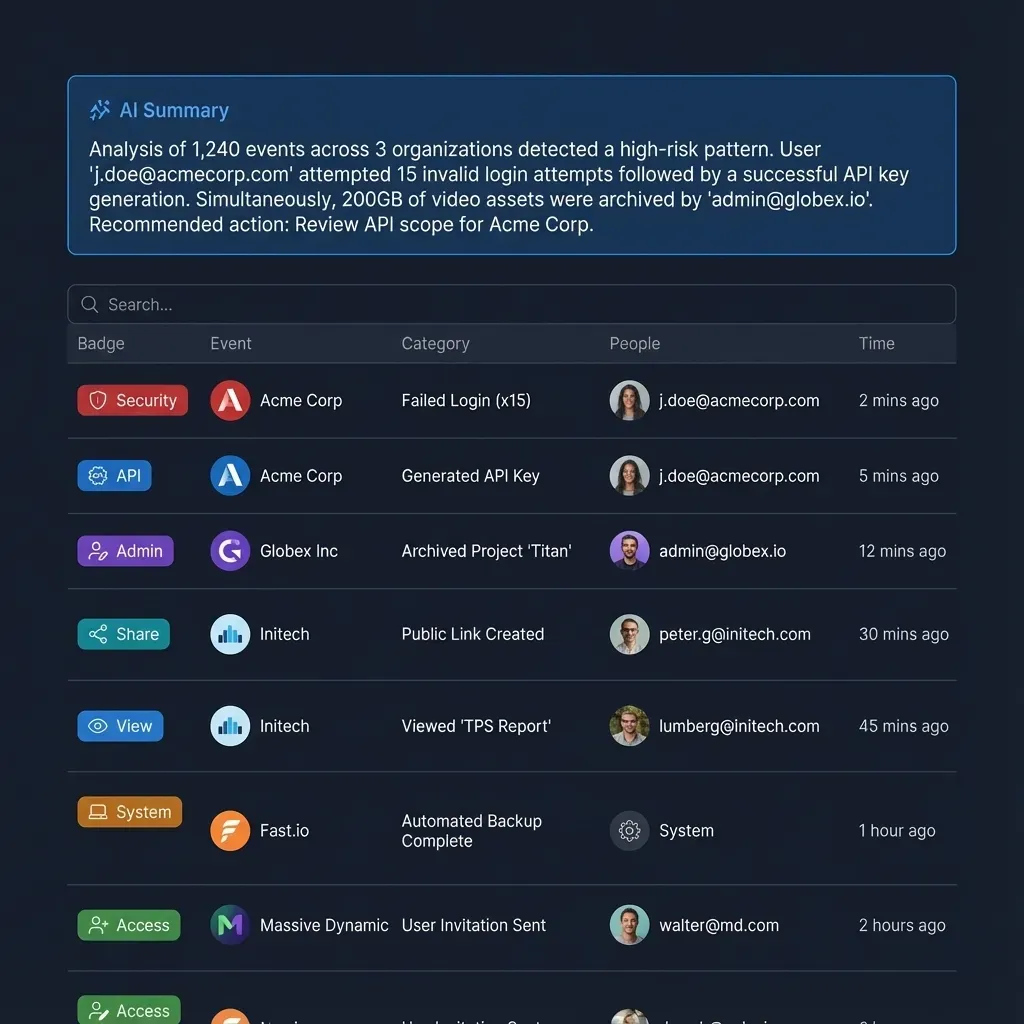
Fastio provides a workspace layer that goes beyond storage. When you upload scan outputs to a Fastio workspace and enable Intelligence, files are indexed for semantic search and AI-powered queries. A team member can ask "show me all scans of the prototype housing from last week" and get results with citations back to the source files, without downloading anything.
How the sync works:
The OpenClaw agent generates scan output packages: the processed mesh file (OBJ, STL, or PLY), a thumbnail render, and a metadata file with scan parameters and quality metrics. The agent uploads these to a Fastio workspace using the Fastio MCP server or the REST API. Fastio offers a 14-day Business Trial (card required; see /pricing/).
Practical workflow for a scanning operation:
- The OpenClaw agent runs the scan session and collects photos
- Photos are submitted for mesh reconstruction (OpenScan Cloud or local processing)
- Once the mesh is ready, the agent packages the output with metadata
- The agent uploads the package to the designated Fastio workspace
- Team members access the workspace through the Fastio UI or query it via Intelligence Mode
- If a client needs the final deliverable, the agent can create a branded share link through Fastio's sharing tools with download tracking and expiration
Ownership transfer for client work:
Scanning studios that produce 3D models for clients face a handoff problem: the agent creates and organizes files, but the client needs to own them. Fastio supports ownership transfer where the agent builds and populates a workspace, then transfers it to the client. The agent retains admin access for ongoing uploads while the client controls sharing and access permissions.
Audit trail:
Every upload, modification, and download in Fastio is logged with timestamps and identity. For quality-critical applications like manufacturing inspection or heritage documentation, this audit trail provides traceability from scan session to delivered model.
How to Tune Accuracy and Fix Common Scan Problems
Getting the hardware running is the easy part. Getting consistent, high-accuracy scans requires attention to a few variables that trip up most beginners.
Lighting:
Photogrammetry reconstruction depends on finding matching feature points across photos. Harsh directional lighting creates strong shadows that move as the object rotates, confusing the matching algorithm. Use diffuse lighting from multiple angles. A simple light tent made from translucent fabric or a paper diffuser works well for small objects. Avoid ring lights mounted on the camera axis, as they create specular highlights on reflective surfaces.
Camera settings:
For the Raspberry Pi HQ Camera Module with a 16 mm lens, the sweet spot for small-object scanning is f/8 to f/11 aperture with ISO 100 and exposure times of 1/30 to 1/60 second. These settings maximize depth of field while keeping noise low. The Arducam IMX519 uses a fixed-aperture lens, so control exposure through shutter speed and gain settings in the OpenScan interface.
Rotation step count:
More photos means better coverage but longer scan times. For objects with simple geometry (a mug, a box), 60 rotation steps per revolution across 3 tilt angles (180 total photos) is sufficient. For complex geometry with undercuts and fine detail (a figurine, a mechanical part), increase to 100 steps across 5 tilt angles (500 photos). The agent can start conservative and increase step count for subsequent scans if the initial mesh shows gaps.
Problem surfaces:
Transparent and highly reflective objects are photogrammetry's hardest challenge. The standard fix is dulling spray: a thin coat of developer spray or dry shampoo creates a matte surface that scatters light evenly. The OpenClaw agent cannot apply dulling spray for you, but it can detect when a scan produces anomalously few matched points and suggest the fix.
Processing tool selection:
- OpenScan Cloud: simplest option, upload photos and receive a mesh. Free for community use, supported through Patreon. Processing takes 30 to 90 minutes depending on queue depth.
- Meshroom: open-source, runs locally on a machine with an NVIDIA GPU. Produces high-quality meshes with texture maps. The 2025.1 release added significant improvements to the reconstruction pipeline.
- COLMAP: open-source, runs on CPU or GPU. More technical to configure but offers fine-grained control over every reconstruction parameter. Pairs well with OpenMVS for dense mesh generation.
For an automated pipeline, OpenScan Cloud is the lowest-friction choice. The agent uploads photos via the API, polls for completion, and downloads the result. Local processing with Meshroom or COLMAP requires a separate machine with adequate GPU resources, which adds complexity to the automation but removes the dependency on external services.
Cost summary:
A complete DIY scanning rig with a Pi 5 (8 GB), HQ Camera Module, OpenScan frame, steppers, and power supply runs $80 to $120 in parts if you can 3D-print the frame yourself. Pre-assembled OpenScan kits start around $230. Power consumption for 24/7 availability is roughly $1 per month. LLM API costs for the OpenClaw agent depend on usage, but typical scan automation sessions generate light prompt traffic, putting monthly API spend in the $5 to $10 range.
Sources
References used to verify factual claims in this guide.
-
OpenScan achieves 10-micron accuracy with the Raspberry Pi HQ Camera Module
-
OpenScan Mini achieves 0.02 mm accuracy, Classic achieves 0.01 mm accuracy OpenScan Cloud has processed over ten million photos
-
Raspberry Pi Foundation published an official guide for running OpenClaw on Pi hardware
-
OpenClaw Raspberry Pi installation requires Pi 4 or 5 with 2 GB plus RAM
Frequently Asked Questions
Can Raspberry Pi do 3D scanning?
Yes. The Raspberry Pi drives the OpenScan photogrammetry platform, which uses stepper motors to rotate objects while the Pi camera captures photos from multiple angles. The system achieves 10-micron accuracy with the HQ Camera Module and sub-50-micron accuracy with the Camera Module v2.1. The Pi handles capture and motor control natively. Mesh reconstruction requires either cloud processing (OpenScan Cloud) or a separate machine with more compute power.
How accurate is Raspberry Pi photogrammetry?
Accuracy depends on the camera module and scan settings. The Raspberry Pi HQ Camera Module with a 16 mm lens achieves around 10-micron accuracy on small objects, as documented by the OpenScan project. The Camera Module v2.1 reaches sub-50-micron accuracy. These figures assume proper lighting, sufficient rotation steps (60 to 100 per revolution), and a stable turntable. Real-world results vary with object surface properties and environmental conditions.
What software works for Pi 3D scanning?
OpenScan firmware runs directly on the Pi and controls the turntable, camera, and scan workflow. For mesh reconstruction, the main options are OpenScan Cloud (free, community-supported), Meshroom (open-source, requires NVIDIA GPU), and COLMAP (open-source, runs on CPU or GPU). Meshroom and COLMAP run on a separate workstation, not on the Pi itself. OpenScan Cloud handles processing remotely and returns a finished mesh.
How long does a full photogrammetry scan take?
A typical scan session with 80 rotation steps across 4 tilt angles (320 photos) takes 15 to 30 minutes for capture, depending on exposure time and pause duration between rotations. Mesh reconstruction adds 20 minutes to several hours depending on the processing tool and hardware. OpenScan Cloud typically returns results in 30 to 90 minutes. An automated pipeline with an OpenClaw agent eliminates the supervision time during capture, so the operator only needs to place and remove objects.
What does a Raspberry Pi 3D scanner cost to build?
A complete DIY rig costs $80 to $120 in parts if you 3D-print the OpenScan frame yourself. That includes a Raspberry Pi, camera module, stepper motors, drivers, and power supply. Pre-assembled OpenScan kits start around $230 for the Mini and $280 for the Classic. Power consumption for always-on operation is roughly $1 per month.
Related Resources

Store and share 3D scan output from your Pi agent
Generous storage, MCP-ready endpoint for your scanning agent's uploads and handoffs.