How to Run Multiple OpenClaw Agents in Proxmox LXC Containers on a Raspberry Pi
Running OpenClaw in Proxmox on a Raspberry Pi lets you host multiple isolated AI agent instances in LXC containers on a single board. This guide walks through installing Proxmox VE on a Pi 5, building an LXC template with OpenClaw pre-installed, cloning containers for each agent, setting resource limits, and connecting agent outputs to a shared workspace for coordination and handoff.


Why Proxmox on a Pi for Multi-Agent Isolation
Most OpenClaw deployment guides cover a single instance: install on bare metal or spin up a Docker container, configure your LLM key, and start issuing commands. That works fine when you have one agent doing one job. But once you want separate agents for different responsibilities (a work assistant, a home automation controller, a research scraper, a backup monitor), running them all in one OpenClaw instance creates problems. Shared state means one misconfigured skill can interfere with another. There is no resource isolation, so a runaway process in one agent starves the others. And if the single instance crashes, everything goes down together.
Proxmox VE solves this by giving each agent its own LXC container. LXC containers share the host kernel but maintain separate filesystems, process trees, and network stacks. An OpenClaw container uses roughly 200 to 400MB of RAM when idle and draws almost no CPU. Compare that to full virtual machines, which each need their own kernel image and boot sequence. On a Pi with 8GB of RAM, the overhead difference between five LXC containers and five VMs is the difference between a usable system and one that swaps constantly.
The Raspberry Pi 5 is the first Pi that makes this practical. Its quad-core Cortex-A76 at 2.4GHz handles concurrent container workloads that would choke a Pi 4. The PCIe 2.0 interface means you can connect an NVMe SSD directly, which eliminates the I/O bottleneck that SD cards create under sustained container writes. Community guides report running five isolated OpenClaw agents on one Proxmox Pi server, with each container holding its own configuration, skills, and workspace directory.
The cost argument matters too. Five separate cloud VMs, even small ones, run $30 to $50 per month. A Pi 5 with NVMe SSD costs $100 to $130 up front and roughly $5 per year in electricity at idle. Community reports estimate savings of approximately $200 per year compared to equivalent cloud hosting. For always-on agents that do not need burst compute, the Pi pays for itself in a few months.
Related guides
- How to Run Claude Code in Docker Containers and Dev EnvironmentsThree out of four startups now run Claude Code as their primary AI coding tool, yet most developers still execute it...
- How to Run Hermes Agent Using Docker ComposeRunning Nous Research Hermes Agent with Docker Compose ensures persistent storage for agent configuration, databases,...
- 10 Raspberry Pi 5 Projects That Run OpenClaw AI AgentsRaspberry Pi's AI HAT+ 2 brought 40 TOPS of on-device inference to the Pi 5 for $130, turning a single-board computer...
- How to Manage UniFi Networks with an OpenClaw Agent on Raspberry PiMost UniFi guides stop at installing the controller on a Raspberry Pi. This guide goes further by adding an OpenClaw AI...
- How to Run an OpenClaw-Style Agent on Raspberry Pi Pico 2The Raspberry Pi Pico 2 W costs $7 and packs WiFi, 520KB of SRAM, and dual Cortex-M33 cores at 150MHz. It can't run...
- How to Run an OpenClaw Raspberry Pi WireGuard Site-to-Site VPN AgentA site-to-site WireGuard agent links two networks through encrypted tunnels managed by Raspberry Pi gateways. This...
More on this subject: OpenClaw on Raspberry Pi (192 guides)
Hardware and Software Requirements
Before starting, gather the hardware and verify your software prerequisites. Proxmox on Pi is not a standard Proxmox install, so specifics matter.
Hardware:
- Raspberry Pi 5 with 8GB RAM. The 4GB model can work for two or three containers, but 8GB gives you headroom for five agents plus Proxmox overhead
- Official 27W USB-C power supply. Underpowered supplies cause throttling under sustained container load
- M.2 HAT+ (official Raspberry Pi or Pimoroni NVMe Base) with an NVMe SSD in M.2 2230 or 2242 form factor. 250GB is comfortable for five containers at 8 to 20GB each
- Active cooler for the Pi 5. Proxmox under load generates more heat than a typical single-service Pi deployment
- Ethernet cable. Wireless is unreliable for a server running multiple networked containers
- A small heatsink for the NVMe SSD is recommended but not strictly required
Software:
- Raspberry Pi OS Lite (64-bit), Bookworm release. This gives you Proxmox VE 8, which is the stable path as of May 2026. The Trixie release maps to Proxmox VE 9 but is still a testing branch
- Proxmox uses a community-maintained ARM64 port (PXVirt), not the official x86 Proxmox release. This is well documented but worth understanding: you are running an unofficial port
- Node.js 22 or later (ARM64 build) inside each container for OpenClaw
- An LLM API key from Anthropic, OpenAI, Google, or another provider. Each container can use a different key or share one
Networking:
- A static IP for the Pi on your LAN. Proxmox's web interface and container networking depend on a predictable address
- A network bridge (vmbr0) that Proxmox creates during setup. Containers connect through this bridge to reach your LAN and the internet
Estimated setup time: 90 to 120 minutes for a complete five-container deployment, assuming you have all hardware ready.

How to Install Proxmox VE on the Raspberry Pi 5
Start with a fresh Raspberry Pi OS Lite (64-bit) image. Flash it to a microSD card using Raspberry Pi Imager, enable SSH during imaging, and boot the Pi. Once you have confirmed SSH access, the goal is to move the boot drive to your NVMe SSD. Running Proxmox from an SD card is strongly discouraged because the constant write operations from container I/O wear out the card within weeks or months.
Initial system preparation:
Update the base OS, install curl, and set a root password. Proxmox authenticates through the root account on its web interface. Edit /etc/hosts to replace the loopback address for your hostname with your static IP. This is a Proxmox requirement: the hostname must resolve to a routable address, not 127.0.0.1. If your Pi uses cloud-init, disable the update_etc_hosts module so it does not overwrite your change on reboot.
Adding the PXVirt repository:
The community ARM64 port lives in the PXVirt repository. Add the GPG key and repository source for your Debian release (Bookworm for Proxmox 8). Then disable NetworkManager and install ifupdown2, which Proxmox uses for bridge networking.
Network bridge configuration:
Edit /etc/network/interfaces to create a bridge interface called vmbr0. This bridge connects your physical Ethernet adapter to the virtual network that containers use. Assign your static IP to vmbr0 instead of the physical interface. Each LXC container will attach to this bridge and either get a DHCP address or a static IP you assign.
Installing Proxmox:
Install the Proxmox VE package along with postfix, open-iscsi, and the ARM64 EFI firmware. The installation pulls in the Proxmox kernel, storage management tools, and the web UI. After a reboot, access the Proxmox web interface at https://<your-pi-ip>:8006 and log in as root.
Setting up NVMe storage:
In the Proxmox web UI, add your NVMe drive as a storage target. LVM-Thin is a good choice because it supports snapshots, which are useful for creating container templates. Navigate to Datacenter, then Storage, then Add, and configure an LVM-Thin pool on your NVMe device. This pool will hold your container root filesystems.
At this point you have a working Proxmox hypervisor on a Raspberry Pi 5 with NVMe-backed storage. The web UI lets you create, start, stop, and monitor containers from any browser on your network.


Give your Proxmox agents persistent storage and searchable outputs
Upload reports, configs, and skill files from every OpenClaw container to one shared workspace. Intelligence Mode indexes everything for semantic search, and the MCP server lets each agent read and write programmatically. generous storage.
How to Build an OpenClaw LXC Template
Instead of installing OpenClaw from scratch in every container, build one template container and clone it. This saves time and guarantees consistency across your agents.
Create the base container:
Download an Ubuntu 24.04 ARM64 template from the Proxmox template repository. Create a new unprivileged LXC container with nesting enabled (nesting is required for Node.js child processes and some OpenClaw operations). Assign generous resources for the initial build: 2 CPU cores, 2GB RAM, and 20GB disk. You will trim these down when you clone.
Unprivileged containers are important for security. They map container root to an unprivileged user on the host, so even if an agent process escapes the container, it lands in a low-privilege context on the Proxmox host.
Install OpenClaw dependencies:
Start the container and attach to its console. Update the package list, install curl, git, and build-essential. Install Node.js 22 from the NodeSource ARM64 repository. Verify the installation with node --version.
Install OpenClaw:
Run the official OpenClaw installer script. This downloads the OpenClaw package, creates the configuration directory at ~/.openclaw/, and offers to run the onboarding wizard. Skip the onboarding for now because each cloned container will need its own API key and channel configuration. The goal here is a working OpenClaw binary with all dependencies resolved.
Configure systemd auto-start:
Create a systemd service unit that starts OpenClaw on container boot. This ensures each agent comes back up automatically after a Proxmox host reboot or container restart. Set the service to restart on failure with a 10-second delay, which handles transient network issues during startup.
Convert to template:
Shut down the container and convert it to a Proxmox template. Templates are read-only golden images. When you clone a template, Proxmox creates a new container with a copy of the template's filesystem. You can update the template later if OpenClaw releases a new version, then re-clone to roll out the update across all agents.
Cloning Containers and Configuring Each Agent
With a template ready, creating new agent containers takes seconds. Clone the template for each agent you want to run, adjusting resource allocations based on each agent's workload.
Resource allocation strategy:
Not every agent needs the same resources. A recommended starting point for five agents on an 8GB Pi 5 (leaving roughly 1.5GB for Proxmox overhead and the host OS):
- Work/professional agent: 1 CPU core, 1.5GB RAM, 20GB disk. This agent handles the most complex queries and longest context windows
- Home automation agent: 1 CPU core, 1GB RAM, 10GB disk. Periodic checks and smart home commands are lightweight
- Research agent: 1 CPU core, 1GB RAM, 15GB disk. More disk for caching downloaded content and generated reports
- Background jobs agent: 1 CPU core, 512MB RAM, 8GB disk. Scheduled tasks like backup verification and certificate checks
- Personal assistant agent: 1 CPU core, 512MB RAM, 8GB disk. Calendar, messaging, and quick lookups
CPU cores in Proxmox are shared by default, not exclusive. Allocating 1 core per container does not reserve a physical core. It sets a scheduling weight. Under load, Proxmox distributes CPU time proportionally. This means five containers each assigned 1 core can all burst higher when other containers are idle.
Per-container configuration:
After cloning, start each container and run the OpenClaw onboarding wizard. Each agent gets its own LLM API key (or they can share one key with separate configurations), its own Telegram bot token or messaging channel, and its own set of skill files. The key point is that each container has an isolated ~/.openclaw/ directory, so configurations never collide.
Networking options:
Each container gets its own IP address on your LAN through the vmbr0 bridge. You can use DHCP or assign static IPs. Static IPs make it easier to set up reverse proxies or Tailscale access for individual agents. If you want containers to communicate with each other (for example, a coordination agent that delegates tasks to specialist agents), they can reach each other over the bridge network.
Snapshot strategy:
Before making significant changes to any agent's configuration, take a Proxmox snapshot. Snapshots capture the container's filesystem and memory state. If a configuration change breaks an agent, restoring takes seconds. This is far easier than troubleshooting a broken OpenClaw installation from scratch. With LVM-Thin storage, snapshots are space-efficient because they only store changed blocks.
Management agent pattern:
One useful deployment pattern is designating one container as a management agent. This agent's skills describe the other containers: their IPs, purposes, and health check endpoints. It can SSH into sibling containers (using key-based auth between containers on the bridge network), check OpenClaw service status, restart agents that have stopped responding, and report overall system health. This creates a lightweight orchestration layer without installing additional software on the Proxmox host itself.
Coordinating Agent Outputs with Fastio Workspaces
Five isolated agents produce five separate streams of output: generated reports, configuration changes, audit logs, research summaries, skill updates. Without a shared coordination layer, you end up SSHing into individual containers to retrieve results, or building ad-hoc scripts to consolidate outputs.
Local storage on the Pi is the simplest option but also the most fragile. An NVMe failure (or even a bad firmware update) takes down all five agents and their outputs simultaneously. Git repositories work well for version-controlled configs, but they add friction for binary outputs, large files, and quick ad-hoc sharing.
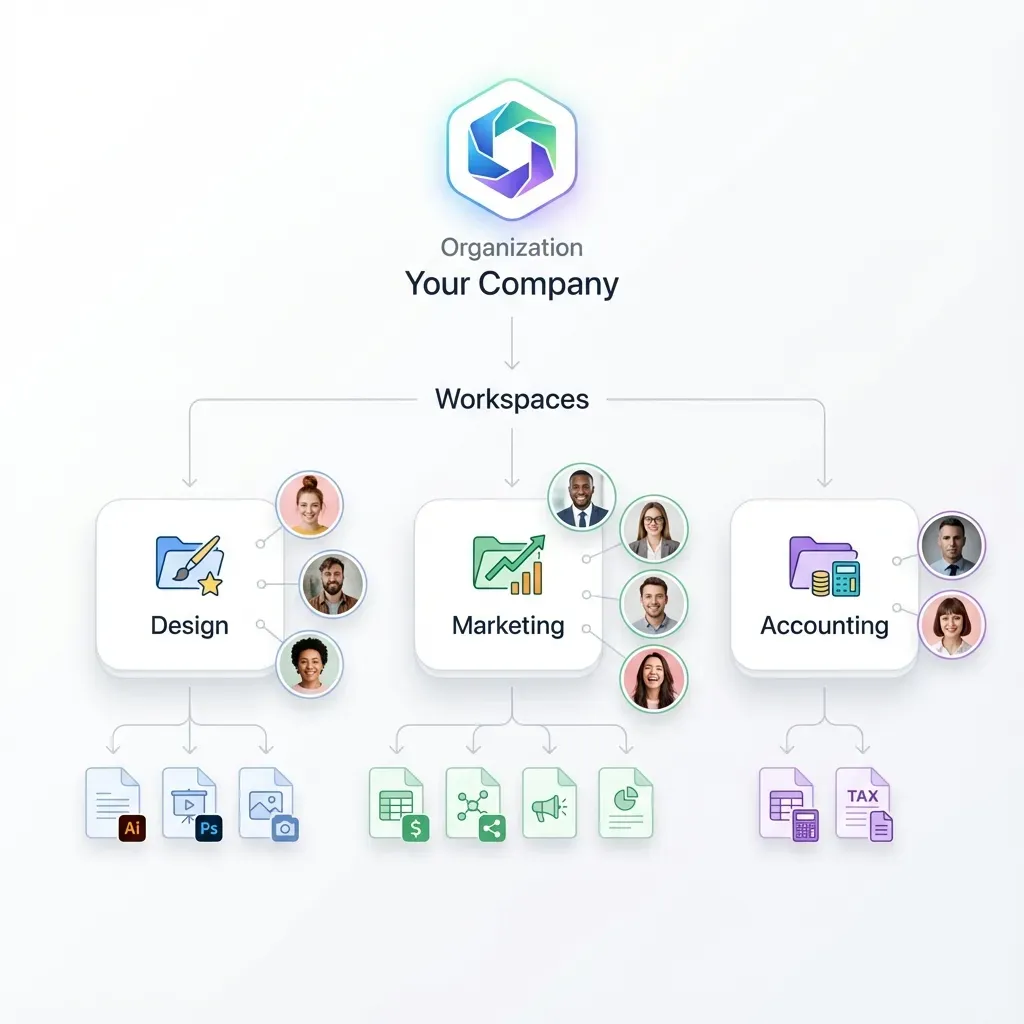
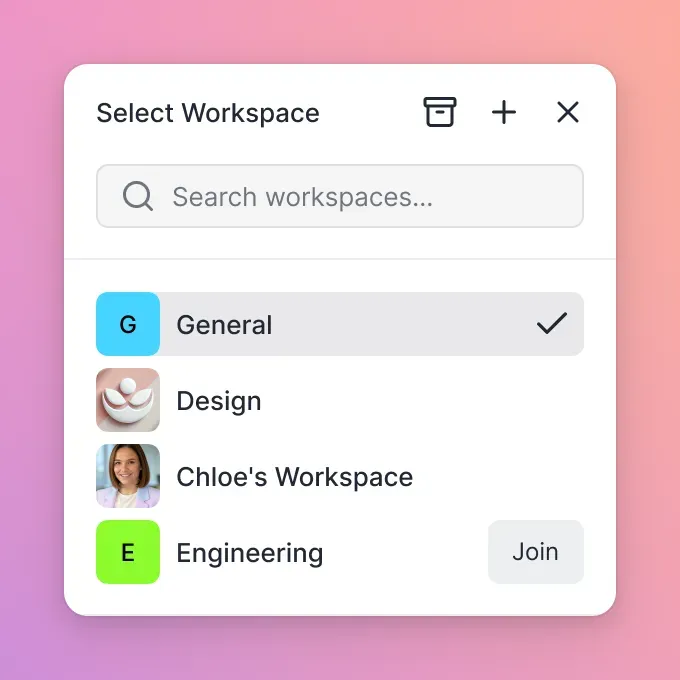
Fastio workspaces provide a persistent, shared layer that all five agents can write to independently. Create one workspace per agent or one shared workspace with folder-based organization. With Intelligence Mode enabled, uploaded files are automatically indexed for semantic search, so you can ask questions across all agents' outputs from a single interface. "What did the research agent find about API rate limits last week?" returns results with citations pointing to the specific file.
The Fastio MCP server exposes workspace operations as structured tools. Each OpenClaw agent can upload reports, read shared configuration files, and search across the workspace programmatically. For agents that produce outputs meant for human review (research summaries, generated documents, audit reports), the workspace becomes the handoff point. The agent writes, the human reads and acts.
For multi-agent coordination, the workspace acts as a shared bulletin board. One agent posts a research finding, another agent picks it up as input for content generation, a third archives the result. Audit trails track which agent uploaded or modified each file, giving you a clear record of the multi-agent workflow. If you need to hand off the entire workspace to a colleague or client, ownership transfer handles the permission change without rebuilding access from scratch.
Fastio offers a 14-day Business Trial, card required (see fast.io/pricing). For five agents generating text-based outputs, Fastio plans provide ample storage and credit capacity.
Other options for shared storage include MinIO (self-hosted S3-compatible storage), Nextcloud, or a simple NFS share between containers. Fastio's advantage is the combination of persistent storage, built-in AI indexing, and MCP-native access, which means your agents can search and query the shared workspace the same way they interact with other tools. No separate vector database or retrieval pipeline needed.
Sources
References used to verify factual claims in this guide.
-
OpenClaw minimum requirements are 1GB RAM, 1 core, 500MB free disk, 64-bit OS with 2GB+ RAM recommended
-
Pi 5 has a PCIe 2.0 x1 interface for NVMe SSD Proxmox VE on Pi uses community-maintained ARM64 port PXVirt
-
Community guides report running 5 isolated OpenClaw agents in LXC containers on one Proxmox Pi server Each LXC container uses approximately 200 to 400MB RAM when idle
-
Raspberry Pi 5 draws roughly 5W at idle
Frequently Asked Questions
Can Raspberry Pi 5 run Proxmox?
Yes. The Raspberry Pi 5 runs Proxmox VE through a community-maintained ARM64 port called PXVirt. The Pi 5's quad-core Cortex-A76 CPU and PCIe 2.0 interface (for NVMe SSD storage) make it the first Pi suitable for real virtualization workloads. Proxmox on Pi supports LXC containers natively and can run ARM64 virtual machines. It does not run x86 VMs efficiently because those require software emulation.
How many OpenClaw agents can run on one Raspberry Pi?
Community setups report running five isolated OpenClaw agents in LXC containers on a single Raspberry Pi 5 with 8GB RAM. Each idle container uses 200 to 400MB of RAM. The practical limit depends on your workload. If agents run lightweight scheduled tasks, five is comfortable. If multiple agents run concurrent LLM-heavy operations, you may need to reduce the count or increase swap space.
What is LXC vs Docker for OpenClaw?
LXC containers are lightweight OS-level containers that share the host kernel. They behave like minimal Linux systems with their own init, networking, and filesystem. Docker containers are application-level, typically running a single process. For OpenClaw, LXC is better suited to multi-agent deployments because each container runs a full OpenClaw installation with systemd, cron, and multiple processes, while maintaining stronger isolation between instances than Docker provides by default. Docker is simpler for single-instance deployments.
How do you isolate AI agents on a Raspberry Pi?
Use Proxmox VE to create unprivileged LXC containers, one per agent. Each container has its own filesystem, process tree, network stack, and resource limits. Unprivileged containers map the container root user to a non-root user on the host, adding a security boundary. Set CPU and memory limits per container to prevent one agent from starving others. Use separate API keys and messaging channels per agent so actions are traceable.
What happens if the Proxmox host reboots?
Proxmox can auto-start containers on boot. If you configured systemd services inside each container for OpenClaw, agents resume automatically after a host reboot. Proxmox also lets you set start order and start delay per container, so you can ensure networking is ready before agents attempt to connect to external APIs. Take regular snapshots so you can recover quickly if a reboot reveals a corrupted container filesystem.
How much storage does each OpenClaw container need?
The minimum is about 8GB for the base Ubuntu system, Node.js, and OpenClaw installation. A practical allocation is 8 to 20GB per container depending on the agent's purpose. Agents that cache web content or generate large reports need more disk. Agents that run simple automation tasks can get by with 8GB. On a 250GB NVMe SSD, five containers at 15GB average leaves plenty of room for snapshots and growth.
Related Resources

Give your Proxmox agents persistent storage and searchable outputs
Upload reports, configs, and skill files from every OpenClaw container to one shared workspace. Intelligence Mode indexes everything for semantic search, and the MCP server lets each agent read and write programmatically. generous storage.