How to Set Up a Raspberry Pi Webcam Server with an OpenClaw Streaming Agent
Most Raspberry Pi webcam guides end at "open a browser and see your stream." This guide goes further, pairing Picamera2's MJPEG server with an OpenClaw agent that watches the stream process, restarts it on failure, and delivers recorded clips to cloud storage. You get a self-healing camera server instead of one that silently dies at 3 a.m.


Why Most Pi Webcam Servers Break Overnight
An estimated 65% of AI inference workloads will run on edge devices by 2026, according to Future Market Insights' smart camera market report. Raspberry Pi boards sit at the center of this shift. With over 68 million units sold through early 2025 and 7.6 million shipped in FY2025 alone, the Pi is the most popular single-board computer for DIY camera projects, home monitoring, and edge computing.
The problem is not getting a stream running. That part takes about fifteen minutes. The problem is keeping it running. A Picamera2 MJPEG server works perfectly until the process crashes from a memory leak, the camera interface resets after a kernel update, or the Pi quietly reboots during a power fluctuation. You check the feed the next morning and find a frozen frame from eight hours ago.
Commercial IP cameras solve this with built-in watchdog timers and firmware-level recovery. A Raspberry Pi has none of that out of the box. You can write a systemd service with restart policies, and that handles simple crashes. But systemd cannot tell the difference between a running process that is streaming frames and a running process that is stuck in an error loop producing zero output.
That gap is where an OpenClaw agent fits. OpenClaw is an open-source AI agent framework that gives an LLM direct access to your local filesystem, shell commands, and scheduled tasks. Instead of writing custom watchdog scripts, you configure an agent that understands what "stream health" means and can reason about how to fix problems it encounters.
Related guides
- How to Set Up MCP Servers in CursorCursor MCP server setup is the process of connecting Model Context Protocol servers to the Cursor AI code editor,...
- How to Set Up an MCP Server for n8n Workflow AutomationThe Model Context Protocol turns n8n into an AI-accessible automation platform. This guide walks through setting up n8n...
- How to Build a Server Room Temperature and Humidity Monitor with OpenClaw on Raspberry PiA Raspberry Pi with a temperature and humidity sensor can log server room conditions. Adding an OpenClaw agent turns...
- How to Set Up the Raspberry Pi I2C Bus for Multi-Sensor OpenClaw AgentsI2C lets a Raspberry Pi talk to dozens of sensors over just two wires, but most tutorials stop at printing a single...
- How to Build a Wireless Sensor Decoder Agent with RTL-433 and OpenClaw on Raspberry Pirtl_433 decodes signals from over 320 wireless device protocols using a cheap USB radio dongle. Pairing it with an...
- How to Build a Pool Water Quality Monitor with OpenClaw on Raspberry PiCommercial pool monitors display readings on a screen. They tell you the pH is 7.1 but not what to do about it. This...
More on this subject: OpenClaw on Raspberry Pi (192 guides)
What You Need
Hardware:
- Raspberry Pi 4 (4 GB RAM minimum) or Raspberry Pi 5 (recommended)
- Raspberry Pi Camera Module 3 ($25, 12MP IMX708 sensor with autofocus and HDR) or Camera Module 2
- CSI ribbon cable (Pi 5 uses a smaller connector, so check you have the right cable)
- MicroSD card, 32 GB or larger
- USB-C power supply rated for your Pi model (5V/3A for Pi 4, 5V/5A for Pi 5)
Software:
- Raspberry Pi OS (Bookworm or later), which includes libcamera and Picamera2 by default
- Python 3 with Picamera2 (
sudo apt install -y python3-picamera2) - OpenClaw (installed via the official install script at openclaws.io)
- An API key for any supported LLM (Claude, GPT-4, Gemini, or a local model like Llama)
The Camera Module 3 is the best current option for streaming. Its IMX708 sensor handles 1080p at 60fps with hardware autofocus, and at $25 it costs less than most USB webcams. The sensor assemblies are also available standalone from $15 if you already have a compatible lens mount. Raspberry Pi has confirmed production through at least January 2030, so the module will not be discontinued any time soon.
If you are using a USB webcam instead of the CSI camera module, the streaming code changes slightly (you will use OpenCV's VideoCapture instead of Picamera2), but the OpenClaw monitoring layer works identically.
Connect the Camera and Start Streaming
Power off the Pi before connecting the camera. Lift the CSI connector latch, slide the ribbon cable in with the contacts facing the board, and press the latch back down. Boot the Pi and verify the camera is detected:
rpicam-hello -t 5s
You should see a five-second preview window. If you get a "no cameras available" error, check the cable orientation and make sure the connector latch is fully seated.
Quick test with rpicam-vid:
For a fast sanity check, stream MJPEG directly to a TCP listener:
rpicam-vid -t 0 --codec mjpeg --width 1280 --height 720 --framerate 30 --nopreview --listen -o tcp://0.0.0.0:8554
Open VLC on another computer and connect to tcp://<pi-ip>:8554 to confirm the stream works. This is useful for testing, but it only supports one client at a time.
Production streaming with Picamera2:
For a proper multi-client MJPEG server, use Picamera2's Python API. Create a file called stream_server.py:
import io
import socketserver
from http import server
from threading import Condition
from picamera2 import Picamera2
from picamera2.encoders import JpegEncoder
from picamera2.outputs import FileOutput

PAGE = """<html><body>
<img src="stream.mjpg" width="1280" height="720" />
</body></html>"""

class StreamingOutput(io.BufferedIOBase):
    def __init__(self):
        self.frame = None
        self.condition = Condition()

def write(self, buf):
        with self.condition:
            self.frame = buf
            self.condition.notify_all()

class StreamingHandler(server.BaseHTTPRequestHandler):
    def do_GET(self):
        if self.path == "/":
            self.send_response(301)
            self.send_header("Location", "/index.html")
            self.end_headers()
        elif self.path == "/index.html":
            content = PAGE.encode("utf-8")
            self.send_response(200)
            self.send_header("Content-Type", "text/html")
            self.send_header("Content-Length", len(content))
            self.end_headers()
            self.wfile.write(content)
        elif self.path == "/stream.mjpg":
            self.send_response(200)
            self.send_header("Age", 0)
            self.send_header("Cache-Control",
                             "no-cache, private")
            self.send_header("Pragma", "no-cache")
            self.send_header("Content-Type",
                "multipart/x-mixed-replace; boundary=FRAME")
            self.end_headers()
            try:
                while True:
                    with output.condition:
                        output.condition.wait()
                        frame = output.frame
                    self.wfile.write(b"--FRAME
")
                    self.send_header("Content-Type",
                                     "image/jpeg")
                    self.send_header("Content-Length",
                                     len(frame))
                    self.end_headers()
                    self.wfile.write(frame)
            except Exception:
                pass

class StreamingServer(socketserver.ThreadingMixIn.
                      server.HTTPServer):
    allow_reuse_address = True

picam2 = Picamera2()
picam2.configure(
    picam2.create_video_configuration(
        main={"size": (1280, 720)}))
output = StreamingOutput()
picam2.start_recording(JpegEncoder(), FileOutput(output))

try:
    srv = StreamingServer(("", 8000), StreamingHandler)
    srv.serve_forever()
finally:
    picam2.stop_recording()
Run it with python3 stream_server.py and open http://<pi-ip>:8000 in any browser. MJPEG works natively in every modern browser without plugins, codecs, or JavaScript players. Multiple clients can connect simultaneously because ThreadingMixIn handles each connection in its own thread.
The resolution is set to 1280x720 at 30fps, which balances quality with bandwidth. On a local network, this uses roughly 5 to 15 Mbps depending on scene complexity. Drop to 640x480 if you are streaming over a slower connection or need to support more simultaneous viewers.


Give Your Pi Camera Agent Persistent Cloud Storage
Upload clips, index footage for search, and share recordings from a shared workspace. MCP-ready for your OpenClaw agent.
Install OpenClaw and Configure the Stream Monitor
With the stream running, the next step is making it self-healing. OpenClaw adds an agent layer that can check whether frames are actually being produced, restart the stream process when it stalls, and log events for later review.
Install OpenClaw on the Pi:
Follow the official installation at openclaws.io. OpenClaw supports Mac, Windows, and Linux, including ARM-based systems like the Raspberry Pi. You will need Node.js 18+ and an API key for your preferred LLM provider.
A Pi 5 with 8 GB RAM handles OpenClaw agent tasks comfortably. A Pi 4 with 4 GB works but runs roughly twice as slow for agent reasoning, so keep your monitoring interval generous (every 60 seconds rather than every 10).
What the agent monitors:
OpenClaw's core design gives an LLM access to your local shell, filesystem, and scheduling system. For a webcam server, the monitoring agent performs three checks:
Process liveness. Is the
stream_server.pyprocess running? A simplepgrepcheck catches outright crashes.Frame output. Is the stream producing frames? The agent can make an HTTP request to
localhost:8000/stream.mjpg, read a few bytes, and confirm JPEG data is flowing. This catches the failure mode that systemd misses: a process that is running but stuck.Resource health. Is the Pi's CPU temperature below throttling thresholds? Is disk space available for any recorded clips? The agent checks
vcgencmd measure_tempanddfoutput to anticipate problems before they cause a stream failure.
Recovery actions:
When the agent detects a problem, it does not just restart blindly. Because it reasons through an LLM, it can differentiate between a crashed process (restart immediately), a stalled stream (kill and restart with a short delay), and a thermal throttle (reduce resolution before restarting). OpenClaw's built-in cron scheduling lets you run these checks on a recurring interval without writing external crontab entries.
This is where the value over plain systemd becomes clear. A restart policy can bring a process back, but it cannot decide to switch from 1080p to 720p because the Pi is running hot, or skip a restart because the camera cable was physically disconnected and no amount of restarting will help.

Store Recordings and Clips in the Cloud
A webcam server that only streams live video loses everything the moment the stream ends. For security cameras, baby monitors, or workshop monitoring, you want recordings. The challenge on a Pi is storage. A 32 GB microSD card fills up fast when you are writing 720p MJPEG clips.
Local recording with rpicam-vid:
You can record segments alongside the live stream using rpicam-vid's segment option:
rpicam-vid -t 0 --codec mjpeg --segment 60000 \
  -o /home/pi/clips/clip_%04d.mjpeg
This writes a new file every 60 seconds. The OpenClaw agent can watch the clips directory, delete files older than a threshold, and upload important clips to cloud storage before deleting them locally.
Cloud storage options:
You can sync clips to any cloud provider. Common choices include rsync to a remote server, rclone to Google Drive or S3, or a dedicated workspace platform.
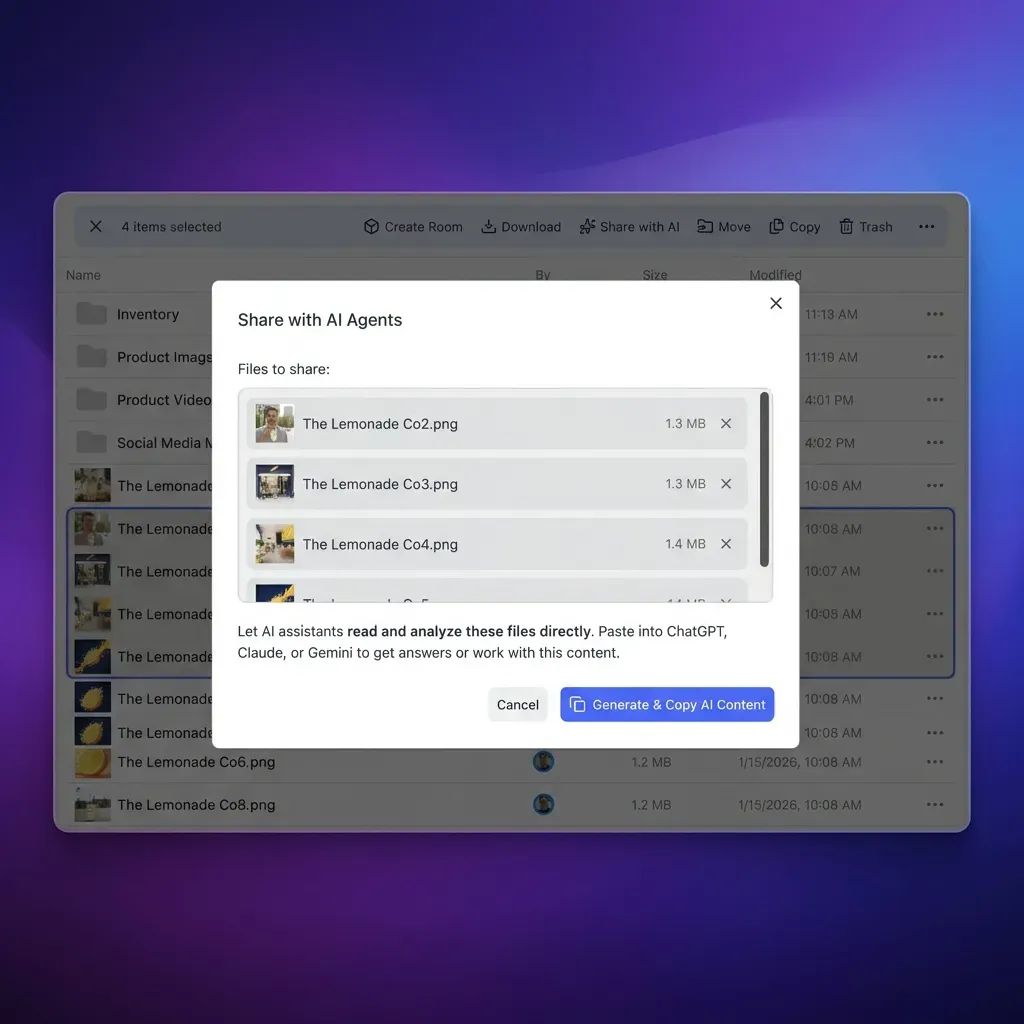
Fast.io works well for this use case because agents can upload files programmatically through the remote MCP server or REST API, backed by paid plans starting at $9.99/mo. The OpenClaw agent can upload a clip, verify the upload completed, and then delete the local copy to free space. Fast.io's built-in Intelligence Mode indexes files for search and AI chat once enabled on the workspace, so you can later ask questions like "show me all clips from Tuesday afternoon" without scrubbing through hours of footage manually.
For teams that need to share camera footage, Fast.io's branded shares let you create a password-protected link to a folder of clips without giving recipients access to your entire workspace. Fast.io offers a 14-day Business Trial, card required (see pricing).
Other solid options include Backblaze B2 (cheap bulk storage at $6/TB/month) or a self-hosted Nextcloud instance if you already run one.
Set Up Remote Access Without Exposing Your Network
Streaming on your local network is straightforward, but accessing the feed from outside your home requires more thought. Opening a port on your router exposes the Pi directly to the internet, which is a security risk for any device, especially one running a camera.
Tailscale or WireGuard VPN:
The safest approach is a mesh VPN. Tailscale installs in one command on Raspberry Pi OS and gives your Pi a stable IP address reachable from any device on your Tailscale network. You access the stream at http://<tailscale-ip>:8000 from your phone or laptop without any port forwarding.
WireGuard is the lower-level alternative if you prefer to manage your own VPN. It runs efficiently on the Pi's hardware and adds minimal latency to the stream.
Cloudflare Tunnel:
If you want browser access without a VPN client, Cloudflare Tunnel creates an outbound-only connection from your Pi to Cloudflare's network. You get a public URL for your stream without opening any inbound ports. The free tier covers personal use.
What to avoid:
Do not expose port 8000 directly through your router. The Picamera2 streaming server has no authentication, rate limiting, or TLS. Anyone who finds your IP address can watch your camera feed. If you must use port forwarding, put nginx in front with basic auth and a Let's Encrypt TLS certificate at minimum.
The OpenClaw agent can help here too. It can monitor connection logs, flag unusual access patterns, and send you a notification through Telegram, Slack, or Discord if someone connects from an unexpected IP range. OpenClaw's native messaging integrations make this a configuration step rather than a custom development project.
Sources
References used to verify factual claims in this guide.
-
65% of AI inference projected to migrate to edge devices by 2026
-
Over 68 million Raspberry Pi single-board computers sold as of March 2025
-
7.6 million Raspberry Pi unit shipments in FY2025
-
Raspberry Pi Camera Module 3 priced at $25 with IMX708 12MP sensor
-
Camera Module 3 sensor assemblies available from $15
-
Camera Module 3 in production until at least January 2030
Frequently Asked Questions
Can I use a Raspberry Pi as a webcam server?
Yes. Any Raspberry Pi with a camera port (Pi 3, 4, 5, or Zero 2 W) can run an MJPEG or HLS streaming server. The Pi Camera Module 3 at $25 gives you 1080p60 with autofocus, and the Picamera2 Python library handles encoding and HTTP serving. Clients connect through any web browser.
How do I stream video from a Raspberry Pi camera?
The fastest method is rpicam-vid with the MJPEG codec, streaming over TCP to a single client. For multiple viewers, use the Picamera2 Python library to build a threaded HTTP server that serves MJPEG frames to any number of browser connections simultaneously. Both approaches work on local networks without additional software.
What is the best camera for Raspberry Pi streaming?
The Raspberry Pi Camera Module 3 ($25) is the best option for most streaming projects. It uses the Sony IMX708 sensor with 12MP stills, hardware autofocus, HDR, and video up to 1080p at 60fps. The wide-angle variant ($35) is better for security or room monitoring where field of view matters more than zoom. For night vision, choose the NoIR version and pair it with infrared LED illumination.
Can I access a Raspberry Pi camera stream remotely?
Yes, but do not expose the stream port directly to the internet. Use a mesh VPN like Tailscale or WireGuard to access the stream securely from outside your network. Cloudflare Tunnel is another option that gives you a public URL without port forwarding. All three approaches keep your Pi off the public internet while allowing authenticated remote access.
How does OpenClaw help with a Raspberry Pi webcam server?
OpenClaw adds an intelligent monitoring layer on top of your streaming server. It checks whether the stream process is running, verifies that frames are being produced (catching stalled processes that systemd would miss), monitors Pi hardware health, and can automatically restart the stream with adjusted settings when problems occur. It also handles clip uploads to cloud storage and sends notifications through messaging platforms.
What resolution and framerate should I use for Pi camera streaming?
1280x720 at 30fps is a good default. It produces clear video while keeping bandwidth between 5 and 15 Mbps on a local network. Drop to 640x480 if you need lower bandwidth or want to support more simultaneous viewers. The Camera Module 3 can handle 1080p60, but that requires more CPU and network capacity than most home monitoring setups need.
Related Resources

Give Your Pi Camera Agent Persistent Cloud Storage
Upload clips, index footage for search, and share recordings from a shared workspace. MCP-ready for your OpenClaw agent.