How to Build a Raspberry Pi Router with OpenClaw Traffic Analysis
Standard Raspberry Pi router guides walk you through iptables, dnsmasq, and IP forwarding, then leave you with a static gateway that routes packets but tells you nothing about what passes through it. This guide adds an OpenClaw AI agent on top of that foundation so the Pi captures traffic flow data, flags anomalies, and produces plain-language network health summaries you can actually read.

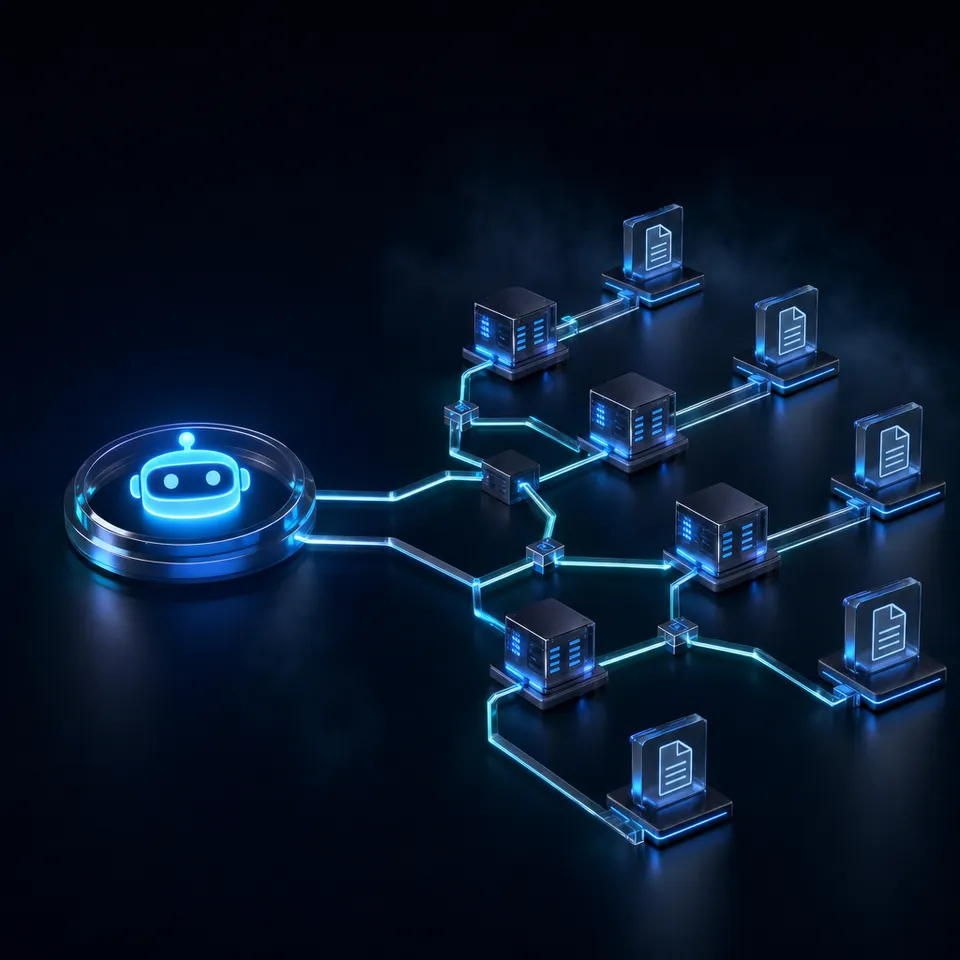
What Pi Router Guides Get Wrong
Every Raspberry Pi router tutorial follows the same arc. You flash Raspberry Pi OS, plug in two network interfaces, configure iptables for NAT masquerading, set up dnsmasq for DHCP and DNS, enable IP forwarding, and reboot. Traffic flows. The guide ends.
That final step is where the gap appears. Your Pi is now routing every packet between your LAN and the internet, but it has no visibility into what those packets actually are. A compromised IoT device phoning home to a command-and-control server looks identical to a laptop streaming video. A slow DNS leak draining bandwidth at 3 AM goes unnoticed because nothing is watching.
Commercial routers from Ubiquiti, Netgear, and TP-Link ship with at least basic traffic dashboards. The Pi router community has not converged on an equivalent. Some guides mention ntopng for flow visualization, but none add an intelligence layer that interprets the data and tells you what matters.
OpenClaw fills that gap. It is an open-source AI agent framework that runs on Raspberry Pi hardware, uses cloud LLMs for reasoning, and can execute local commands through its tool system. Install it alongside your router stack and it becomes a traffic analysis agent: reading flow logs, identifying patterns, flagging problems, and generating reports in plain language instead of raw packet dumps.
The result is a Pi that does two jobs simultaneously. It routes traffic at near-gigabit speeds through its network interfaces. And it watches that traffic with an AI agent that turns raw flow data into something you can act on.
Related guides
- How to Build a Hermes Agent AI Code CheckerThe proportion of copy-pasted code in repositories rose from 8% in 2020 to 12% in 2024, representing a 48% relative...
- How to Build AI Agents with the Claude Agent SDKThe Claude Agent SDK is Anthropic's toolkit for building AI agents that can read files, run commands, search the web,...
- How to Build an OPC UA SCADA Gateway Agent with OpenClaw on Raspberry PiAn OPC UA SCADA gateway agent runs OpenClaw on a Raspberry Pi to bridge industrial control systems with AI-powered...
- How to Install OpenWrt on Raspberry Pi for an OpenClaw-Managed Network RouterOpenWrt 25.12 added support for over 180 new devices and shipped a new package manager, yet fewer than 5% of home-lab...
- How to Build a Traffic Counting Station with OpenClaw on Raspberry PiA traffic counting agent uses a Raspberry Pi camera with computer vision to detect, classify, and count vehicles on a...
- How to Build a Network Security Appliance with OpenClaw on Raspberry PiMost Raspberry Pi firewall guides stop at static UFW rules that never change after setup. This guide goes further by...
More on this subject: OpenClaw on Raspberry Pi (192 guides)
Hardware and Software Requirements
The Raspberry Pi 5 is the right board for this project. Its built-in Gigabit Ethernet controller reaches approximately 941 Mbps in real-world iperf3 tests, and its quad-core Cortex-A76 CPU at 2.4 GHz handles packet forwarding, flow logging, and the OpenClaw Node.js runtime without becoming a bottleneck.
A router needs two network interfaces: one facing the upstream connection (WAN) and one facing your local devices (LAN). The Pi 5 has one built-in Ethernet port and dual-band Wi-Fi. You have two options for the second interface:
- A USB 3.0 Gigabit Ethernet adapter (the AX88179 chipset is well-supported on Pi OS) gives you two wired ports. Real-world throughput through a USB adapter reaches 700 to 850 Mbps under load.
- Use the built-in Wi-Fi radio as the LAN interface and Ethernet as the WAN interface, turning the Pi into a wireless access point and wired gateway simultaneously.
For sustained 24/7 operation, boot from a USB SSD instead of a microSD card. Constant log writes from traffic capture wear out SD cards within months. A basic 128GB SATA SSD on a USB 3.0 enclosure costs under $20 and dramatically improves both write performance and device longevity.
Power budget: The Pi 5 draws approximately 2.7 watts at idle and peaks around 8.8 watts under sustained CPU load. That is a fraction of the 15 to 30 watts a typical consumer router consumes, and it means annual electricity costs of roughly $5 to $8 depending on your rate.
Software stack:
- Raspberry Pi OS Lite (64-bit), headless
- iptables and dnsmasq for routing and DHCP
- tcpdump or ntopng for packet capture and flow analysis
- OpenClaw (installed via the official script at docs.openclaw.ai)
- An LLM API key (Claude, GPT-4, or Gemini) for the agent's reasoning engine
How to Configure the Pi as a Network Gateway
Start with a fresh Raspberry Pi OS Lite (64-bit) installation. Flash it with the Raspberry Pi Imager, enable SSH during the imaging step, and connect the Pi to your network over Ethernet for initial setup.
Assign static IPs to each interface. Your WAN interface (eth0) can use DHCP from your ISP modem or upstream router. Your LAN interface (eth1 for a USB adapter, or wlan0 for Wi-Fi) needs a static IP that will serve as the gateway for your local devices. A typical LAN configuration uses 192.168.4.1/24, keeping it on a different subnet from your upstream network to avoid conflicts.
Edit /etc/dhcpcd.conf to assign the static address on the LAN interface. If you are using Wi-Fi as the LAN side, you will also configure hostapd to create the wireless access point.
Enable IP forwarding. This tells the kernel to pass packets between interfaces instead of dropping them:
echo "net.ipv4.ip_forward=1" | sudo tee -a /etc/sysctl.conf
sudo sysctl -p
Configure NAT with iptables. Masquerading rewrites the source IP on outbound packets so they appear to come from the Pi rather than from individual LAN devices. This is what makes the Pi function as a gateway:
sudo iptables -t nat -A POSTROUTING -o eth0 -j MASQUERADE
sudo iptables -A FORWARD -i eth1 -o eth0 -j ACCEPT
sudo iptables -A FORWARD -m state --state RELATED,ESTABLISHED -j ACCEPT
Save these rules so they persist across reboots:
sudo apt install iptables-persistent
sudo netfilter-persistent save
Set up dnsmasq for DHCP and DNS. Install dnsmasq and configure it to hand out IP addresses on the LAN interface:
sudo apt install dnsmasq
Key settings in /etc/dnsmasq.conf:
- Bind to the LAN interface only (
interface=eth1) - DHCP range on the LAN subnet (192.168.4.100 to 192.168.4.200, 24-hour leases)
- Set the gateway option to the Pi's LAN IP (192.168.4.1)
- Forward DNS queries to upstream resolvers like Cloudflare (1.1.1.1) or Google (8.8.8.8)
- DNS cache size of 1000 entries for faster repeated lookups
Restart dnsmasq, connect a device to the LAN interface, and verify it gets an IP address and can reach the internet. At this point your Pi is a functioning router.



Give your network agent a workspace that indexes every report
Fastio provides cloud workspaces where your OpenClaw agent uploads flow summaries and health reports. Search them in natural language and share with your team.
Adding Traffic Capture and Flow Logging
A router that forwards packets without recording anything gives the OpenClaw agent nothing to analyze. The next step is adding a traffic capture layer that logs flow data, connection metadata, and DNS queries.
tcpdump for raw packet capture. tcpdump is already available in most Pi OS installations. Run it against the LAN interface to capture connection metadata:
sudo tcpdump -i eth1 -n -q -t > /var/log/traffic.log &
For ongoing capture, write to rotating files with a size limit so the disk does not fill up. tcpdump's -C flag splits output into files of a specified size in megabytes, and -W limits the total number of files kept.
Raw packet capture is useful for deep dives but generates large volumes of data. For day-to-day monitoring, flow-level data is more practical.
ntopng for flow analysis. ntopng is an open-source network traffic monitoring tool with a web dashboard. The community edition is free and runs well on Pi 5 hardware. It processes packets from the interface in real time and produces flow records: which devices talked to which destinations, how much data moved, which protocols were used, and how long connections lasted.
Install ntopng from the official repository for Raspberry Pi OS. Once running, it provides a web interface (typically on port 3000) where you can browse active flows, top talkers, protocol breakdowns, and historical trends.
The value for the OpenClaw agent comes from ntopng's flow export capability. ntopng can write flow records to files or expose them through its API, giving the agent structured data about every connection passing through the Pi. Flow records are compact compared to raw packet captures, typically a few hundred bytes per connection versus megabytes for full packet data.
DNS query logging. dnsmasq already handles your DNS. Enable query logging by adding log-queries to /etc/dnsmasq.conf and restarting the service. DNS logs reveal which domains your devices are reaching out to, and they are one of the first indicators of compromised devices or unwanted tracking.
All of these data sources, tcpdump captures, ntopng flow records, and DNS query logs, feed into the OpenClaw agent as input for traffic analysis.
How to Set Up OpenClaw as the Traffic Analysis Agent
With the router running and traffic capture in place, install OpenClaw following the current instructions at docs.openclaw.ai. The Pi 5 exceeds the minimum requirements (1 GB RAM, 64-bit OS) and the recommended specs suggest 2 to 4 GB for a comfortable margin. OpenClaw installs as a persistent daemon that starts on boot, which is exactly what a router-based agent needs.
The architecture is straightforward. The Pi handles all the local work: routing packets, capturing flows, and writing logs. OpenClaw reads those logs and sends the content to a cloud LLM (Claude, GPT-4, or another supported model) for analysis. The LLM does the heavy reasoning and returns conclusions that the agent can act on. This split keeps the Pi's CPU free for routing while offloading the computationally expensive analysis to hardware designed for it.
What the agent monitors. Configure the agent's instruction prompt to focus on the data sources you set up:
- ntopng flow records for connection patterns, bandwidth usage, and protocol distribution
- DNS query logs for domain reputation and unusual lookup patterns
- tcpdump summaries for connection metadata when deeper inspection is needed
- dnsmasq DHCP lease logs for new devices joining the network
What the agent looks for. The analysis layer is where AI adds value over static monitoring dashboards. The agent can identify patterns that raw data visualization misses:
- Devices making connections to known malicious domains or unusual geographic regions
- Sudden spikes in bandwidth from a single device that might indicate data exfiltration
- DNS queries for domains that follow the random-looking patterns typical of DNS tunneling or DGA malware
- New devices appearing on the network that do not match your known device inventory
- Asymmetric traffic patterns where a device sends far more data than it receives, or vice versa
Plain-language reporting. The most practical output from the agent is a daily or weekly network health summary written in English rather than log format. Instead of scrolling through thousands of flow records, you get a paragraph that says: "Your network carried 47 GB of traffic this week. The living room TV accounted for 60% of bandwidth, mostly streaming. The smart thermostat made 340 DNS queries to three domains, all legitimate. No anomalies detected." When something is wrong, the report leads with the problem.
Alerting. OpenClaw connects to messaging platforms like Discord, Slack, and WhatsApp. Configure the agent to send immediate alerts for high-severity events (a device contacting a known C2 domain, a brute-force attempt on the router's SSH port) and batch lower-priority observations into the periodic health report.
Because OpenClaw's configuration syntax evolves with each release, verify the exact setup steps against the official documentation rather than following hardcoded commands. The workflow pattern stays consistent across versions: install the runtime, configure your LLM provider, define the tool whitelist (read access to your log files and flow data), and write the agent's instruction prompt describing what to monitor and how to report findings.
Storing Traffic Data and Sharing Network Reports
A Pi router generates traffic logs, flow records, agent reports, and configuration backups that all need a durable home. The SD card or USB SSD attached to the Pi works for short-term storage, but you need somewhere accessible when the Pi is offline or when other people on your team need to review the data.
Local options include syncing logs to an S3 bucket, pushing them to a self-hosted Grafana/Loki stack, or archiving to a NAS. Each approach requires its own maintenance overhead.
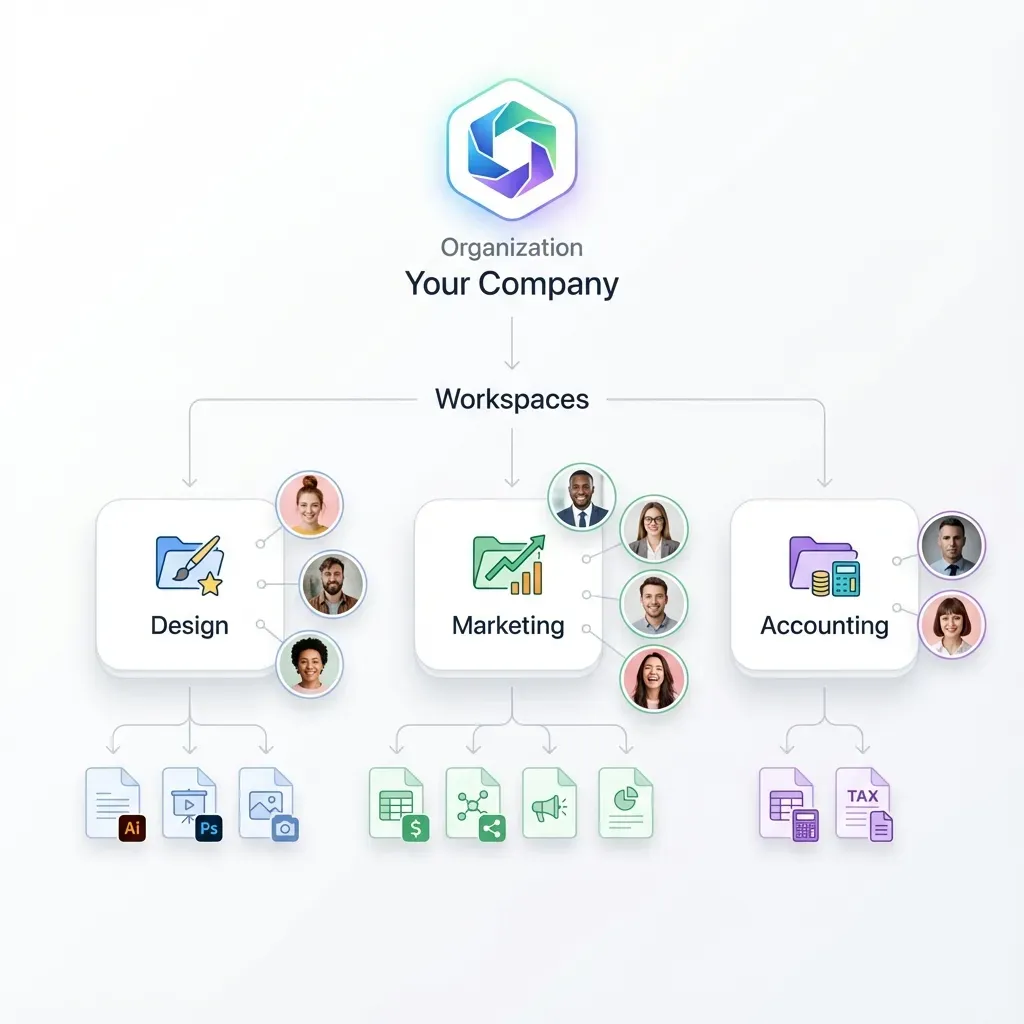
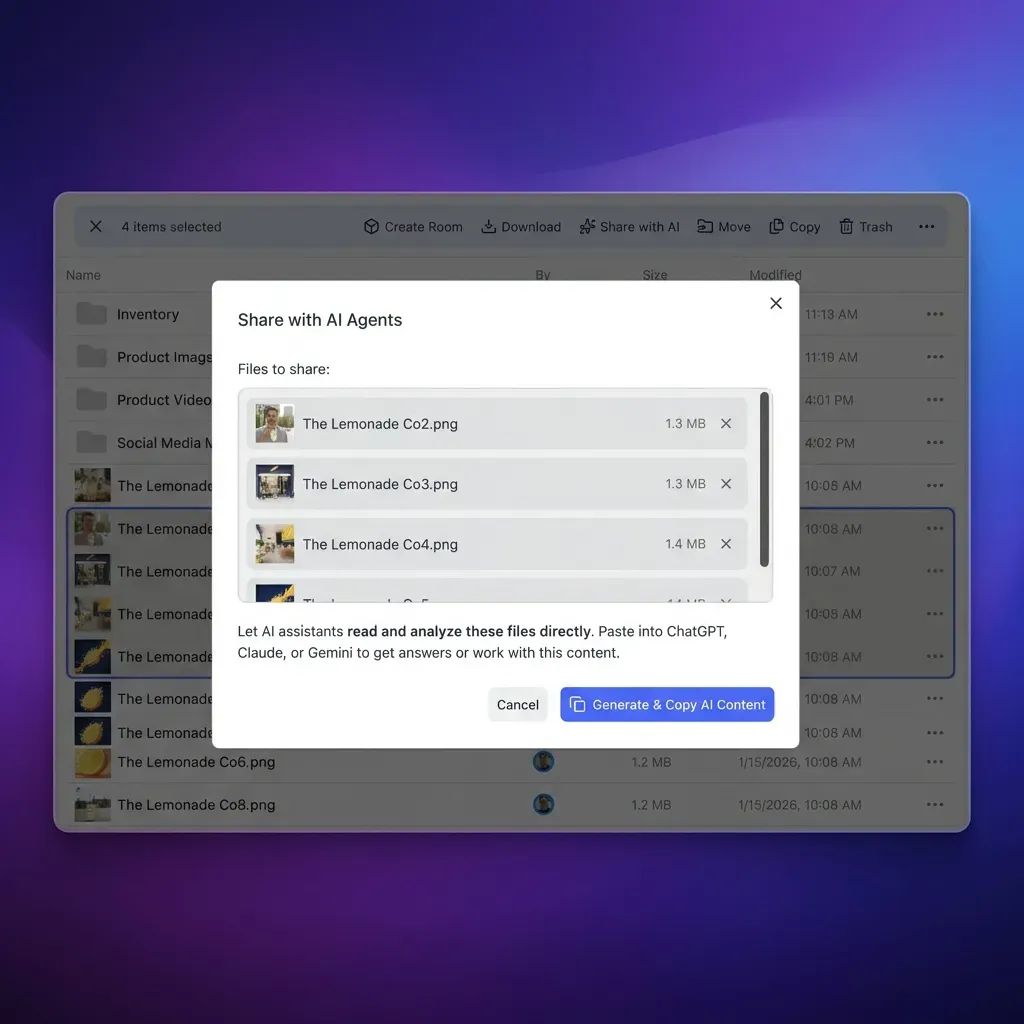
A simpler path for the agent's output is Fastio, which gives the OpenClaw agent a workspace it can write to through the MCP server. The agent uploads daily health reports, anomaly alerts, and flow summaries to a Fastio workspace. Your team reads them through the web interface or their own MCP-connected tools.
Once Intelligence is enabled on the workspace, uploaded files are automatically indexed for semantic search. Once your traffic reports land in a workspace, anyone can ask questions like "which device used the most bandwidth last week" or "were there any anomalies on Tuesday night" and get answers with citations back to the specific report entries. That turns a pile of log files into a searchable network knowledge base without building a custom dashboard.
The audit trail records every file the agent uploads, every query run against the workspace, and every share created. If you need to investigate a security incident after the fact, the full timeline is there.
Plans start at Starter ($9.99/month for 250 GB and 100,000 credits) alongside a 14-day Business Trial. For context, a week of compressed flow records from a busy home network is typically 50 to 200 MB, so workspace storage easily holds months of history. The ownership transfer feature lets the agent create and populate the workspace during setup, then hand administrative control to a human when everything is configured.
For teams running multiple Pi routers across locations (branch offices, rental properties, family members' homes), each router's agent can write to its own workspace while a shared workspace collects weekly summaries from all sites.
Sources
References used to verify factual claims in this guide.
-
The Raspberry Pi 5's built-in Ethernet achieves approximately 941 Mbps in iperf3 testing.
-
Real-world throughput through a USB 3.0 Gigabit Ethernet adapter on a Pi reaches 700 to 850 Mbps under load.
-
The Pi 5 draws approximately 2.7 watts at idle and peaks around 8.8 watts under sustained CPU load.
Frequently Asked Questions
Can a Raspberry Pi work as a network router?
Yes. The Pi 5 has a Gigabit Ethernet port capable of roughly 941 Mbps in real-world tests. Add a USB 3.0 Ethernet adapter for the second interface and you have a dual-NIC router that handles 700 to 850 Mbps of throughput. For most home and small office networks, that is more bandwidth than the internet connection provides. The Pi runs iptables for NAT, dnsmasq for DHCP and DNS, and costs roughly $5 per year in electricity.
How do you analyze network traffic on a Raspberry Pi?
Install tcpdump for raw packet capture and ntopng for flow-level analysis with a web dashboard. Both run well on Pi 5 hardware. tcpdump captures individual packets for deep inspection, while ntopng tracks connections, bandwidth by device, protocol usage, and traffic trends. Adding an OpenClaw AI agent on top lets you process that data automatically and receive plain-language summaries instead of reading raw logs.
What is an AI-powered network gateway?
A network gateway that uses an AI agent to analyze the traffic passing through it. The gateway itself handles routing, DHCP, and DNS like any router. The AI layer reads the traffic metadata, flow records, and DNS logs, then identifies anomalies, generates health reports, and sends alerts. The "AI" part runs through a cloud LLM API, so the gateway hardware only needs to capture and forward data, not run inference locally.
How do you set up OpenClaw for network monitoring?
Install OpenClaw on the Pi following the official guide at docs.openclaw.ai, configure it with an LLM API key, and point the agent's instruction prompt at your traffic data sources (ntopng flow exports, DNS query logs, tcpdump captures). The agent reads those files on a schedule, sends the data to the LLM for analysis, and reports findings through messaging platforms or file uploads. The exact configuration steps depend on the current OpenClaw release, so check the official docs for the latest syntax.
How much does a Raspberry Pi router cost to run?
The hardware is a one-time cost of roughly $80 for a Pi 5 (4GB model), $15 for a USB Ethernet adapter, and $20 for a USB SSD. Annual electricity runs $5 to $8 at typical residential rates. The LLM API calls for the OpenClaw agent add $1 to $10 per month depending on how frequently the agent analyzes traffic. Fastio offers a 14-day Business Trial before transitioning to paid plans for report storage. Total ongoing cost is comparable to a monthly streaming subscription.
Will a Pi router slow down my internet connection?
For most residential connections, no. The Pi 5's built-in Ethernet handles close to gigabit speeds, and a USB 3.0 Ethernet adapter delivers 700 to 850 Mbps. If your internet plan is under 500 Mbps, the Pi will not be the bottleneck. Traffic capture tools like tcpdump and ntopng add minimal CPU overhead on the Pi 5's quad-core processor. The OpenClaw agent's analysis runs in the cloud, not on the Pi, so it does not compete for local resources.
Related Resources

Give your network agent a workspace that indexes every report
Fastio provides cloud workspaces where your OpenClaw agent uploads flow summaries and health reports. Search them in natural language and share with your team.