How to Use Devin AI: A Developer's Getting Started Tutorial
Learn how to use Devin AI as an autonomous software engineer to solve coding tickets from scratch. This developer tutorial walks you through installing the Devin CLI, authenticating your environment, and managing file synchronization between local projects and remote sandboxes.


Why Autonomous Software Engineering is Replacing Autocomplete Chatbots
While traditional inline code assistants resolve fewer than 4% of software engineering issues, Devin AI resolved 13.86% of end-to-end issues in the SWE-bench benchmark [Cognition AI 2024 Benchmark]. This shift from inline syntax completion to autonomous software engineering is where this tutorial begins.
Learning how to use Devin AI involves workspace authentication, task prompting, and utilizing the Devin CLI to manage local-to-remote file synchronization.
Devin operates differently from typical code-generation tools. Instead of suggesting single lines of code, it acts as an autonomous agent. It runs inside a sandboxed Linux virtual machine equipped with a shell, a code editor, and a web browser. This setup allows Devin to run test suites, read project files, install dependencies, and search documentation. Developers can direct the agent to take on entire tickets, refactor legacy modules, or build fresh features from scratch.
By handling the full execution loop, Devin reduces the need for manual copy-pasting. The developer sets the target, provides the codebase context, and monitors the agent's progress. Because Devin is fully agentic, it handles setbacks by reading error logs, modifying its plan, and executing alternatives until it reaches the goal. Understanding this execution model is key to integrating the agent into a daily coding pipeline.
Related guides
- How to Use Claude AI: A Practical Getting-Started GuideClaude AI crossed 30 million monthly active users by mid-2026, yet most newcomers treat it like a search bar. Projects,...
- Anthropic Claude API: Models, Capabilities, and Getting StartedAnthropic's Claude API now spans nine endpoints, four model families, and two development tracks. This guide covers the...
- Devin AI Credits: On-Demand Pricing, Rollover Rules, and Usage QuotasDevin on-demand credits are prepaid usage credits that fund tasks exceeding included plan quotas, power team...
- The Developer Guide to Devin AI Codebase MigrationPlatform migrations represent a substantial financial and operational risk. This guide outlines how to use Devin AI to...
- How to Try Devin AI for FreeA Devin AI free trial is Free at $0 per month with limited agent usage, not a short coupon clock. Pro starts at $20 per...
- Inside Devin AI: The Architecture and Engine Behind Cognition's Autonomous EngineerCognition Devin AI combines a cloud-based reasoning model with a secure, containerized Devbox environment equipped with...
More on this subject: Devin (103 guides)
How to Use Devin AI: Five Steps to Launch Your First Task
To launch your first task, you must configure your local command line to communicate with Devin's cloud infrastructure. Here are the five key steps to set up your environment and start a coding session:
Obtain Platform Access: Create your account on the Cognition web platform and complete the login sequence to access your organization dashboard.
Install the Devin CLI: Run the official installation script in your local terminal:
curl -fsSL https://cli.devin.ai/install.sh | bashYou can also install the CLI through Devin Desktop by opening the command palette using Command + Shift + P and selecting the install command.Authenticate Your Local Machine: Run the login command in your terminal:
devin auth loginThis command opens a browser window to link your local terminal session to your verified Cognition credentials.Initialize Your Project Directory: Navigate to your project root and create a config directory to manage local settings:
mkdir .devin && touch .devin/config.jsonThis file allows you to define directory permissions and environment variables before Devin runs any code.Start a Coding Session: Launch the interactive command-line interface:
devinAlternatively, you can run a single-turn task directly from your shell by passing a prompt argument:devin -p "Add input validation to the signup endpoint"
These steps establish a bridge between your local development folder and Devin's cloud sandbox, giving the agent safe access to your project files.
What is the Devin CLI Setup and Folder Syncing Process?
Many general reviews focus solely on Devin's web dashboard, but developers benefit most from the command-line interface. The Devin CLI allows local folder linking to the remote workspace, creating a synchronized directory structure. When you navigate to a local folder and run the devin command, the CLI acts as a bridge. It does not run the execution processes directly on your local CPU. Instead, it uploads a snapshot of the workspace to the cloud virtual machine, maps the local directory tree, and tracks file modifications.
This file synchronization means Devin can read your local codebase, make edits, and compile projects in its cloud sandbox. You can guide this behavior using the .devin/config.json file in your root folder. This file defines directory permissions, tells the agent which paths are read-only, and specifies custom shell commands. For sensitive secrets like API keys or database strings, you can create .devin/config.local.json. This local configuration overrides default settings and is automatically ignored by Git, keeping your production credentials secure.
While the CLI manages this local-to-remote mapping, teams running multiple AI agents need a shared, persistent workspace. Traditional file storage options like Google Drive or Amazon S3 are simple, but they lack built-in agent capabilities. Under a local-only setup, a developer must manually pull files from the terminal or wait for Git commits to view outputs.
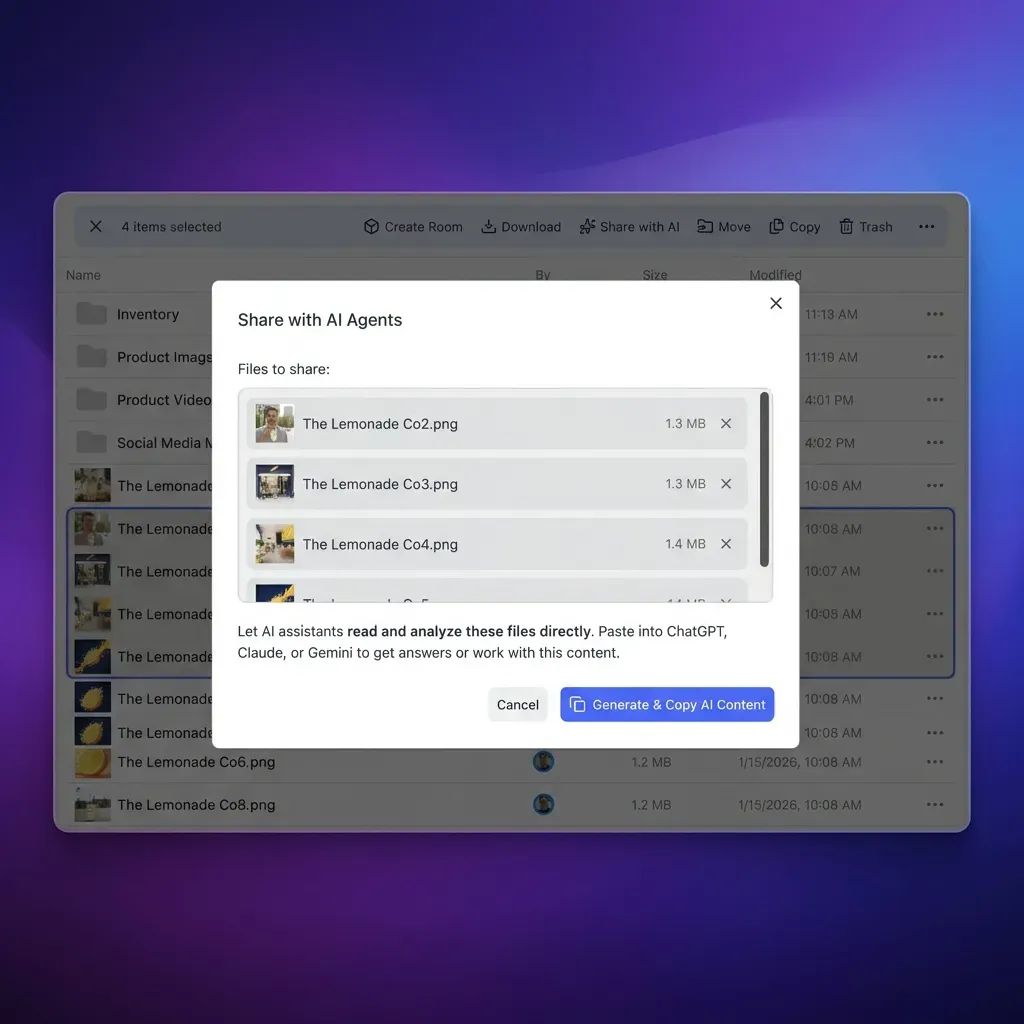
Integrating Fast.io changes this workflow. Fast.io serves as an intelligent workspace platform for agentic teams. When you enable Intelligence Mode on a Fast.io workspace, all files written by your developer agents are indexed automatically. Non-technical colleagues can search across documents using hybrid search, and agents can extract structured fields from files using Metadata Views without writing custom OCR code. This creates a unified repository where agents work and humans collaborate.
Command Line Operations and Session Management
Devin's terminal interface provides several options for running and managing active tasks. In interactive mode, you can type your prompt and interact with the agent in real time. Inside this shell, typing the @ symbol opens an autocomplete list of local files and folders. This lets you attach specific project files as direct context for your request.
For single tasks, you can use the double-dash syntax to ensure your command is treated as a prompt:
devin -- fix the login bug in the auth module
If you need to step away from your computer, you can transfer your local task to Devin's cloud sandbox by typing the handoff command:
/handoff Migrate the auth database models
This command bundles your local project state and sends it to a cloud virtual machine, allowing Devin to continue working independently. If you need to check on active sessions or resume prior work, you can use session management commands:
devin list: View all active and completed sessions in the current directory.devin -cordevin --continue: Resume the most recent session in this directory.devin -r <SESSION_ID>: Reconnect to a specific session by its ID.devin terminate: End the current session.
If your cloud agent finishes a task and outputs a build report or documentation, you must persist these files. In local storage or standard S3 setups, files are isolated. If you need to make sure agent-generated files are persistent, version-controlled, and secure, you can connect them to a Fast.io workspace. Fast.io tracks a complete per-file version history and keeps a detailed activity log. If Devin and another agent like OpenClaw write to the same folders, the audit log records who changed what, protecting the workspace from conflicting edits.


Build persistent workspaces for your Devin agents and developers
A collaborative workspace with version control, a detailed activity log, and an MCP server that lets Devin or custom agents read, write, and index files automatically. Starts with a 14-day free trial.
Managing the Handoff to Human Teams
Once Devin finishes coding, it commits the changes to your remote repository or writes the deliverables to local files. However, non-technical stakeholders (such as product managers or clients) rarely review raw Git branches or local directories. They require a clean interface to inspect deliverables.
Instead of exporting files manually, teams can use branded shares (Send/Receive/Exchange) in Fast.io. These shares allow you to set up secure folders with custom access permissions. For example, if Devin generates a video demonstration of a new UI, you can share the folder using a durable, branded page. Fast.io supports HLS video streaming, meaning team members can watch the demo directly in their browsers without downloading massive files.
Furthermore, you can transfer ownership of these workspaces and shares from the agent to a human. An automated script or a custom agent can spin up a client workspace, import files from cloud storage (Drive, Dropbox, OneDrive) via URL Import, and hand over the workspace keys to a project lead. This handoff keeps project folders organized and ensures humans retain long-term administrative control. To support this coordination, the workspace can expose the Fast.io MCP Server with Streamable HTTP at /mcp for agentic tool use.
Troubleshooting Devin CLI Connections
Working with Devin's CLI can occasionally trigger execution warnings or sync mismatches. Here are common troubleshooting steps for developers:
Environment Discrepancies:
Because the CLI maps local folders to a cloud virtual machine, differences in local Node.js or Python versions can cause test failures. Ensure your local project includes configuration files like package.json or requirements.txt. Devin reads these files to replicate your dependency tree inside the cloud sandbox.
Authentication Expiry:
If the CLI displays credential errors, your session token may have expired. Run devin auth login to refresh your token. Avoid committing .devin/config.json variables that contain sensitive API keys; place those in .devin/config.local.json instead.
Workspace Sync Delays:
If Devin struggles to find a file you recently added locally, check your network connection. Large files (like media directories or deep node_modules folders) can slow down the initial syncing loop. Add directories to your local .gitignore file to prevent Devin from uploading unnecessary assets to the cloud container.
Sources
References used to verify factual claims in this guide.
-
Devin AI resolved 13.86% of end-to-end issues in the SWE-bench benchmark.
-
The official getting started guide provides detailed CLI installation commands, credential configuration, and workspace initialization steps.
Frequently Asked Questions
How do I get access to Devin AI?
Cognition AI distributes access through their official website. You can request access by visiting devin.ai and joining the waitlist or signing up if your organization is already registered. Organizations can invite team members directly through their admin console.
Can you install Devin AI locally?
No, the core Devin engine runs on Cognition's cloud-hosted infrastructure in isolated virtual machines. The Devin CLI and Desktop apps are installed locally, but they act as interfaces that synchronize your local workspace folder and execute commands on the remote cloud sandbox.
What commands are used to resume an existing Devin session?
You can resume a session in your current directory by running `devin -c` (or `devin --continue`) to pick up the most recent session. To resume a specific session, find the ID using `devin list` and run `devin -r <SESSION_ID>`.
Related Resources

Build persistent workspaces for your Devin agents and developers
A collaborative workspace with version control, a detailed activity log, and an MCP server that lets Devin or custom agents read, write, and index files automatically. Starts with a 14-day free trial.