How to Install OpenClaw on Any Platform
OpenClaw crossed 370,000 GitHub stars and 1.6 million weekly npm downloads by April 2026, yet most third-party install guides cover only one operating system or skip the gateway configuration that makes the agent actually useful. This guide walks through all five official installation methods, from the one-line installer script to source builds and Docker containers, across macOS, Linux, Windows WSL2, and container environments.
Why Most OpenClaw Install Guides Fall Short
OpenClaw pulled 1.6 million weekly npm downloads in April 2026, up from 416,000 monthly downloads just two months earlier. That growth rate means thousands of developers hit the installation docs every day, and most third-party guides only cover one operating system or stop after the package-manager install without mentioning the gateway daemon that powers the agent's background processing.
A working OpenClaw setup has three checkpoints: the CLI binary responds to openclaw --version, the gateway process runs in the background, and your chosen LLM provider responds through the gateway. Stopping at step one leaves you with a broken agent that can't maintain context between sessions.
This guide covers all five official installation methods across every supported platform, then walks through the post-install steps that most guides skip.
Prerequisites and System Requirements
OpenClaw requires Node.js 24 (recommended) or Node.js 22.19 as the minimum supported version. The installer script handles Node automatically, but if you manage Node yourself, check your version before starting:
node --version
If the output shows anything below v22.19, upgrade first. Node Version Manager (nvm) is the easiest path:
nvm install 24
nvm use 24
Hardware minimums:
- 2 GB RAM for basic usage and testing
- 4 to 8 GB RAM for daily use with a single model provider
- 16 GB RAM or more for browser automation, local models, or multi-agent setups
Supported operating systems:
- macOS (Intel and Apple Silicon)
- Linux (x64 and ARM64, including Raspberry Pi)
- Windows via WSL2 (native Windows works, but WSL2 is more stable)
OpenClaw also runs in Docker, Podman, and Nix environments. Container options are covered in a dedicated section below.
Five Installation Methods Compared
The official docs at docs.openclaw.ai/install document five paths to a working installation. Each suits a different workflow.
1. Installer Script (Recommended)
The fast path. It detects your OS, installs Node if missing, downloads OpenClaw, and launches the onboarding wizard.
macOS and Linux (including WSL2):
curl -fsSL https://openclaw.ai/install.sh | bash
Windows PowerShell:
iwr -useb https://openclaw.ai/install.ps1 | iex
Both scripts accept a --no-onboard flag if you want to configure the gateway manually later.
2. Local Prefix Installer
Installs OpenClaw into ~/.openclaw without touching your system Node. Good for shared machines or environments where you lack root access.
curl -fsSL https://openclaw.ai/install-cli.sh | bash
This method bundles its own Node runtime, so version conflicts with other projects are not an issue.
3. Package Managers (npm, pnpm, bun)
If you already manage Node globally, install through your preferred package manager:
npm:
npm install -g openclaw@latest
openclaw onboard --install-daemon
pnpm:
pnpm add -g openclaw@latest
pnpm approve-builds -g
openclaw onboard --install-daemon
bun:
bun add -g openclaw@latest
openclaw onboard --install-daemon
The pnpm path requires an extra approve-builds step because pnpm doesn't run postinstall scripts by default. Bun works for the CLI, but the gateway runtime works best on Node.
4. Source Build
For contributors or anyone who wants to modify OpenClaw internals:
git clone https://github.com/openclaw/openclaw.git
cd openclaw && pnpm install && pnpm build && pnpm ui:build
pnpm link --global
openclaw onboard --install-daemon
Source builds require pnpm specifically. The build process compiles both the CLI and the web dashboard.
5. Bleeding-Edge Main Branch
If you want the latest commits before they hit a tagged release:
npm install -g github:openclaw/openclaw#main
This skips the npm registry entirely and pulls directly from the repository. Useful for testing fixes, but not recommended for production workflows.


Give your OpenClaw agent persistent file storage
50 GB free storage, MCP-native access, and built-in RAG. No credit card, no expiration.
Docker and Podman Setup
Container installations keep OpenClaw isolated from your host system. They work well on headless servers, CI pipelines, and environments where you don't want to install Node globally.
Docker
Community-maintained Docker images handle the build process. The typical flow uses Docker Compose:
git clone https://github.com/tenfyzhong/openclaw-docker.git
cd openclaw-docker
docker compose up -d
Once the container is running, access the web interface at the gateway URL shown in the Docker Compose output and authenticate with the token from your OpenClaw environment file.
Allocate at least 2 GB of RAM to the container. The pnpm install step during image builds can trigger an out-of-memory kill on 1 GB systems.
Podman (Rootless)
Podman runs containers without root privileges, which makes it a better fit for security-conscious environments. From the OpenClaw repo:
./scripts/podman/setup.sh
./scripts/run-openclaw-podman.sh launch
The setup script builds the openclaw:local image in your rootless Podman store. The launcher starts the container as your current user with --userns=keep-id and bind-mounts your OpenClaw state into the container.
The gateway and bridge ports are configurable through environment variables in the Podman setup script. Check the repository README for default values and override instructions.
Persistent state lives on the host at ~/.openclaw. The container bind-mounts this directory, so upgrades and rebuilds don't wipe your configuration or conversation history.
For servers that need the container to survive reboots, use the Quadlet option:
./scripts/podman/setup.sh --quadlet
systemctl --user start openclaw.service
sudo loginctl enable-linger "$(whoami)"
The enable-linger command keeps user services running after you log out.
How to Verify Your Installation and Start the Gateway
Every installation method ends with the same three verification steps. Skipping these is the most common reason new users think OpenClaw is broken.
Step 1: Check the CLI
openclaw --version
If this fails, the binary isn't on your PATH. The most common fix is adding the npm global bin directory to your shell config:
echo 'export PATH="$(npm config get prefix)/bin:$PATH"' >> ~/.zshrc
source ~/.zshrc
Replace .zshrc with .bashrc if you use bash.
Step 2: Verify the gateway
openclaw gateway status
The gateway is the background process that maintains conversation state, manages model connections, and serves the web dashboard. If it's not running, start it with:
openclaw onboard --install-daemon
On macOS, this creates a LaunchAgent. On Linux and WSL2, it creates a systemd user service.
Step 3: Run the health check
openclaw doctor
This command validates your Node version, checks gateway connectivity, and confirms that your model provider API key is configured correctly.
Daemon Management by Platform
- macOS: LaunchAgent at
~/Library/LaunchAgents/. Starts automatically on login. - Linux/WSL2: systemd user service. Enable with
systemctl --user enable openclaw. - Windows: Scheduled Task with a Startup folder fallback.
- Docker/Podman: The container itself is the daemon. Use
docker restartorsystemctl --user restart openclaw.service.
How to Keep OpenClaw Updated and Manage Agent Files
OpenClaw ships updates frequently. The built-in update mechanism supports three release channels: stable for production use, beta for upcoming features, and dev for bleeding-edge builds. Check the official docs at docs.openclaw.ai/install for the current update command and flags, since the syntax has changed between major versions. After any update, run the built-in health check to confirm the gateway and model connections still work.
Where Agent Files Live
OpenClaw stores configuration, conversation history, and workspace data under ~/.openclaw by default. For teams running multiple agents or long-lived automations, local storage creates a practical problem: files are trapped on one machine, invisible to collaborators, and lost if the disk fails.
This is where external persistent storage matters. Local filesystems work for solo experimentation, but production agent workflows need files that survive across sessions, machines, and team handoffs.
S3-compatible storage gives you durability and programmatic access, but no built-in collaboration layer. Google Drive and Dropbox offer sharing, but their APIs aren't designed for agent-to-agent file exchange.
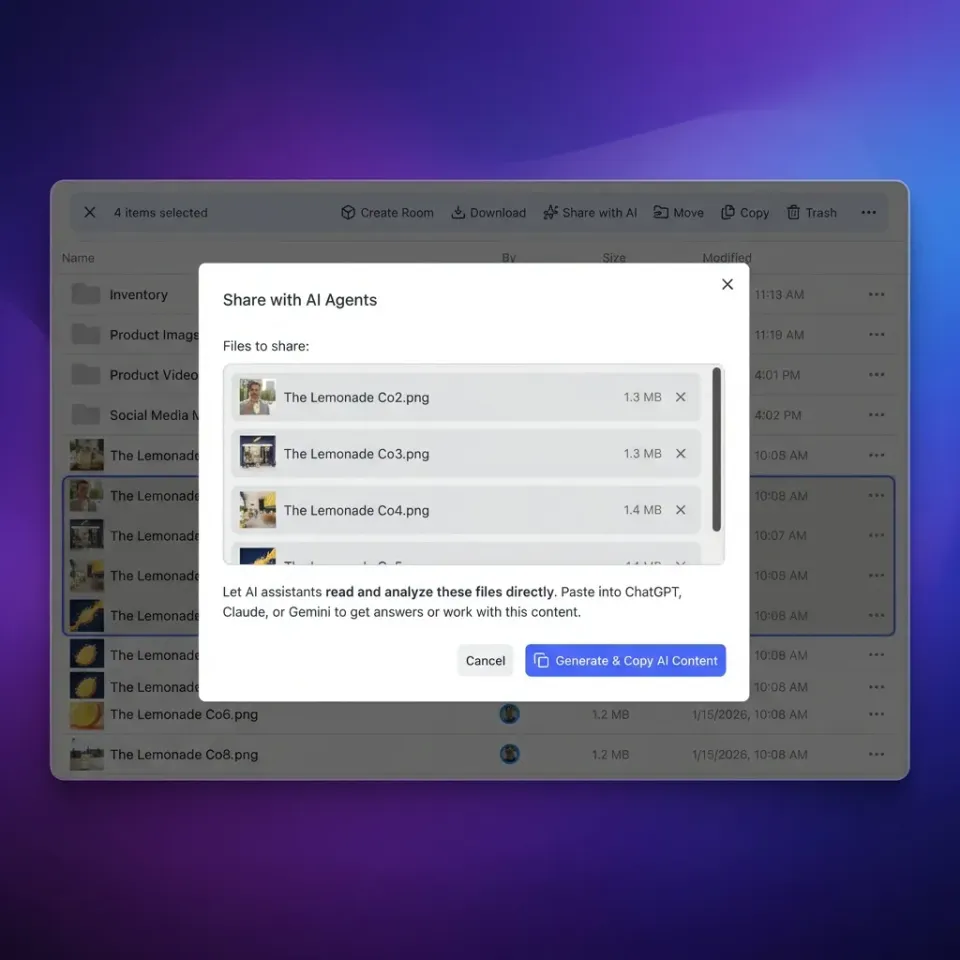
Fast.io provides workspaces purpose-built for agent workflows. The free plan includes 50 GB of storage, 5,000 monthly credits, and 5 workspaces, with no credit card or trial expiration. Agents access files through the Fast.io MCP server or REST API, while humans use the same workspaces through the web interface. Intelligence Mode auto-indexes uploaded files for semantic search and RAG, so your OpenClaw agent can query documents without setting up a separate vector database.
The ownership transfer feature is particularly relevant for OpenClaw workflows: an agent creates a workspace, builds out file structures and shares, then transfers the organization to a human who takes over. The agent retains admin access for ongoing maintenance.
For OpenClaw-specific integration, the Fast.io OpenClaw skill on ClawHub provides 19 consolidated MCP tools covering workspace management, file operations, AI queries, and share creation directly from the agent's context.

Frequently Asked Questions
How do I install OpenClaw?
The fast method is the one-line installer script. On macOS, Linux, or WSL2, run `curl -fsSL https://openclaw.ai/install.sh | bash`. On Windows, open PowerShell and run `iwr -useb https://openclaw.ai/install.ps1 | iex`. Both scripts detect your OS, install Node.js if needed, and launch the onboarding wizard. You can also install via npm (`npm install -g openclaw@latest`), pnpm, bun, from source, or using Docker.
Is OpenClaw free to install?
Yes. OpenClaw is open source under the MIT license, so the software itself is free. You will need API keys for whichever LLM provider you use (Claude, GPT-4, Gemini, or others), and those providers have their own pricing. OpenClaw does not charge for the agent software, the gateway, or the web dashboard.
What are the system requirements for OpenClaw?
OpenClaw requires Node.js 24 (recommended) or Node.js 22.19 as the minimum. It runs on macOS (Intel and Apple Silicon), Linux (x64 and ARM64), and Windows via WSL2. Hardware minimums are 2 GB RAM for testing and 4 to 8 GB for daily use. Browser automation or local model inference benefits from 16 GB or more.
How do I update OpenClaw after installation?
OpenClaw includes a built-in update mechanism with three release channels (stable, beta, and dev). Check the official docs at docs.openclaw.ai/install for the current update syntax, since it has changed between major versions. After updating, run the built-in health check to verify the gateway and model connections still work.
Can I run OpenClaw in Docker?
Yes. Community-maintained Docker images and Docker Compose configurations are available. Clone the openclaw-docker repository, run `docker compose up -d`, and access the gateway at the URL shown in the compose output. Podman is also supported with rootless containers and optional systemd integration for server deployments.
Why does OpenClaw need a gateway daemon?
The gateway is a background process that maintains conversation state between CLI sessions, manages connections to your LLM provider, and serves the web dashboard. Without it, OpenClaw can't persist context across conversations or run scheduled automations. The `openclaw onboard --install-daemon` command configures the gateway as a system service that starts automatically.
Related Resources

Give your OpenClaw agent persistent file storage
50 GB free storage, MCP-native access, and built-in RAG. No credit card, no expiration.