How to Integrate Fastio API with Dify Workflows
Learn how to integrate fastio api dify workflows to add intelligent file workspaces to your visual AI builder. Dify workflows can send files to Fastio via HTTP requests for upload, RAG queries, shares, and ownership transfers. This guide covers API authentication, workspace listing, file upload patterns, RAG queries, share creation, and production error handling for file-heavy workflows.
Why Integrate Fastio API Dify Workflows for File Storage?
Dify supports visual workflow design for AI agents, but managing long-term file persistence often requires a separate infrastructure layer. Fastio provides persistent file storage, RAG-ready indexing, and human-agent handoff features that fill this gap. Common use cases for this integration include document loaders for RAG pipelines, dynamic file uploads from user inputs, generating branded shares for outputs, and querying workspace contents semantically. The integration enables Dify workflows to maintain persistent file storage with intelligent search capabilities, avoiding the need to manage raw object storage or complex database schemas separately.
Fastio offers a Business Trial with 50 GB storage and included credits for testing this integration without a credit card. This allows developers to build and scale their agents without upfront costs. The platform's AI capabilities ensure that every file uploaded is immediately available for retrieval, making it a powerful backend for any Dify-based agent. By using the Fastio API, you can automate the entire lifecycle of a file from ingestion to sharing with external stakeholders. This connection ensures that your agentic workflows are not just processing data in isolation but are building a valuable knowledge base over time.
Prerequisites
Before you begin the integration, you need to create accounts on both platforms and prepare your development environment. This ensures that you have the necessary credentials and access to the workflow canvas in Dify.
- Sign up for a Fastio agent account at Fastio (ensure you use the agent signup flow for the free tier).
- Generate an API key from the API management section of your Fastio account dashboard. This key is used for Bearer authentication in all subsequent requests.
- Create an organization and at least one workspace via the Fastio web interface to act as your primary storage container.
- Set up Dify: Use the self-hosted Open Source version or the cloud-hosted version with the workflow canvas ready.
Ensure you have basic familiarity with the Dify HTTP Request node and JSON payload structure. The integration uses standard REST API calls with Bearer token authentication, which works with any HTTP client in Dify. Keep your API key secure and never expose it in client-side code or public repositories. You can find more details in the official Dify documentation. Setting up these prerequisites correctly is the first step toward building a reliable and secure file management system for your AI agents.


Give Your AI Agents Persistent Storage
Get generous storage and included credits with no credit card required. Start building persistent file workspaces for your Dify agents today.
Step 1: Authenticate with Fastio API Key
Fastio uses Bearer token authentication with API keys that remain valid long-term until explicitly revoked. This differs from short-lived OAuth tokens that require periodic refresh, making it ideal for background workflows and autonomous agents that run without user supervision.
In your Dify HTTP Request node, configure the following settings to initiate the authentication process:
- Method: POST
- URL: https://api.fast.io/current/user/auth/key/
- Headers: Content-Type: application/x-www-form-urlencoded
- Body: key={{your_api_key}}
The authentication endpoint returns a session token that you must store in a Dify variable for reuse in subsequent API calls. Configure your workflow to extract the token from the response body and pass it as an Authorization header Bearer token for all following requests. This establishes a stable authenticated session for the entire duration of the workflow execution. Using a session token instead of the API key for every call adds a layer of security and aligns with best practices for API consumption in distributed environments. This approach ensures that your credentials are used once to establish a session, reducing the risk of accidental exposure.
Verify Token
After obtaining the session token, it is important to verify its validity before proceeding to more complex operations. You can do this by making a simple GET request to the /current/user/ endpoint. If the token is valid, the API will return the user details associated with the key. This verification step ensures that your Dify agent does not fail midway through a critical file operation due to authentication issues. Taking the time to build this verification step makes your workflow more resilient and easier to debug when authentication issues arise.
Step 2: List Workspaces
Once authenticated, the next step is to fetch available workspaces to identify where files should be stored or retrieved. This dynamic discovery allows your Dify workflow to adapt to different environments or organizations without hardcoding specific IDs into the logic.
In your Dify HTTP Request node, configure the following:
- Method: GET
- URL: https://api.fast.io/current/org/{{org_id}}/workspaces/
- Headers: Authorization: Bearer {{token}}
The API response includes an array of workspace objects, each containing a unique workspace ID, name, and metadata. Extract the relevant workspace ID from this response to use in subsequent file operation calls. If you created workspaces through the UI, they will appear in this list with their display names and creation timestamps. This endpoint helps your workflow dynamically select the appropriate workspace based on user input, workspace names, or specific workflow logic. For example, you might look for a workspace named "Dify-Outputs" to store generated reports. This flexibility is key for building agents that can work across multiple client accounts or project workspaces without manual reconfiguration.
Step 3: Upload Files to Workspace
Fastio supports two upload methods depending on file size. Small files under 4 MB can be uploaded directly in a single POST request, which is the most efficient path for simple document ingestion. Larger files require a chunked upload process for better reliability on unstable connections and to avoid request timeouts.
For small files, use a direct POST to the workspace storage endpoint with the file as multipart form data. Include your Bearer token in the Authorization header to ensure the file is assigned to the correct workspace owner.
For large files, implement the three-step chunked upload process:
- Initiate the upload by calling POST /current/workspace/{{ws_id}}/upload/init/ with a JSON body containing the filename, content_type, and total size in bytes.
- Upload each chunk sequentially using PUT /current/upload/{{upload_id}}/chunk/{{chunk_index}}/ with the binary chunk data in the request body.
- Complete the upload by calling POST /current/workspace/{{ws_id}}/storage/root/add-file/ with the upload_id parameter to finalize the file in the workspace.
Monitor upload progress by polling GET /current/upload/{{upload_id}}/details/ until the status indicates completion. Chain this polling logic in your Dify workflow using a Loop node to handle asynchronous uploads reliably and ensure the workflow only proceeds once the file is fully ready for processing.
Chunked Upload Code Example
To handle file transfers in Dify, use the platform's file variable as the input source. For a direct upload, your HTTP node would look like this: POST https://api.fast.io/current/workspace/{{ws_id}}/storage/root/add-link/. Set the Authorization header to Bearer {{token}} and use Content-Type: multipart/form-data. The file parameter should point to @{{dify.file_path}}. This direct method is perfect for images, small PDFs, and text files generated during the agent's execution. By automating this step, you ensure that every output generated by your Dify agent is safely stored in a persistent workspace where it can be analyzed or shared.
Step 4: Query Files with RAG
Enable intelligence on your Fastio workspace to automatically index uploaded files for semantic search and RAG-powered chat. When intelligence is enabled, Fastio processes files into vector embeddings for high-speed retrieval. This eliminates the need for you to manage a separate vector database or embedding service in your Dify stack, simplifying your architecture.
To query indexed files, create a chat session by calling POST /current/workspace/{{ws_id}}/ai/chat/ with the body containing type=chat_with_files and your query text. The API returns a chat ID and message ID for tracking the conversation state and ensuring that context is maintained across multiple turns.
Poll the message status using GET /current/workspace/{{ws_id}}/ai/chat/{{chat_id}}/messages/{{msg_id}}/ to retrieve the AI-generated response with citations to the source files. The response includes relevant excerpts, page numbers, and specific file references.
To scope queries to specific folders within the workspace, add the folders_scope parameter with the node ID. This allows your Dify workflow to maintain separate knowledge contexts for different users or departments within the same workspace, providing a more controlled and accurate RAG experience for your users.
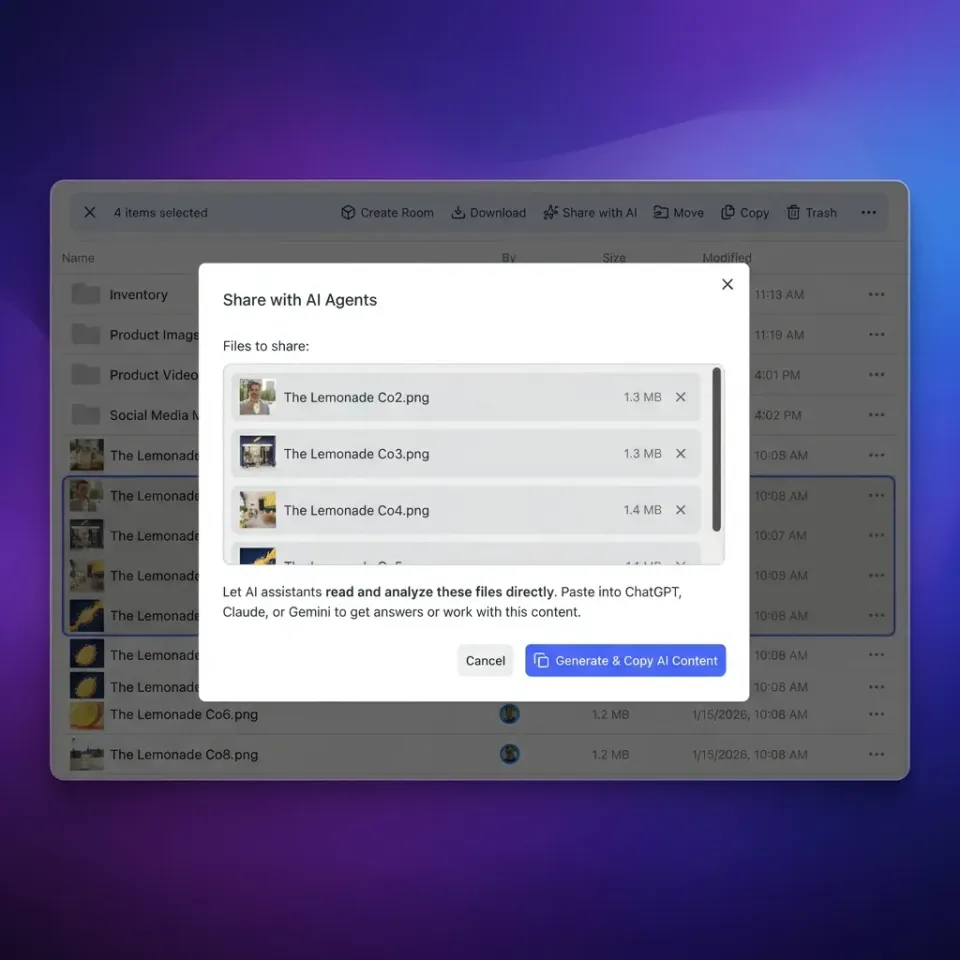
Step 5: Create Shares from Workflow Outputs
After your Dify agent generates a file or processes data, you often need to share that output with a human user or another system. Fastio provides purpose-built shares for Send, Receive, and Exchange workflows that can be generated on the fly via the API. This feature is particularly useful for delivering finished reports, processed media, or data exports directly to the end user.
To create a share, use the following endpoint:
- Method: POST
- URL: https://api.fast.io/current/workspace/{{ws_id}}/share/create/
- Body: title="Output Share", storage_mode=room, mode=send, folder_node_id=root
The response provides a unique share URL that you can deliver dynamically to the user via email, Slack, or as the final output of your Dify workflow. Because the share uses "room" storage mode, the files are hosted in a branded, secure environment that is independent of your primary workspace structure. This is an important feature for maintaining security while providing a smooth and professional user experience for file delivery. It ensures that the user only sees what you want them to see, without exposing the rest of your storage infrastructure.
Advanced Patterns
For production-grade integrations, consider implementing advanced patterns such as webhooks and ownership transfers. Webhooks allow your Dify workflow to react to file changes in Fastio automatically. You can create a webhook by calling POST /current/workspace/{{ws_id}}/webhook/create/. The Dify HTTP node can then act as an endpoint to receive these payloads and trigger new workflow runs based on external file activity. Ownership transfer is another powerful primitive for agent-human collaboration. If your agent builds an organization or workspace on behalf of a human user, you can generate a claim link by calling POST /current/org/{{org_id}}/transfer/token/create/. This allows you to hand off the entire workspace to the user once the agent's task is complete, ensuring that the human user has full control over the assets moving forward. Finally, ensure your workflow includes thorough error handling for common API responses. Check the "result" field in the JSON response; if it is false, parse the "error.code" to diagnose the issue. Monitoring the X-Rate-Limit headers will help you manage your agent's request volume efficiently and avoid service interruptions.
Frequently Asked Questions
How do I add custom APIs to Dify for Fastio?
You can add Fastio as a custom API using the HTTP Request node in the Dify workflow canvas. Configure the method (GET/POST), set the URL to the Fastio API endpoint, and add the necessary headers, including the Authorization Bearer token. This allows your Dify agent to communicate directly with Fastio storage and AI services.
Can Dify read and download files from Fastio workspaces?
Yes, you can use the GET /current/workspace/{{ws_id}}/storage/{{node_id}}/download/ endpoint to retrieve a signed download URL for any file. This URL can be passed back into Dify or delivered to a user. For small files, the API can also return the content inline if requested.
How do I handle large file uploads in a Dify workflow?
For large files, use the chunked upload API. This involves initiating the upload, sending the file in sequential binary chunks using PUT requests, and then finalizing the upload. Use a Loop node in Dify to iterate through the chunks and a polling node to check the completion status.
Does Fastio support the Model Context Protocol (MCP) for Dify?
Fastio provides an official MCP server which is ideal for streamable tools. While the REST API is often easier for standard Dify HTTP nodes, you can connect to the MCP server at mcp.fast.io/mcp to use Fastio as a tool in agents that support the protocol.
What are the Trial limits for the Dify and Fastio integration?
Fastio offers a Business Trial specifically for these types of integrations. It includes 50 GB of persistent storage and included credits, which covers storage, bandwidth, and AI tokens. This is enough to build and test full production workflows without a credit card.
Related Resources

Give Your AI Agents Persistent Storage
Get generous storage and included credits with no credit card required. Start building persistent file workspaces for your Dify agents today.