How to Build an OpenClaw Captive Portal WiFi Hotspot on Raspberry Pi
A Raspberry Pi running hostapd and dnsmasq can serve as a standalone WiFi hotspot with a captive portal for events, cafes, or coworking spaces. Adding an OpenClaw agent on top gives the hotspot a brain that can enforce access policies, watch for unusual traffic patterns, and log everything to a shared workspace where the operator can review it later.

What a Captive Portal Hotspot Agent Actually Does
You have seen captive portals at hotels, airports, and conference venues. Connect to the WiFi, get redirected to a login page, accept the terms or type a password, and then you are online. The underlying stack is simple: a Linux box runs hostapd to broadcast the network, dnsmasq to hand out IP addresses and hijack DNS, and a firewall (nftables or iptables) to block traffic until the user authenticates through a web page.
Most guides stop there. The portal is static. Once it is running, nobody is watching who connects, how much bandwidth each client pulls, or whether someone is doing something the network operator would rather they did not. At a weekend popup market that is probably fine. At a multi-day conference with 200 attendees and a single upstream link, it becomes a real problem fast.
An OpenClaw captive portal agent turns a Raspberry Pi into an intelligent WiFi hotspot that authenticates users, monitors bandwidth usage, and uses AI to enforce access policies and detect anomalous network behavior. The agent does not replace the standard stack. It sits on top and reads the same data the tools already produce: DHCP leases, firewall counters, connection logs, and DNS queries. The difference is that it can act on what it sees, flag outliers, adjust rules, and report to the operator in plain language instead of raw log lines.
The Raspberry Pi 5 is the natural platform for this. Its built-in WiFi supports 802.11ac, which is adequate for small venue deployments of 20 to 50 concurrent clients. It runs Node.js natively on ARM64, which is what OpenClaw needs. And it draws roughly 5W under load, so a USB battery pack can keep it alive during a setup where wall power is unreliable.
Build the Captive Portal Foundation
Before adding intelligence, you need a working hotspot. The standard open-source captive portal stack on Linux is hostapd for the access point, dnsmasq for DHCP and DNS, and nftables for traffic control. Here is what each piece does and why it matters.
hostapd turns the Pi's wireless interface into an access point. It handles WPA2 authentication, channel selection, and client association. On a Pi 5 with the built-in Broadcom adapter, you can run 802.11ac on the 5 GHz band. WPA3 is not supported on the internal adapter, so WPA2 is the ceiling unless you add a USB WiFi 6 adapter.
dnsmasq runs two jobs. First, it hands out IP addresses from a defined DHCP range, typically something like 192.168.4.2 through 192.168.4.254 on the hotspot subnet. Second, it hijacks DNS. Before a client authenticates, every DNS query resolves to the Pi's own IP address, which is how the browser gets redirected to the captive portal page.
nftables controls what traffic is allowed and when. Unauthenticated clients get only DNS and HTTP to the portal page. Once a client authenticates, the portal backend adds the client's IP to an nftables set, and a rule referencing that set allows full forwarding to the upstream interface. This is cleaner than the older iptables approach because nftables sets are atomic and easier to manipulate programmatically.
The web portal itself can be anything that serves an HTML page and talks to nftables: a Flask app, a Node.js server, or even a static page with a small CGI script. The portal page collects whatever authentication you want (email address, event code, terms acceptance) and then calls a script that inserts the client IP into the allowed set.
Modern Raspberry Pi OS uses NetworkManager, which can conflict with hostapd. You will need to tell NetworkManager to leave the hotspot interface alone, either by setting it as unmanaged in a config file or by using the nmcli hotspot shortcut instead of raw hostapd. Both approaches work. The hostapd route gives you more control over channel, bandwidth, and client limits.


Give your event hotspot agent a workspace it can write to
Store portal configs, usage logs, and incident reports in a Fastio workspace your OpenClaw agent and your event team can both access. generous storage, no credit card required.
Where the OpenClaw Agent Fits In
OpenClaw is an open-source AI agent that runs on Node.js. It can use tools, run shell commands, interact with APIs, and carry out tasks on the Pi. The Raspberry Pi Foundation highlighted a project where OpenClaw handled WiFi hotspot configuration, webpage creation, and admin setup entirely through natural language prompts, no manual Bash or Python commands required.
For a captive portal, the agent does not replace hostapd or nftables. Those keep running as system services. The agent reads the state those services produce and makes decisions a static script cannot.
Here is a realistic scope for the agent:
Access policy enforcement. Instead of a blanket "allow everyone who clicks Accept," the agent can implement time-limited sessions, bandwidth caps, or device-count limits per authentication token. When a session expires, the agent removes the client IP from the nftables allowed set and logs the disconnection.
Anomaly detection. The agent periodically reads DHCP lease data and firewall byte counters. If one MAC address is pulling ten times the average bandwidth, or if a client is making DNS queries to known malicious domains, the agent can throttle or disconnect the client and send a notification to the operator.
Usage reporting. At the end of an event, the agent can summarize the day: how many unique clients connected, peak concurrent users, total bandwidth consumed, and any incidents. This is the kind of report an event organizer actually wants, and it is tedious to assemble by hand from raw logs.
Dynamic configuration. If the upstream link degrades, the agent can tighten per-client bandwidth limits automatically. If attendance is lower than expected, it can extend session durations. These are judgment calls that a static script handles poorly.
The OpenClaw integration path evolves as the project matures. Confirm exact skill names and tool invocations against the current OpenClaw documentation when you build this. The stable pattern is that the agent runs shell commands on the Pi, reads their output, and makes decisions based on what it finds. The commands themselves (reading nftables counters, parsing dnsmasq leases, modifying firewall sets) are standard Linux operations that any shell-capable agent can execute.
Setting Up the Hotspot and Portal Layer
This section covers the foundational stack that runs before the agent gets involved. You need a working captive portal first, then the agent adds intelligence on top.
Start with a clean Raspberry Pi OS Lite (64-bit) install on a Pi 4 or Pi 5. Update the system, then install the core packages: hostapd, dnsmasq, and a web server for the portal page (Flask with Python or a lightweight Node.js server both work well).
The network topology is straightforward. The Pi's built-in WiFi (wlan0) broadcasts the hotspot network. A second interface, either Ethernet or a USB WiFi adapter, connects to the upstream internet. The Pi routes traffic between the two, with nftables controlling which clients get forwarded.
Key configuration decisions to make before you start:
- Subnet: Pick something that will not collide with the upstream network. 192.168.4.0/24 is a common choice for isolated hotspots.
- DHCP range: Leave the bottom of the range free for static assignments (the Pi itself at .1, any printers or displays you want on the network).
- Channel: On 5 GHz, channels 36 through 48 (UNII-1) are the safest choice for indoor venues because they do not require DFS radar detection. On 2.4 GHz, channels 1, 6, or 11 are the only non-overlapping options.
- DNS hijack: Configure dnsmasq to resolve all domains to the Pi's IP for unauthenticated clients. This is what triggers the captive portal detection on phones and laptops.
The nftables ruleset needs three pieces: a default drop policy for forwarding from the hotspot interface, an allowed set that holds authenticated client IPs, and a rule that matches the set and permits forwarding. The portal backend adds and removes IPs from this set as clients authenticate and their sessions expire.
Test the stack without the agent first. Connect a phone, confirm you see the portal page, authenticate, and verify you can reach the internet. Then disconnect and confirm you get redirected again. Only once this loop works reliably should you bring in the agent.
Connecting the Agent to the Portal
With the captive portal stack running, install OpenClaw on the same Pi. The official docs specify Node.js 24 on 64-bit Raspberry Pi OS, with installation through the standard install script. A Pi 4 with 4 GB RAM or a Pi 5 is recommended. The agent uses cloud API models (Claude, GPT-4, or similar) for reasoning, so the Pi's CPU is not doing inference work.
The agent's value comes from its ability to run shell commands and interpret the results. Here is what it reads:
DHCP lease file. dnsmasq writes active leases to /var/lib/misc/dnsmasq.leases. Each line contains a timestamp, MAC address, IP, hostname, and client identifier. The agent parses this to know who is on the network right now.
nftables counters. Running nft list ruleset shows byte and packet counts per rule. The agent can track per-client bandwidth by reading the counters associated with each IP in the allowed set.
System logs. hostapd logs client associations and disassociations. dnsmasq logs every DNS query. The agent reads these to detect patterns: repeated failed associations (possible rogue client), bursts of DNS queries to unusual TLDs, or clients that associate but never authenticate.
The agent then acts by running standard Linux commands: adding or removing IPs from the nftables allowed set, restarting dnsmasq if the config changes, or writing a summary file. These are the same operations a sysadmin would run manually, just executed by an agent that can do it continuously and at scale.
For the portal web page itself, you have two options. The simple route is a static page that the agent does not touch. The more capable route is a portal backed by an API that the agent can call to check authentication tokens, validate event codes, or look up attendee lists from an external source. The second approach is where the AI actually improves the user experience, because the agent can handle edge cases (expired codes, duplicate registrations, VIP overrides) that a static form cannot.
Storing Configs and Logs in a Shared Workspace
A captive portal that runs at events has a lifecycle problem. You set it up, the event happens, and then you need the logs, the config, and any incident records later, sometimes weeks later when someone asks why their device was disconnected. Keeping everything on the Pi's SD card is fragile. SD cards wear out, Pis get repurposed, and nobody remembers which Pi ran which event.
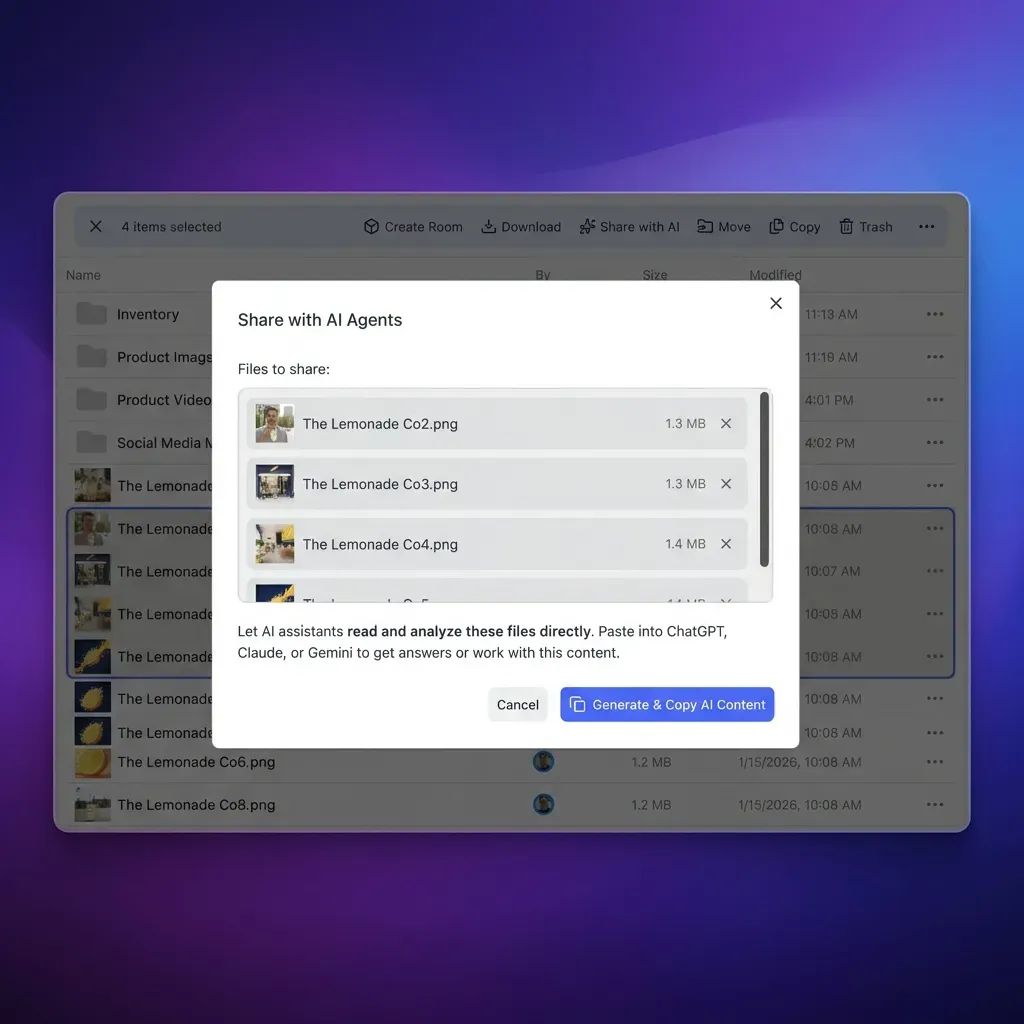
A shared workspace solves this. The agent writes its configuration files, daily usage summaries, and incident reports to a cloud workspace that the event organizer and the network operator can both access. Fastio works well here because the agent can write files through the API or MCP server, and the human operator can browse, search, and download them through the web UI.
A practical folder structure in the workspace might look like this:
configs/for the hostapd, dnsmasq, and nftables configuration files. Version history is automatic, so rolling back to a previous config is one click.logs/for daily summaries the agent generates: client count, bandwidth totals, peak concurrent users, any flagged incidents.incidents/for detailed reports when the agent detected and acted on something unusual.
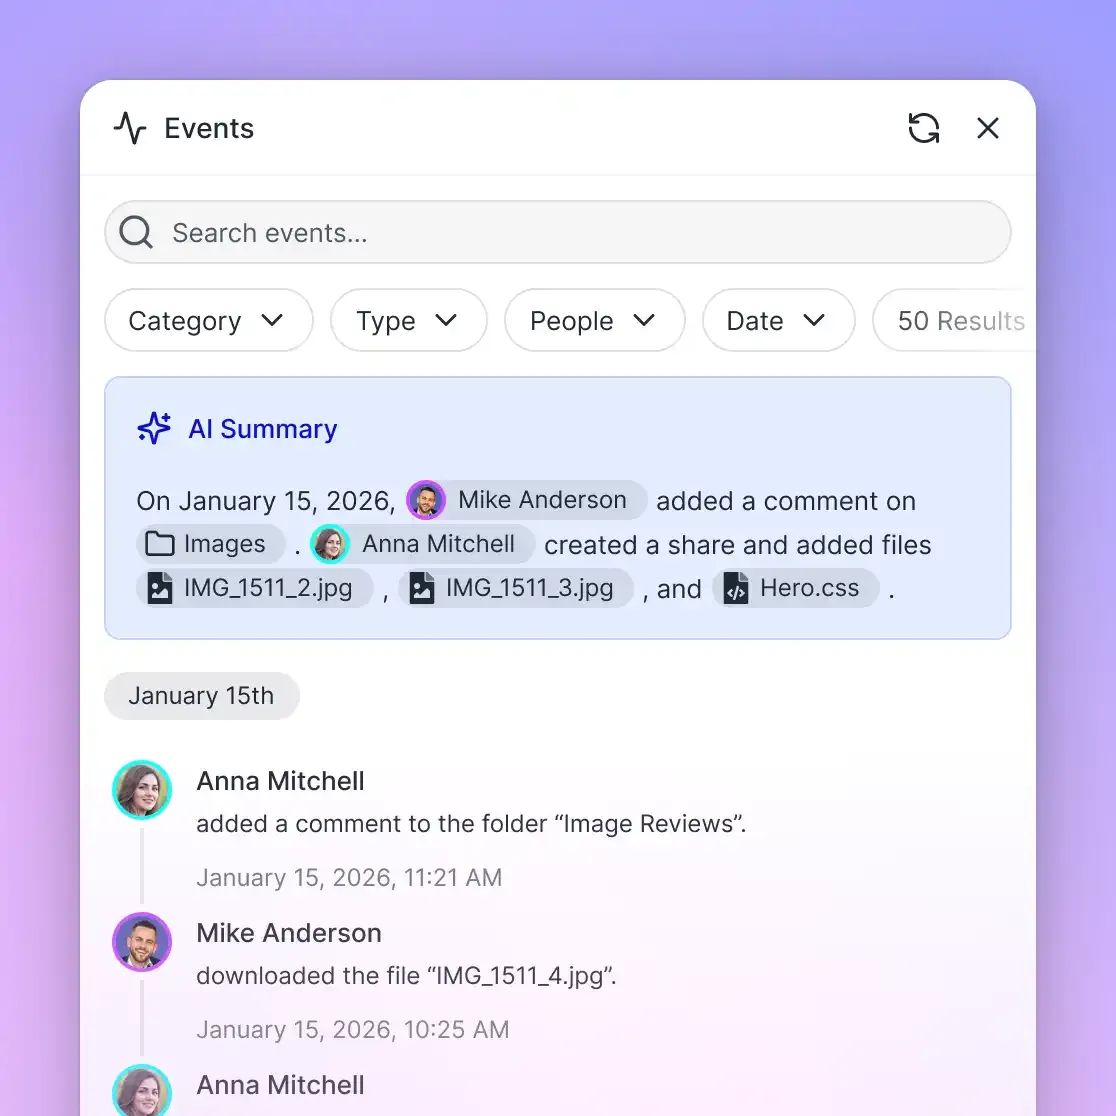
Enable Intelligence Mode on the workspace and the contents become searchable by meaning. Three months later, when someone asks "did we have any bandwidth issues at the April popup?" you can ask the workspace directly instead of grepping through log files.
Alternatives exist. You could push logs to S3, commit configs to a git repo, or dump everything into a Google Drive folder. The advantage of an intelligent workspace is that the agent writes and the human reads in the same place, with search, chat, and file history built in rather than bolted on. The Business Trial includes 50 GB of storage and included credits, which covers a large number of event deployments. See storage for agents for the agent-specific setup guide.
For sensitive data like WPA2 passphrases or upstream network credentials, keep those on the Pi itself. The workspace should hold configs, logs, and summaries, not secrets. Use granular permissions to give the event organizer read-only access to the logs folder while keeping the agent's working folder writable only through the agent's credentials.
Monitoring, Troubleshooting, and Running at Events
The portal is up, the agent is watching, and the event is tomorrow. Here is what to check and what tends to go wrong.
Pre-event checklist. Test the full loop: connect, authenticate, browse, disconnect, reconnect. Verify the agent is logging to the workspace. Confirm the upstream link is stable. If you are using a USB WiFi adapter for the upstream connection, make sure it reconnects automatically after a dropout. Check that the Pi has adequate cooling, because hostapd under load with 30 clients will push the CPU harder than idle.
Client capacity. The Pi 5's built-in WiFi adapter handles 20 to 50 concurrent clients reasonably well for web browsing and messaging. If you expect more, add a dedicated USB WiFi adapter for the access point and use the built-in WiFi or Ethernet for the upstream link. Enterprise access points handle hundreds of clients, but a Pi-based solution is a fraction of the cost for small venues.
Common failure modes:
- DNS hijack stops working. Phones and laptops cache DNS aggressively. If a client connected to a different network recently, their cached DNS can bypass the portal redirect. The agent can detect this (a client with an IP lease but no authentication record) and add the client's IP to a stricter nftables rule that blocks all traffic until they clear their cache or wait for the TTL to expire.
- Upstream link drops. The agent should detect this (failed pings to a known external host) and switch the portal page to a "no internet available" message rather than letting authenticated clients stare at timeouts.
- SD card wear. If the agent writes logs frequently, direct writes to the SD card will wear it out. Write to a tmpfs mount and flush to the workspace periodically instead.
- Channel interference. At a venue with many competing WiFi networks, the 5 GHz band is usually less congested than 2.4 GHz. The agent can scan for competing networks and suggest a channel change, though switching channels while clients are connected will disconnect them briefly.
Post-event. The agent generates a final summary in the workspace: total unique clients, peak concurrent count, total data transferred, session durations, and any incidents. This is the deliverable the event organizer cares about. Archive the workspace, swap the Pi's SD card for a fresh one, and you are ready for the next deployment.
Frequently Asked Questions
How do I make a captive portal with Raspberry Pi?
Install hostapd to create the WiFi access point, dnsmasq for DHCP and DNS hijacking, and use nftables to block traffic until clients authenticate through a web page. The web page can be a simple Flask or Node.js app that adds authenticated client IPs to an nftables allowed set. Start with Raspberry Pi OS Lite 64-bit and a static IP on the hotspot interface.
Can Raspberry Pi be a WiFi hotspot?
Yes. The Raspberry Pi 4 and Pi 5 both support access point mode through hostapd. The Pi 5 supports 802.11ac on 5 GHz, which is suitable for small venue deployments of 20 to 50 concurrent clients. For larger deployments, add a dedicated USB WiFi adapter for better range and client handling.
How do I manage a public WiFi hotspot with AI?
Run an AI agent like OpenClaw alongside the standard captive portal stack. The agent reads DHCP leases, firewall counters, and system logs, then enforces access policies, detects unusual traffic patterns, and generates usage reports. It does not replace the networking stack but adds a decision-making layer on top.
What hardware do I need for a Raspberry Pi captive portal?
At minimum, a Raspberry Pi 4 with 4 GB RAM, a quality SD card or USB SSD, and a second network interface (Ethernet or USB WiFi adapter) for the upstream internet connection. The Pi 5 with 8 GB is better for running both the portal stack and the OpenClaw agent simultaneously. A case with passive cooling helps under sustained load.
Can OpenClaw run on a Raspberry Pi?
Yes. OpenClaw runs on Node.js with ARM64 support. The official documentation lists Pi 4 with 4 GB as the sweet spot and Pi 5 as the best option. OpenClaw uses cloud API models for reasoning, so the Pi handles orchestration while the heavy AI processing happens remotely.
Is the Raspberry Pi captive portal secure enough for events?
For most small to medium events, yes. The Pi supports WPA2 encryption on the hotspot network, nftables provides proper traffic isolation between authenticated and unauthenticated clients, and the captive portal enforces authentication before granting internet access. WPA3 is not available on the built-in WiFi adapter, so add a USB WiFi 6 adapter if you need it. Do not use this setup for handling sensitive data without additional hardening.
Related Resources

Give your event hotspot agent a workspace it can write to
Store portal configs, usage logs, and incident reports in a Fastio workspace your OpenClaw agent and your event team can both access. generous storage, no credit card required.