How to Configure Fastio MCP Integration with Microsoft Copilot Studio
Integrating Fastio MCP with Microsoft Copilot Studio lets enterprise chat assistants search, read, and manage workspace files securely. Connecting Copilot to Fastio via MCP removes the need to build custom middleware connectors. This saves engineering teams weeks of development time. This guide covers the complete configuration process so you can give your Microsoft agents instant access to file management.

Why Connect Fastio to Microsoft Copilot Studio?
Enterprise data architectures often rely on older systems like SharePoint for document storage. While those platforms work well for human employees, they create hurdles for automated workflows. Building custom middleware to connect a new chat assistant to legacy document stores takes weeks of engineering effort. The connection often breaks whenever an API changes. Maintaining proper access controls also becomes a persistent headache for security teams.
Integrating Fastio MCP with Microsoft Copilot Studio lets enterprise chat assistants securely search, read, and manage workspace files. Instead of writing custom connectors, developers can use the Model Context Protocol to link the systems directly. Connecting Copilot to Fastio via MCP removes the need to build middleware. Your agent gains immediate access to a modern file architecture built specifically for automation.
Engineering teams stop worrying about endpoint maintenance and focus on building conversational experiences. The integration handles the complex API calls, ensuring your agents read the exact documents they need to answer user queries. Companies deploy context-aware assistants faster and with fewer technical complications. Teams save thousands of dollars in development hours, and business users get a more reliable chat assistant.
Understanding the Model Context Protocol (MCP)
The Model Context Protocol is an open standard designed to simplify how AI systems communicate with external data sources. Before MCP, developers had to write custom API wrappers for every new tool an agent needed to use. This fragmented approach slowed down development and created brittle systems that were hard to maintain. Every new data source required a distinct engineering project. That made it hard to scale AI initiatives across an enterprise.
MCP functions like a universal adapter for AI applications. It defines a consistent set of rules for how an AI client, like a Copilot agent, asks an external server for data or actions. When a system supports this standard, connection becomes a matter of configuration instead of coding. The protocol formats requests and transmits data. It also executes specific tools on the server side.
Microsoft Copilot Studio supports this protocol natively. You can point your Copilot agent at any compliant server, and the agent automatically understands what tools are available. The agent reads the server's capabilities and adds them to its own internal logic. When a user asks a question, the agent knows exactly which external tool to call to find the answer. This standardized communication layer makes adding an external workspace straightforward, reducing the integration timeline from months to minutes.
Fastio's Edge for Enterprise AI Workflows
While many storage options exist, Fastio provides a workspace layer designed for agentic operations. A standard cloud drive treats files as static blocks of data. Fastio treats files as readable text ready for agent interaction. The platform is built around the idea that AI agents are primary users, not an afterthought feature tacked onto older architecture.
When you upload a document to a Fastio workspace, the system automatically indexes its contents. This built-in Retrieval-Augmented Generation functionality means your Copilot agent sees more than just a file name. The agent can search the actual meaning and context of the text inside the document. You do not need to run a separate vector DB or configure complex ingestion pipelines to make your files searchable. The search capability is native to the workspace.
The platform provides a large library of automated actions. Fastio provides 19 consolidated tools via Streamable HTTP and SSE. This covers everything from reading basic text to managing directory structures. Fastio offers 50GB of free workspace storage and included credits for agents. Developers can prototype and deploy new Copilot workflows without facing upfront infrastructure costs. The free tier removes the financial friction that often stalls internal projects.
The system supports ownership transfer between agents and humans. An agent can create a dedicated workspace for a specific client project, gather the necessary documents, and transfer full ownership of that space to a human manager. The agent retains administrative access to continue assisting, but the human stays in control. This provides a secure handoff between automated preparation and human decision-making.


Give Your AI Agents Persistent Storage
Connect your AI assistants to a secure workspace in minutes. Give your agents the file access they need to automate your workflows. Built for fast mcp integration with microsoft copilot studio workflows.
Prerequisites for the Integration
Before you begin the setup process, you need to gather a few components. Having these items ready will help you configure the integration quickly without interruptions. The entire process requires no coding, but it does demand specific administrative privileges.
You need administrative access to a Microsoft Copilot Studio environment. Users must have the appropriate permissions to create or edit conversational agents and add new action connectors. If you work in a large corporate tenant, ask an IT administrator to grant you the correct security roles. Attempting this process with a standard user account usually results in permission errors.
An active Fastio account with developer features enabled is also required. Create a dedicated workspace specifically for your Copilot testing. Do not use a production workspace with sensitive data while learning how the integration behaves. Populate this test space with sample documents, project briefs, and generic files that your agent can safely read. This isolated environment prevents accidental data modification.
A basic understanding of API authorization headers helps with the final steps. While you do not need to write code, you have to format a text string correctly to pass your security credentials. Keep a secure place to temporarily store your API key while moving between the two platforms. A password manager works well for handling these tokens.
How to Add the Fastio MCP Server to Microsoft Copilot Studio
Configuring the connection takes a few minutes, and you do not need to write custom code. Follow these steps to establish the link between your Microsoft environment and your workspaces. These instructions assume you have already met the prerequisites.
Step multiple: Generate Your Fastio API Key Before opening Copilot Studio, you need authentication credentials. Log into your Fastio dashboard and navigate to the developer settings. Generate a new API key specifically for your Copilot agent. Store this key securely in your password manager. You need it to authorize the connection from Microsoft. Do not share this key in public repositories or unprotected documents. Treat it like a master password to your workspaces.
Step 2: Access the Copilot Studio Interface Open Microsoft Copilot Studio and select the agent you want to connect to your files. Navigate to the Actions tab in the left sidebar. This area manages all external connections and capabilities for your assistant. You will see a list of any existing plugins or connectors your agent uses. If this is a new agent, the list appears empty.
Step 3: Add a New MCP Server Click the option to add a new Model Context Protocol server. Copilot Studio prompts you for connection details. Enter the Fastio MCP server URL. For standard integrations, use the primary endpoint provided in the developer documentation. Make sure there are no trailing spaces or typing errors in the URL string, as that causes the connection to fail.
Step 4: Configure Authentication Headers In the configuration panel, you must pass your API key securely. Set up an Authorization header. Use the Bearer token format with the API key you generated in the first step. The string should look like "Bearer YOUR_API_KEY". This gives your Copilot agent the correct permissions to read and modify specific workspaces. Check the spelling of "Bearer" and ensure there is one space before the key.
Step 5: Review and Publish Save the configuration. Copilot Studio automatically queries the Fastio server and imports the available actions. A list of available operations populates in your agent's capabilities list, which includes all multiple tools provided by the integration. Publish your changes to make these skills active for end users. The agent is connected and ready to process file-related commands.
Testing Your Connected Agent
After the integration is live, verify that the agent can read and interact with your workspace data. Testing confirms your authentication headers work and that the agent understands the new tools. A systematic testing approach prevents errors later.
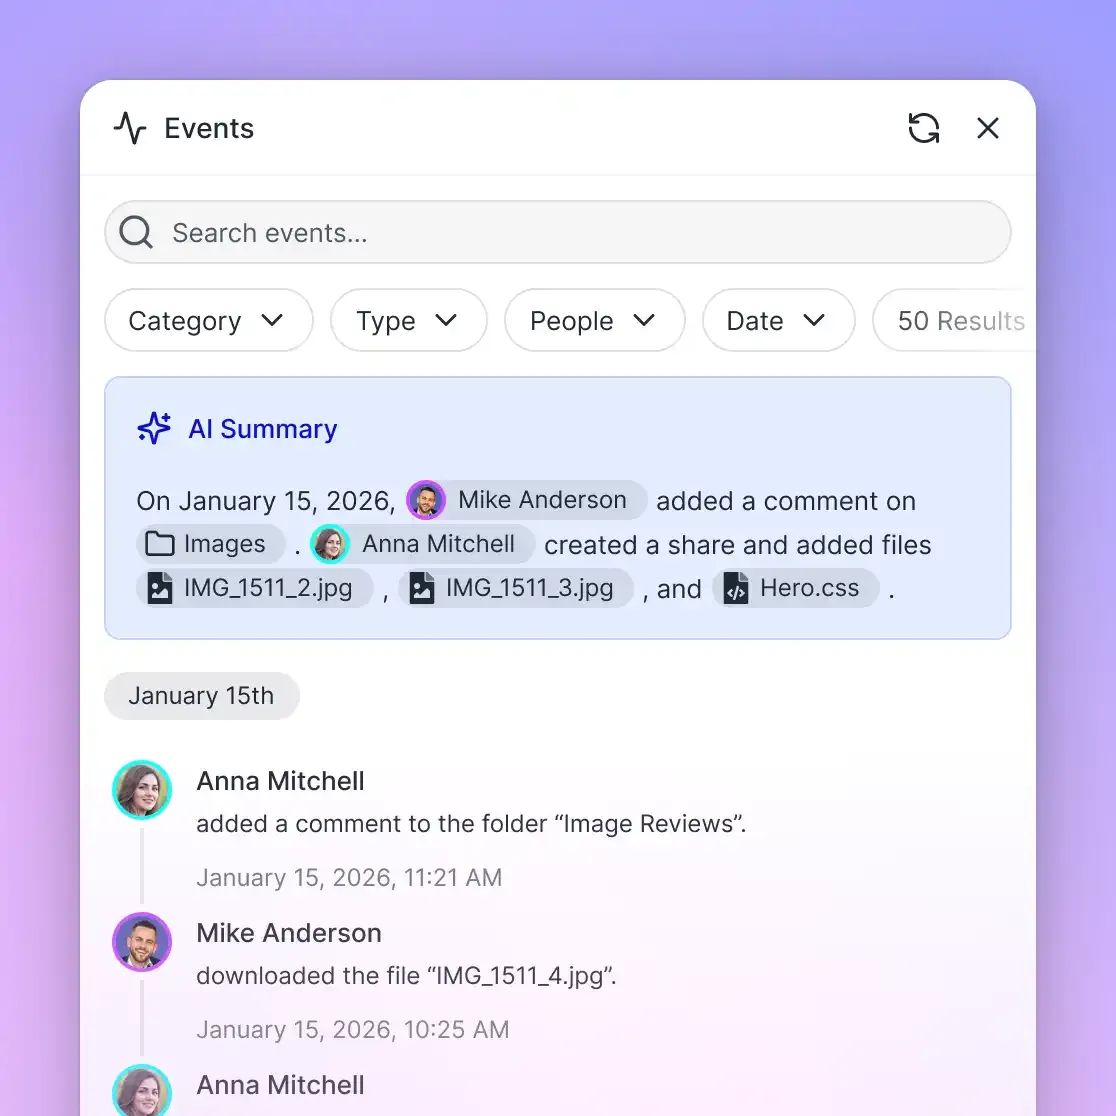
Start with a discovery prompt. Open the chat interface and type, "List the files currently stored in my test workspace." The agent should trigger the appropriate listing tool and return an inventory of the documents you uploaded. If the agent says it cannot access the files, check your API key and workspace permissions in the configuration panel. A malformed header is a common cause for these early failures.
Test the reading comprehension next. Ask a specific question about the contents of one of your test documents. For example, type, "What is the primary objective listed in the project brief document?" The agent should retrieve the file and answer based on that text. This confirms that the Intelligence Mode works and the agent can parse information. If the agent hallucinates an answer, adjust your prompt to explicitly tell the agent to search the workspace first.
Test a write operation if your use case requires it. Ask the agent to "Create a new folder called Q4 Reports." Verify in your Fastio dashboard that the folder appears. Testing these operations confirms a successful connection.
Real-World Use Cases for the Integration
Connecting these two systems helps teams build specialized assistants that handle complex tasks and reduce manual administrative work. Here are three common scenarios where this integration delivers immediate value.
Automating Media Workflows Creative teams often struggle with large file management. A connected Copilot agent can monitor a workspace for new video uploads. When a freelancer drops a new cut into the folder, the agent can automatically generate a summary of the technical specifications and alert the director. It then moves the file into a designated review directory. This keeps the production pipeline moving without human intervention. The agent acts as an automated media manager handling file routing tasks.
Creating Client Data Rooms Legal and financial professionals frequently share sensitive documents with external partners. An agent can automate this process. A user can tell Copilot, "Create a secure data room for the Smith merger and add the non-disclosure agreements." The agent provisions the workspace and applies the access controls. It then imports the requested files. This replaces a manual process that usually requires switching between several applications.
Speeding Up Technical Onboarding When engineers join a team, they spend days hunting for architectural diagrams and setup guides. With a connected agent, a new hire can ask questions in their chat window. The agent searches the engineering workspaces and retrieves the exact configuration steps. It then provides cited answers with links back to the source documents. This reduces the time it takes for new employees to become productive. The assistant acts as a persistent mentor for every team member.

Security and Access Controls
When connecting an external AI agent to your company files, security is the top priority. The Model Context Protocol ensures data only flows when explicitly requested, but you must still configure permissions correctly. The integration keeps files secure, but configuration errors can expose sensitive information.
Always practice the principle of least privilege. Do not give your Copilot agent an API key with global administrative access unless necessary. Create a dedicated service account or limited API token that only has permission to read and write to approved workspaces. If the agent only needs to answer questions based on a training manual, restrict its access to read-only mode for that specific folder. This limits the potential damage if the agent receives malicious prompts.
Monitor your audit logs regularly. The Fastio dashboard provides detailed records of every API call made by your connected agent. Review these logs to verify the agent only accesses approved files. If you notice unusual activity or excessive data requests, you can revoke the API key to sever the connection without affecting your broader storage infrastructure. This control gives security teams the confidence they need to deploy AI assistants across the organization.
Frequently Asked Questions
Does Microsoft Copilot Studio support the Model Context Protocol?
Yes, Microsoft Copilot Studio natively supports the Model Context Protocol. You can add external servers directly through the Actions menu in the agent configuration dashboard. This allows your assistant to access external databases and file systems.
How do I connect external data to Microsoft Copilot?
You connect external data to Microsoft Copilot by adding an MCP server. Generate an API key from your data provider and navigate to the Copilot Studio Actions menu. Then add a new server connection and input the endpoint URL with your authorization headers.
Do I need to write custom code to integrate Fastio?
No custom coding is required. The integration uses a standardized protocol. You only need to provide the correct server URL and your authentication key in the Copilot Studio dashboard.
What file sizes can my agent handle through this connection?
Agents using the standard integration can manage large assets. The platform handles files up to multiple on the free tier, making it suitable for sharing videos, large datasets, or project archives.
Is my workspace data used to train public AI models?
No, your workspace data remains private. Connecting your Copilot agent allows the assistant to read files and answer specific queries, but the data is not ingested into public training datasets.
Related Resources

Give Your AI Agents Persistent Storage
Connect your AI assistants to a secure workspace in minutes. Give your agents the file access they need to automate your workflows. Built for fast mcp integration with microsoft copilot studio workflows.