How to Build a Client Portal in ClickUp (And Where It Breaks Down)
ClickUp does not ship with a dedicated client portal, but you can assemble one using guest permissions, shared views, and dashboards. This guide walks through the three main approaches, explains the file sharing gaps that trip up most teams, and covers purpose-built alternatives for when ClickUp's workarounds stop scaling.

What a ClickUp Client Portal Actually Is
ClickUp does not have a feature called "client portal." What most guides describe under that label is a combination of guest access, filtered views, and custom dashboards arranged to give external clients a window into project work.
A ClickUp client portal is a configured ClickUp workspace using guest permissions, shared views, and custom dashboards to give clients visibility into project progress and file deliverables. The setup works because ClickUp's permission system lets you expose specific Lists, Folders, Tasks, or Dashboards to outside users without revealing your internal workspace.
This distinction matters. Because there is no dedicated portal product, you are responsible for building the experience yourself: choosing what to share, configuring permissions for each client, and maintaining the setup as your team grows. The flexibility is real, but so is the overhead.
ClickUp has over 10 million users globally, and many agencies and service firms use it as their primary project management tool. The appeal of keeping client communication in the same system where work happens is obvious. The question is whether the trade-offs are worth it for your specific use case.
Three Ways to Set Up a Client Portal in ClickUp
There are three practical approaches to building a client-facing portal in ClickUp, each suited to different levels of client involvement.
Method 1: Shared Folders with Guest Access
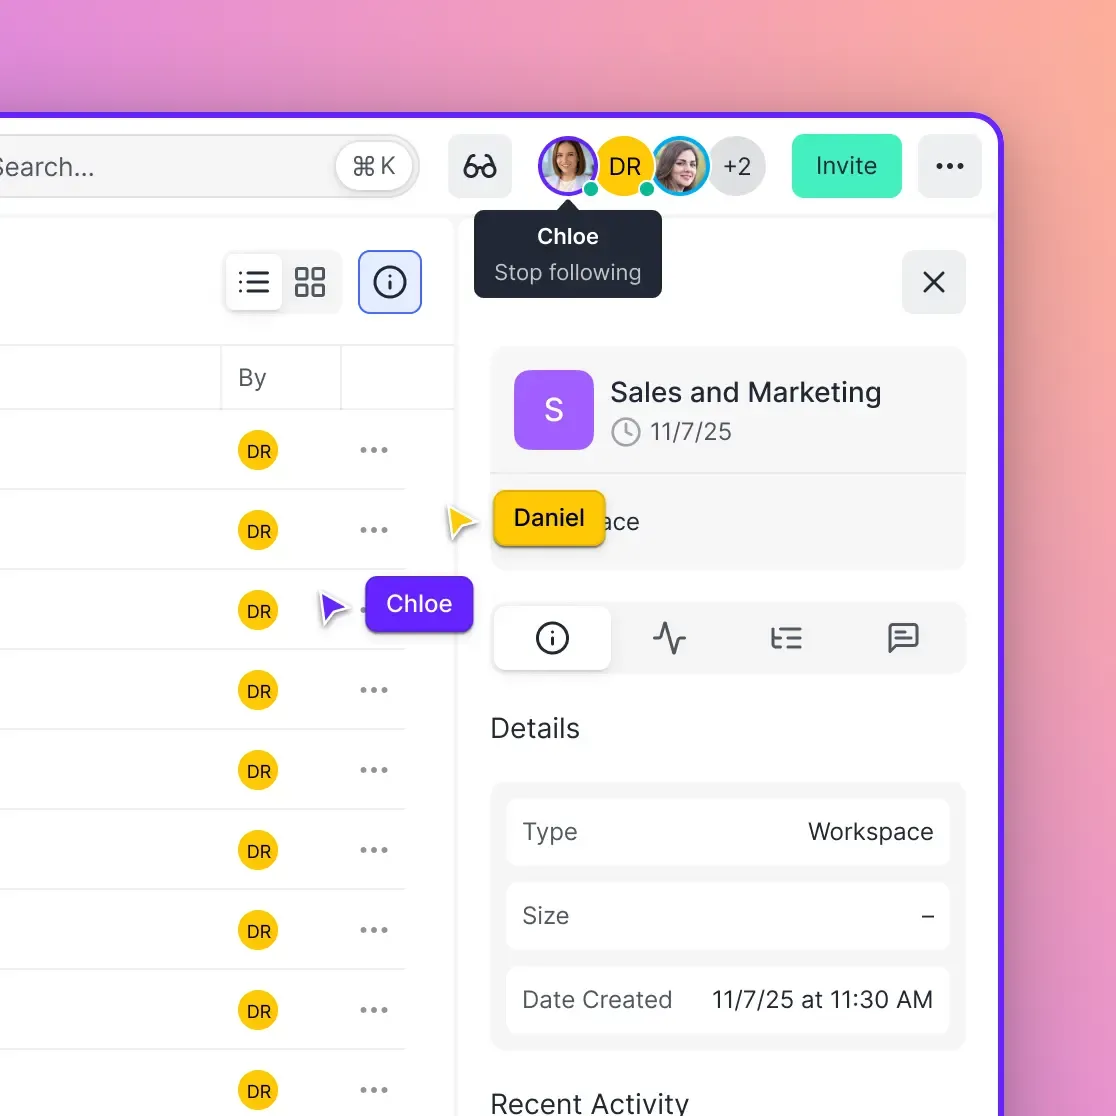
This is the most common approach. You create a dedicated Folder or List for each client, then invite them as guests with controlled permissions.
- Create a new Folder inside a Space (e.g., "Client Projects")
- Set up Lists within that Folder for different project phases or deliverable types
- Click the share icon on the Folder and invite the client's email address
- Choose a permission level: View Only, Comment Only, Edit (assigned items only), or Full Edit
- The client receives an invitation email and creates a ClickUp account to access the shared Folder
Start with View Only or Comment Only permissions. You can upgrade later if a client needs to edit task fields or upload files directly.
What works well: Clients can see real task progress, leave comments on specific items, and upload file attachments to tasks. Everything stays connected to the actual work.
What doesn't: Guests cannot access Spaces, Chat, or Whiteboards. They can only see items explicitly shared with them, which means you need to manually share each new Folder or List as projects evolve.
Method 2: Custom Dashboards
Dashboards give clients a visual summary without exposing the full task structure.
- Create a new Dashboard from the sidebar
- Add widgets: task lists, status charts, time tracking summaries, embedded Docs
- Filter widgets to show only tasks relevant to that client
- Invite the client as a guest with View Only access to the Dashboard
ClickUp offers over 50 dashboard widgets, so you can build anything from a simple progress overview to a detailed reporting interface. This approach works best for clients who want updates without interacting with individual tasks.
The downside is maintenance. Dashboard widgets pull from your workspace data, so if you rename statuses, reorganize Lists, or change custom fields, the dashboard can break silently. You also need a separate Dashboard for each client, since widget filters are Dashboard-specific.
Method 3: Public Docs with Embedded Views
For clients who should not need a ClickUp account at all, you can create a public Doc and embed filtered views inside it.
- Create a ClickUp Doc
- Add an embedded view using the
/embedcommand, linking to a filtered List or Board view - Publish the Doc with a public sharing link
- Send the link to the client
This approach requires no guest seat and no client login. The trade-off is that it is read-only: clients cannot comment, upload files, or interact with tasks. It works for one-way status updates or simple deliverable tracking, but breaks down when you need any two-way communication.
Guest Access Permissions and Pricing
Understanding ClickUp's guest model is critical before you invite your first client. The permissions and seat limits differ significantly across plans.
Guest types
ClickUp distinguishes between two guest categories:
- View Only Guests can see shared items but cannot change anything. No task edits, no comments, no file uploads.
- Permission-Controlled Guests can have View, Comment, Edit (assigned only), or Full Edit access, depending on what you configure per shared item.
Permission-controlled guests are the ones that count against your seat limits. View Only guests are generally unlimited, but they offer very limited functionality for a real client portal.
Seat limits by plan
The number of permission-controlled guest seats depends on your ClickUp plan and how many paid members you have:
- Free plan: Unlimited guests, but all guests get full permissions with no granular control. Not suitable for client portals where you need to restrict visibility.
- Unlimited plan ($7/user/month): 5 guest seats for the first member, plus 2 additional seats per extra member.
- Business plan ($12/user/month): 10 guest seats for the first member, plus 5 additional seats per extra member.
- Enterprise: Custom guest seat allocation.
If you exceed your guest seat limit and invite another permission-controlled guest, ClickUp adds a paid member seat to your bill automatically. For a 10-person team on the Business plan, you get 55 guest seats (10 + 9 x 5). That sounds generous until you realize each client might need multiple guest accounts for different stakeholders.
The limited member reclassification
In late 2024, ClickUp reclassified internal "guest" users as "limited members" and began billing them at full member rates. If you had added contractors or part-time team members as guests to save on seats, this change caught many teams off guard. Make sure anyone you add as a guest is genuinely an external client, not an internal collaborator who should be a member.


Keep ClickUp for projects. Add Fastio for client file delivery.
Branded content portals with password-protected file access, download tracking, and built-in AI — no client login required. generous storage.
Where ClickUp's Client Portal Approach Falls Short
The workaround-based portal works reasonably well for project visibility. It struggles with everything else.
File delivery is an afterthought
Clients can upload attachments to tasks, but there is no shared file library, no folder structure for deliverables, and no way for a client to browse files outside of task context. If you sent a brand guidelines PDF three months ago and the client needs it again, they have to remember which task it was attached to and scroll through the comment history.
ClickUp's file management is designed for internal project work, not external delivery. There is no version history on attachments, no download tracking, and no way to organize files independently of the task hierarchy.
No branding or white-labeling
Every portal interaction happens inside ClickUp's interface. Your clients see the ClickUp logo, ClickUp navigation, and ClickUp's color scheme. You can customize your workspace appearance for internal users, but guests see a generic ClickUp experience. For agencies and consultancies where brand perception matters, this undermines the professional experience you are trying to create.
Client onboarding friction
Clients must create a ClickUp account to access anything shared through guest permissions. That means another username, another password, and another app to learn. For clients who already use their own project management tools, adding ClickUp to the mix creates friction. Some clients push back, and you end up falling back to email attachments anyway.
The public Doc method avoids this problem, but at the cost of all interactivity. You cannot have both loginless access and two-way communication within ClickUp's portal setup.
Permission maintenance overhead
Every new project, Folder, or List needs to be explicitly shared with the right client guests. There is no way to set up inheritance rules like "every new Folder in this Space is automatically shared with Client X." As your client roster grows, keeping permissions accurate becomes a recurring chore. One missed sharing setting can mean a client either sees something they should not, or cannot access work they are waiting on.
No analytics or engagement tracking
ClickUp does not tell you whether a client viewed the Dashboard you built for them, downloaded the files you shared, or read the Doc you published. For teams that need to track client engagement, confirm deliverable receipt, or audit document access, this is a significant blind spot.
When You Need a Dedicated Client Portal Instead
ClickUp works well when your clients only need project status visibility and occasional task interaction. Once file delivery, branding, or access tracking becomes important, a purpose-built portal saves time and reduces client friction.
Signs you have outgrown the ClickUp approach
- Clients complain about needing a ClickUp account just to download files
- You spend more than 30 minutes per week managing guest permissions
- Important deliverables get lost in task comment threads
- Clients need branded, professional-looking access to their files
- You need to track whether clients actually viewed or downloaded what you sent
What a dedicated portal provides
Purpose-built client portal tools handle the things ClickUp was not designed for. They typically offer branded interfaces with your logo and colors, loginless access through magic links or passwords, organized file libraries with version tracking, and analytics showing who accessed what and when.
For file-heavy workflows, Fastio's content portals are built specifically for this use case. You get branded, password-protected portals where clients access files through a custom interface with your logo and colors. Clients do not need to create an account. You share an auto-expiring access link, and they browse, preview, and download files in a clean interface.
Fastio also adds intelligence to the portal experience. When you enable Intelligence on a workspace, files are automatically indexed for semantic search. Ripley, the built-in AI, can answer client questions about shared documents directly inside the portal. Instead of clients emailing you to ask "which version of the logo is final?" or "what were the agreed payment terms?", they ask Ripley and get an answer with citations pointing to the exact document and page.
Other features that fill ClickUp's gaps include review and approval workflows with an immutable audit trail, download tracking and engagement analytics, and file versioning so clients always see the latest deliverable without digging through task threads. Agents can also build and configure portals programmatically, then transfer ownership to a human team member when the setup is complete.
Using ClickUp and a portal tool together
You do not have to abandon ClickUp to fix the portal problem. Many teams keep ClickUp for internal project management and use a dedicated portal for client-facing file delivery. The workflow looks like this:
- Manage tasks, timelines, and internal collaboration in ClickUp
- When deliverables are ready, upload them to your client portal
- Share the portal link with the client
- Track engagement in the portal while continuing project work in ClickUp
This separation keeps your project management tool focused on what it does best and gives clients a polished, low-friction experience for the parts they care about: accessing their files and tracking deliverables.
Setting Up Your First ClickUp Client Portal Step by Step
If you have decided that ClickUp's guest-based portal is the right fit for now, here is a practical setup walkthrough for the shared Folder method.
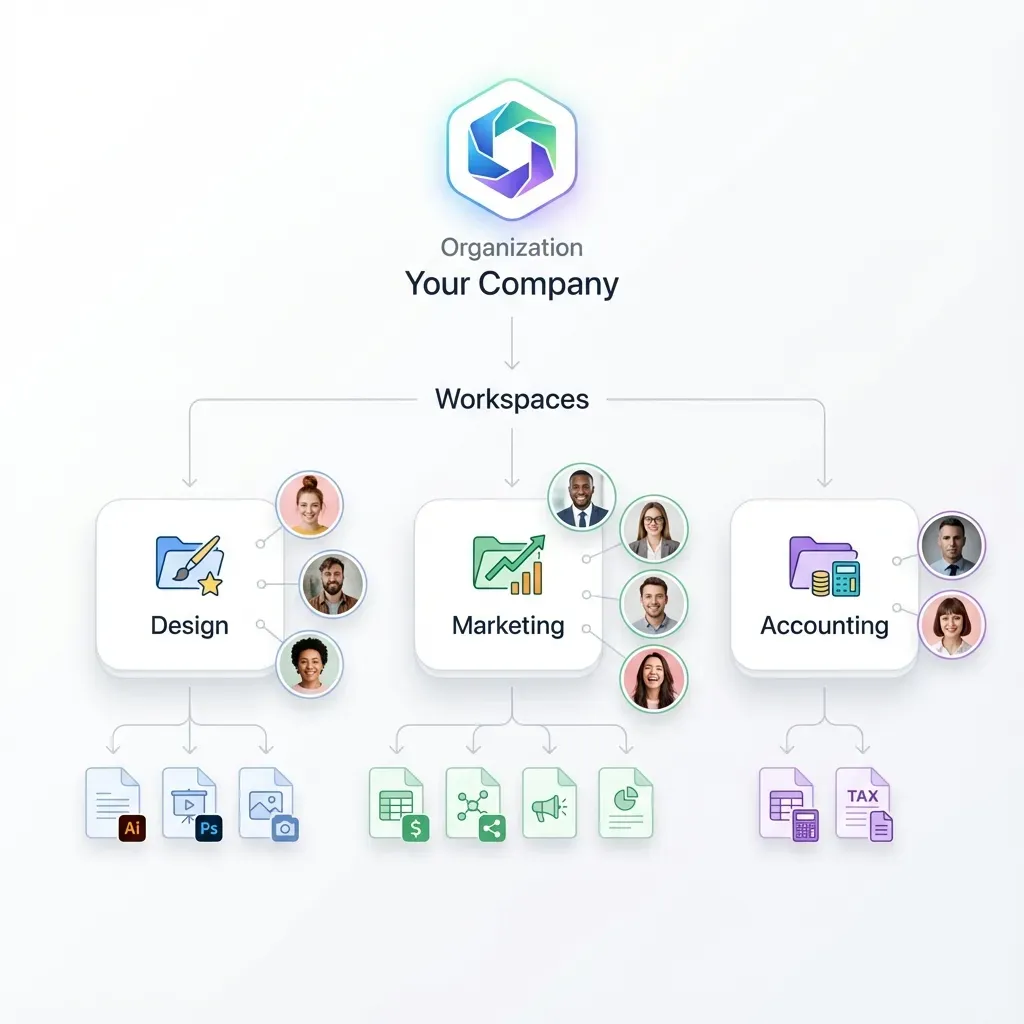
Step 1: Create a client Space
Set up a dedicated Space called "Client Projects" or similar. This keeps all client-facing work separate from internal Spaces and makes permission management easier.
Step 2: Build the Folder structure
Create one Folder per client inside the Space. Within each Folder, add Lists for different project types or phases. A typical structure looks like:
- Client Name (Folder)
- Active Projects (List)
- Deliverables (List)
- Feedback & Revisions (List)
- Completed (List)
Step 3: Configure custom statuses
Set up client-friendly status names. Internal jargon like "QA" or "Blocked: Waiting on Dev" confuses clients. Use plain labels: "In Progress," "Ready for Review," "Approved," "Delivered."
Step 4: Add custom fields for context
Add fields clients will find useful: Due Date, Priority, Deliverable Type, and a Link field for any external resources. Hide internal fields like time estimates or cost tracking that clients should not see.
Step 5: Invite the client as a guest
Click the share icon on the client's Folder. Enter their email and select Comment Only as the starting permission. This lets them view progress and leave feedback without accidentally modifying task data. You can create a filtered Board or List view that shows only the information relevant to the client, then set it as the default view for that Folder.
Step 6: Build a welcome Doc
Create a ClickUp Doc inside the client's Folder with instructions for logging in, navigating the portal, and submitting feedback. Pin it to the top of the Folder so it is the first thing the client sees.
Step 7: Test the experience
Log in as a test guest (create a second email account if needed) and walk through the client journey. Check that permissions hide internal tasks correctly, that shared views display the right data, and that the overall experience makes sense to someone unfamiliar with ClickUp.
Frequently Asked Questions
Can you use ClickUp as a client portal?
ClickUp does not have a built-in client portal feature, but you can build a portal-like experience using guest access, shared Folders, custom Dashboards, and public Docs. The approach works best for project status visibility and task-level collaboration. It falls short for file delivery, branded experiences, and loginless client access.
How do I give clients access to ClickUp?
Invite clients as guests by clicking the share icon on a Folder, List, Task, or Dashboard and entering their email. You can set their permission level to View Only, Comment Only, Edit (assigned items only), or Full Edit. Clients receive an invitation email and must create a ClickUp account to access shared items. Public Docs and Views provide an alternative that does not require an account, but those are read-only.
Does ClickUp have external sharing?
Yes, ClickUp supports external sharing through two methods. Guest access lets you invite external users to specific items with controlled permissions, but requires them to create a ClickUp account. Public sharing generates a link to a view or Doc that anyone can access without logging in, but offers no interactivity. Both methods are available on all paid plans, though guest seat limits vary by tier.
How many guest seats does ClickUp include?
Guest seat limits depend on your plan and team size. The Business plan ($12/user/month) starts with 10 permission-controlled guest seats for the first member and adds 5 seats for each additional member. The Unlimited plan ($7/user/month) starts with 5 seats and adds 2 per member. If you exceed your limit, ClickUp automatically adds a paid member seat to your account.
What are the limitations of ClickUp for client file sharing?
ClickUp's file sharing for clients has several gaps. Files can only be attached to tasks, with no shared file library or folder structure for deliverables. There is no version history on attachments, no download tracking, and no way for clients to browse files outside of task threads. The interface carries ClickUp branding with no white-label option, and clients must create a ClickUp account to access shared content beyond public links.
Related Resources

Keep ClickUp for projects. Add Fastio for client file delivery.
Branded content portals with password-protected file access, download tracking, and built-in AI — no client login required. generous storage.