How to Build an MCP Server for AWS Cognito
Building an MCP server for AWS Cognito allows AI agents to securely manage user identities, handle sign-ups, and verify credentials. This guide walks you through creating a TypeScript-based MCP server that bridges the Model Context Protocol with AWS authentication services, enabling automated user management workflows directly from your AI assistant.
Why Connect Agents to Cognito?
The Model Context Protocol (MCP) has rapidly become the standard for connecting AI models to external data and systems. By building an MCP server for AWS Cognito, you bridge the gap between static LLM knowledge and dynamic user management operations.
Cognito MCP server bridges AWS identity to agent tools. Traditionally, managing AWS Cognito user pools involves navigating the AWS Console or memorizing complex CLI commands. This friction slows down developers who need to provision test users, reset passwords during support calls, or audit access logs.
By exposing these actions as MCP tools, you empower your AI agent to handle these tasks conversationally. Instead of context-switching to the browser, you can ask your agent: "Create multiple test users with the 'beta-tester' group" or "Check if user 'alex@example.com' is confirmed." The agent understands the tool definitions, executes the API calls, and returns structured data you can trust.
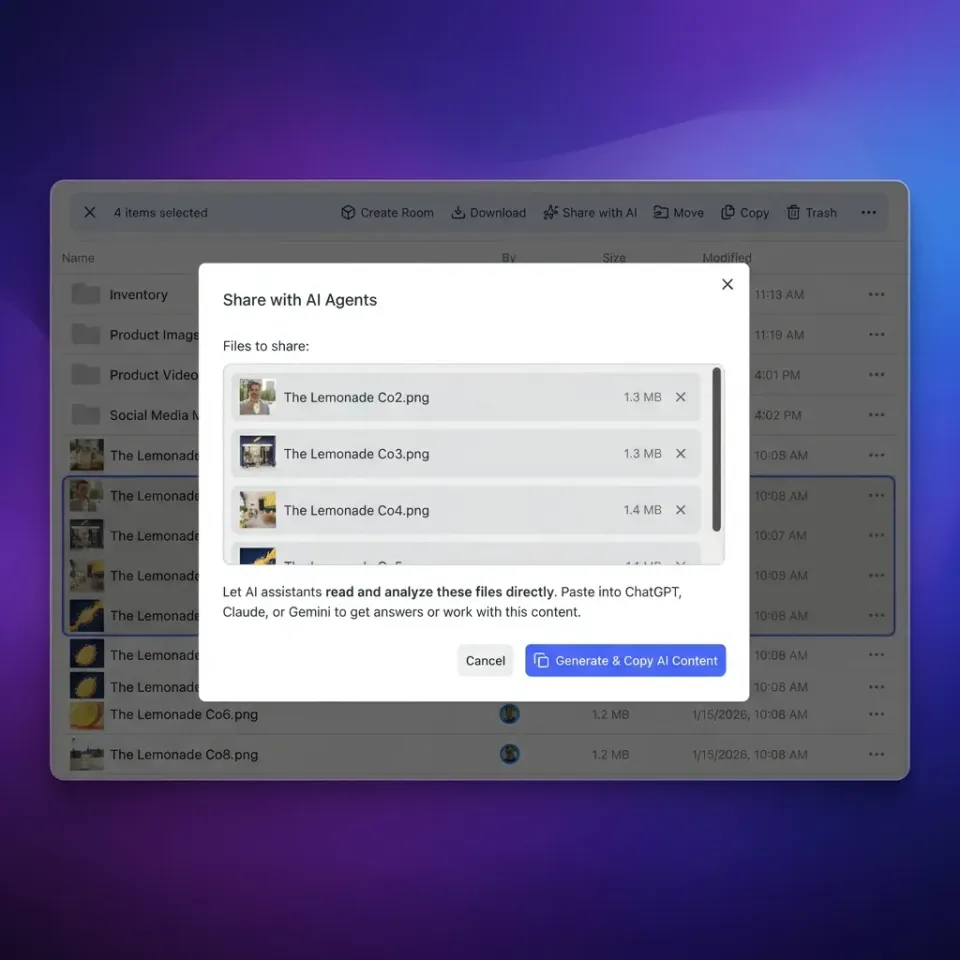
In a Fastio workspace, this integration becomes even more powerful. You can store your MCP server code in a shared workspace where both human developers and AI agents can access, review, and deploy it. Fastio's Intelligence Mode automatically indexes your server code, allowing team members to ask questions like "How does our Cognito MCP handle MFA?" and get cited answers instantly. This creates a living documentation loop where the implementation itself serves as the knowledge base.
Helpful references: Fastio Workspaces, Fastio Collaboration, and Fastio AI.
Prerequisites for Building
Before writing code, ensure your environment is ready. You will need a few standard tools and an active AWS account. * Node.js multiple+: The MCP SDK for TypeScript requires a modern Node environment. Check your version with node -v in your terminal.
- AWS Account: You need permissions to create User Pools and App Clients in Amazon Cognito. If you are working in an organization, ensure your IAM role allows
cognito-idp:*actions. - AWS CLI Configured: Your local environment should have AWS credentials set up via
aws configure. This allows the SDK to pick up your profile automatically. - Fastio Workspace: Ideally, create a dedicated workspace (e.g.,
dev-auth-tools) to store your MCP server code. This ensures your team, and other agents, can access the latest version of the tools. - Claude Desktop or VS Code: An MCP-compatible client to test your server. If you are new to Fastio, you can set up a free workspace specifically for your agent tools. The platform supports up to multiple of storage and includes built-in intelligence features that make documenting your new MCP server automatic.
Step 1: Configure AWS Cognito
Your MCP server needs a target User Pool to interact with. If you already have one, note its User Pool ID and Client ID. If not, follow these steps to set up a strong testing environment.
1. Create a User Pool Go to the AWS Console, search for Cognito, and select "Create user pool." Choose "Email" as the primary sign-in option. This simplifies the testing process as you won't need to manage phone numbers or usernames initially.
2. Configure Security Requirements Set your password policy. For testing, a simple policy (minimum multiple characters) is sufficient. For production, you should enforce special characters, numbers, and uppercase letters.
3. App Client Integration In the "App integration" tab, create a new app client.
Important: Select "Public client" (or ensure "Generate client secret" is unchecked) if you are running this locally for testing. The AWS SDK handles secret hashes, but skipping the secret simplifies initial development. If you must use a secret (recommended for production servers), you will need to implement the secret hash calculation in your MCP server.
4. Gather Credentials
Once created, navigate to the "App integration" tab and copy the Region, User Pool ID, and App Client ID. You will need these for your environment variables in the next step.
Step 2: Initialize the MCP Project
With your AWS credentials ready, you can scaffold the MCP server. We will use the official TypeScript SDK to ensure type safety and compatibility. The SDK handles the heavy lifting of the MCP protocol (JSON-RPC over stdio), allowing you to focus on the business logic.
Open your terminal in your Fastio workspace directory:
mkdir mcp-cognito
cd mcp-cognito
npm init -y
npm install @modelcontextprotocol/sdk @aws-sdk/client-cognito-identity-provider dotenv
npm install --save-dev typescript @types/node tsx
npx tsc --init
Create a .env file to store your credentials securely.
Note: Never commit this file to public repositories.
AWS_REGION=us-east-1
COGNITO_USER_POOL_ID=us-east-1_xxxxxxxxx
COGNITO_CLIENT_ID=xxxxxxxxxxxxxxxxxxxxxxxxxx
Create a primary entry file, index.ts. This file will host the server instance and define the tools your agents will use.


Give Your AI Agents Persistent Storage
Fastio gives teams shared workspaces, MCP tools, and searchable file context to run mcp server cognito workflows with reliable handoffs.
Step 3: Implement Auth Tools
Now, define the tools that the MCP server will expose to the AI agent. We will implement three core functions: create_user, list_users, and admin_reset_password.
Add this code to your index.ts:
import { McpServer } from "@modelcontextprotocol/sdk/server/mcp.js";
import { StdioServerTransport } from "@modelcontextprotocol/sdk/server/stdio.js";
import {
  CognitoIdentityProviderClient,
  AdminCreateUserCommand,
  ListUsersCommand,
  AdminSetUserPasswordCommand
} from "@aws-sdk/client-cognito-identity-provider";
import { z } from "zod";
import dotenv from "dotenv";

dotenv.config();

const client = new CognitoIdentityProviderClient({ region: process.env.AWS_REGION });
const server = new McpServer({ name: "cognito-mcp", version: "multiple.0.0" });

// Tool: Create User
server.tool(
  "create_user",
  {
    username: z.string(),
    email: z.string().email(),
    temporaryPassword: z.string().min(8)
  },
  async ({ username, email, temporaryPassword }) => {
    try {
      const command = new AdminCreateUserCommand({
        UserPoolId: process.env.COGNITO_USER_POOL_ID,
        Username: username,
        UserAttributes: [{ Name: "email", Value: email }],
        TemporaryPassword: temporaryPassword
      });
      await client.send(command);
      return {
        content: [{ type: "text", text: `User ${username} created successfully.` }]
      };
    } catch (err: any) {
      return {
        content: [{ type: "text", text: `Error: ${err.message}` }],
        isError: true
      };
    }
  }
);

// Tool: List Users
server.tool(
  "list_users",
  { limit: z.number().min(1).max(60).optional() },
  async ({ limit = 10 }) => {
    try {
      const command = new ListUsersCommand({
        UserPoolId: process.env.COGNITO_USER_POOL_ID,
        Limit: limit
      });
      const response = await client.send(command);
      const users = response.Users?.map(u => ({
        username: u.Username,
        status: u.UserStatus,
        enabled: u.Enabled,
        created: u.UserCreateDate
      })) || [];

      return {
        content: [{ type: "text", text: JSON.stringify(users, null, 2) }]
      };
    } catch (err: any) {
      return {
        content: [{ type: "text", text: `Error listing users: ${err.message}` }],
        isError: true
      };
    }
  }
);

// Tool: Reset Password
server.tool(
  "reset_password",
  { username: z.string(), newPassword: z.string().min(8) },
  async ({ username, newPassword }) => {
    try {
      const command = new AdminSetUserPasswordCommand({
        UserPoolId: process.env.COGNITO_USER_POOL_ID,
        Username: username,
        Password: newPassword,
        Permanent: true
      });
      await client.send(command);
      return {
        content: [{ type: "text", text: `Password for ${username} reset successfully.` }]
      };
    } catch (err: any) {
      return {
        content: [{ type: "text", text: `Error resetting password: ${err.message}` }],
        isError: true
      };
    }
  }
);

// Start Server
const transport = new StdioServerTransport();
await server.connect(transport);
This code uses the zod library to validate inputs before they reach AWS. If an agent tries to create a user without an email or with a short password, the MCP server rejects the request locally, saving an API call. We also include error handling that returns text the model can understand, allowing it to self-correct if it makes a mistake (e.g., retrying with a longer password if the first attempt fails).
Step 4: Connect to Claude
To use your new server, you must register it with an MCP client like Claude Desktop. This configuration tells the AI where to find your tools and how to execute them securely.
Edit your claude_desktop_config.json file. On macOS, this is usually found in ~/Library/Application Support/Claude/. On Windows, it is in %APPDATA%\Claude\.
{
  "mcpServers": {
    "cognito": {
      "command": "npx",
      "args": ["-y", "tsx", "/path/to/your/mcp-cognito/index.ts"],
      "env": {
        "AWS_REGION": "us-east-1",
        "COGNITO_USER_POOL_ID": "us-east-1_xxxxxxxxx",
        "COGNITO_CLIENT_ID": "xxxxxxxxxxxxxxxxxxxxxxxxxx"
      }
    }
  }
}
Troubleshooting Connection Issues If the connection fails, Claude won't show the server tools. You can debug this by viewing the logs:
- Open terminal and run
tail -f ~/Library/Logs/Claude/mcp.log(path may vary). - Restart Claude Desktop.
- Look for "spawn" errors or "exit code multiple".
Common issues include incorrect paths to index.ts, missing environment variables, or Node.js not being in the system PATH that Claude sees.
Best Practices for Agent Auth
Giving AI agents access to your authentication system requires strict security controls. Treat your MCP server as a privileged admin user and apply rigorous safety measures.
Apply the Principle of Least Privilege
Do not give the AWS IAM user running your MCP server full AdministratorAccess. Instead, create a custom IAM policy that only allows the specific Cognito actions your server needs. Here is a recommended JSON policy for this server:
{ "Version": "2012-10-17", "Statement": [ { "Effect": "Allow", "Action": [ "cognito-idp:AdminCreateUser", "cognito-idp:ListUsers", "cognito-idp:AdminSetUserPassword" ], "Resource": "arn:aws:cognito-idp:us-east-1:123456789012:userpool/us-east-1_xxxxxxxxx" } ]
}
Audit Every Action
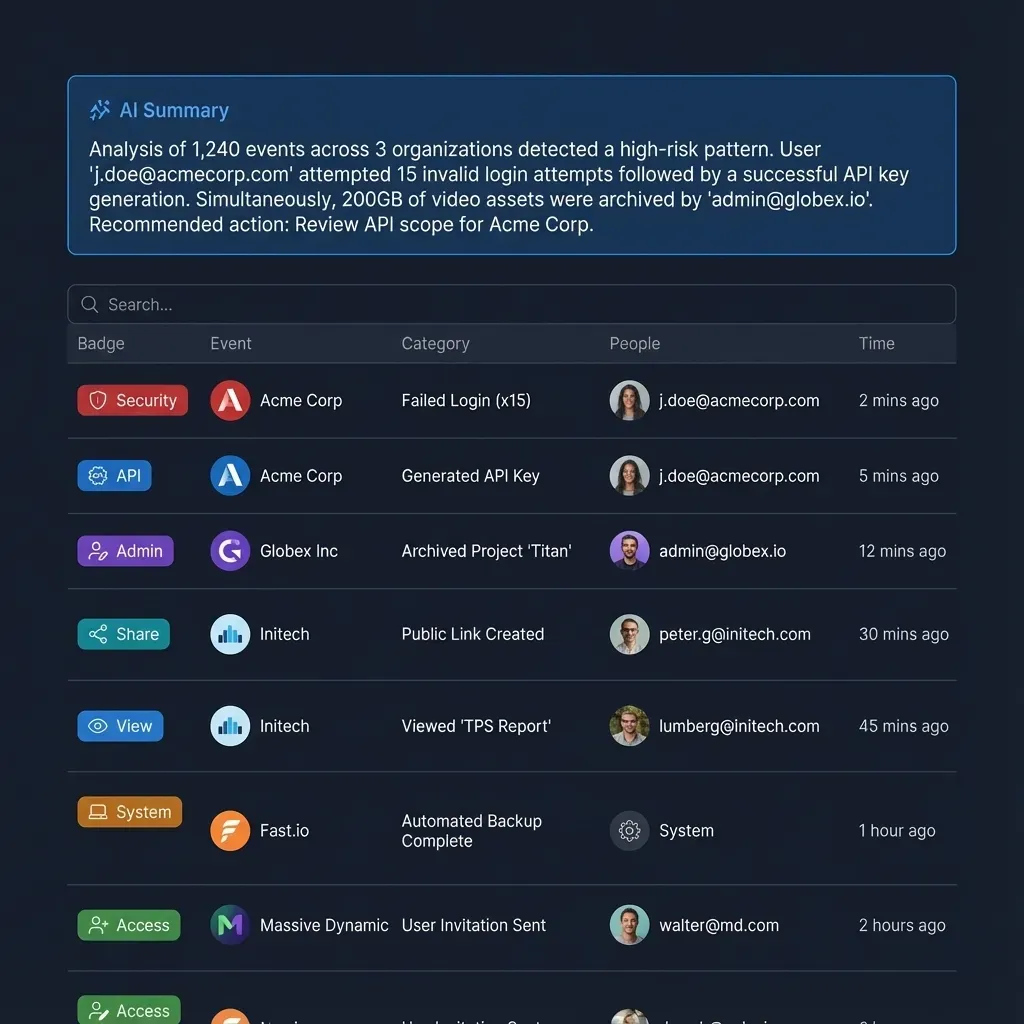
Since your MCP server runs as code, you can add logging to every tool call. Fastio workspaces are ideal for this, you can write logs to a shared file in the workspace (e.g., audit-logs/mcp-activity.log). Because Fastio indexes files immediately, you can then ask another agent to "Review the MCP audit log for suspicious activity" and get a summary of all user creation events.
Rate Limiting
Cognito has soft limits on API calls. If you ask your agent to "create multiple users", you might hit these limits. Consider adding a delay or batching logic in your index.ts if you plan to use this for bulk operations.
Testing Your MCP Server
Before connecting to Claude, you can test your server using the official MCP Inspector. This web-based tool allows you to manually invoke tools and see the raw JSON-RPC responses.
Run this command in your terminal:
npx @modelcontextprotocol/inspector npx tsx index.ts
This will open a local web server (usually at localhost:multiple). You can select the cognito server and try running the list_users tool. This is safer than testing with a live agent because you have full control over the inputs.
Once you are confident, switch to Claude and try these prompts:
- "List the last multiple users created in the pool."
- "Create a user named 'demo-agent' with a temporary password."
- "Reset the password for 'demo-agent' to 'NewSecurePass123!'."
If the agent succeeds, you have effectively built a natural language interface for your AWS identity infrastructure.
Advanced: Error Handling and Self-Correction
One of the powerful features of MCP is the ability for the AI model to "heal" itself when tools fail. If your MCP server returns a clear, descriptive error message, the model can analyze the mistake and retry with corrected parameters.
For example, AWS Cognito imposes strict password policies. If you configure your User Pool to require one uppercase letter and a special character, but the agent tries to create a user with "password123", Cognito will throw an InvalidParameterException.
In our create_user tool implementation, we catch this error and return it as text:
catch (err: any) {
  return {
    content: [{ type: "text", text: `Error: ${err.message}` }],
    isError: true
  };
}
When the model receives Error: Password must have at least one uppercase character, it understands the constraint. In the next turn of the conversation, it will likely generate a new password like "Password123!" and call the tool again.
Pro Tip: You can enhance this by returning structured error hints. Instead of just the raw error, you could return:
Error: Password validation failed. Please retry with a password containing multiple number, multiple special character, and multiple uppercase letter.
This explicit guidance reduces the number of round-trips the model needs to make to succeed, saving tokens and time. You can apply this same pattern to email validation, username uniqueness checks, and rate limit back-offs.
Frequently Asked Questions
What is an MCP server for Cognito?
It is a software bridge that connects the Model Context Protocol (used by AI agents) to AWS Cognito. It enables agents to perform authentication tasks like creating users, resetting passwords, or verifying tokens programmatically.
Is it safe to give AI agents access to Cognito?
Yes, provided you follow the principle of least privilege. Configure your AWS IAM policies to allow only specific actions (like `ListUsers`) and deny sensitive ones (like `DeleteUserPool`) to ensure the agent cannot damage your infrastructure.
Can I use this MCP server with other LLMs?
Yes, the Model Context Protocol is an open standard. Any client that supports MCP, including Claude Desktop, Cursor, and open-source tools, can connect to your Cognito MCP server and use its tools.
How do I handle MFA with an MCP server?
You can implement tools that handle Multi-Factor Authentication (MFA) challenges. Typically, this involves exposing a tool that accepts an MFA code as input and passes it to the `RespondToAuthChallenge` AWS API command.
Why use Fastio for MCP servers?
Fastio provides a shared workspace where your MCP code lives. It allows multiple agents and humans to access the server implementation, and its Intelligence Mode automatically documents your tools so other agents know how to use them.
Related Resources

Give Your AI Agents Persistent Storage
Fastio gives teams shared workspaces, MCP tools, and searchable file context to run mcp server cognito workflows with reliable handoffs.